


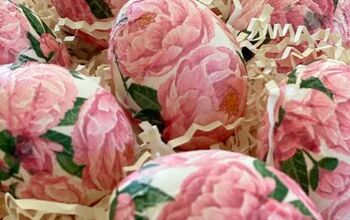
How to Decoupage Easter Eggs

Decoupaging Easter eggs using paper napkins is a great way to create Easter decor that totally fits your style and compliments your home’s interior design. Follow along to learn how to decoupage your own Easter eggs.
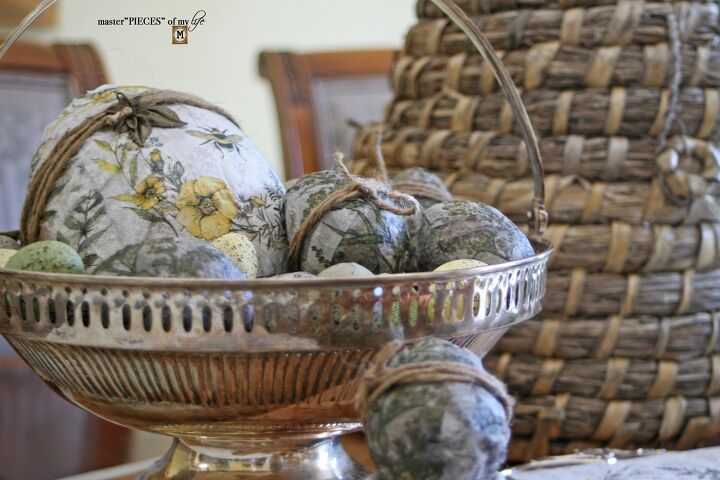
By creating the Easter eggs yourself you get a custom look you might not necessarily find anywhere else. This is my for “the birds and the bees” Easter decor. It’s a a little bit whimsy and of course I adapted it to be a tad vintage and rustic as well.
Decoupaging with paper napkins is not a novel idea. It’s a craft I have seen done in many ways and I have wanted to do it myself for awhile. I have decoupaged Easter eggs with sheet music but never with paper napkins. When we got the bee wreath cocktail napkins at the store it inspired me to make these Easter eggs. I am sharing how I did it and any tips of wisdom I can share.
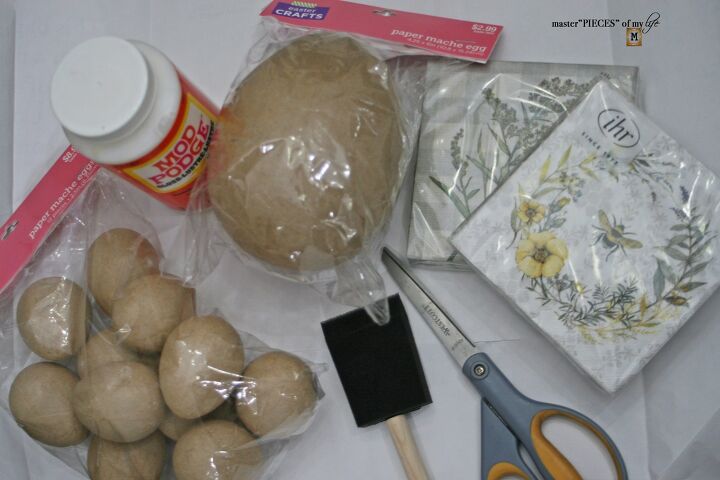
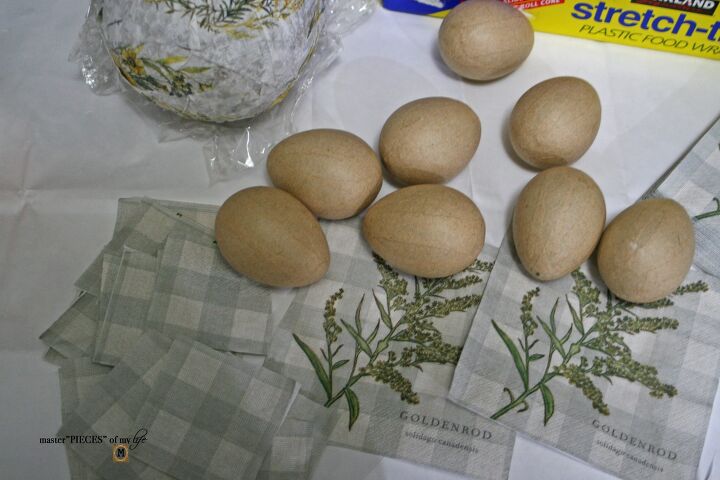
- Paper Mâché eggs
- Decoupage medium {I used Mod Podge}
- Paper napkins
- Foam brush
- Scissors
- Plastic wrap
- Hair spray
- Twine
- Metal charms {optional}
This is a messy project but not necessarily very difficult. It’s actually pretty forgiving allowing for some margin of error. I created one oversized and a dozen regular sized decoupaged Easter eggs and it took me about 1-1/2 hours. Just put on a good show on the tube and crank them out. I am slightly obsessed with The Gilded Age right now. I am also a bit inpatient and having to wait a whole week between episodes is killing me! And there are only two episodes left for the season… but I digress.
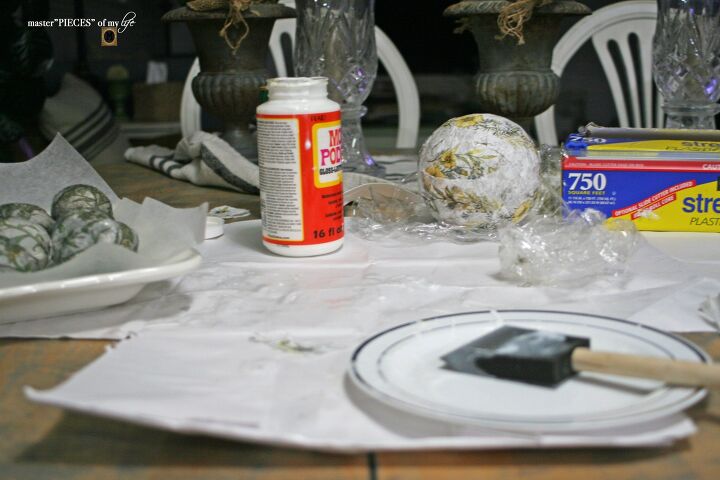
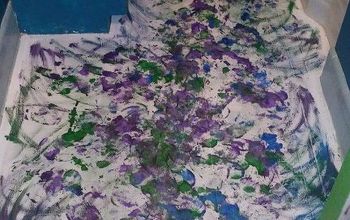
{Not the prettiest picture above but that’s the reality of crafting on the kitchen table late at night.}
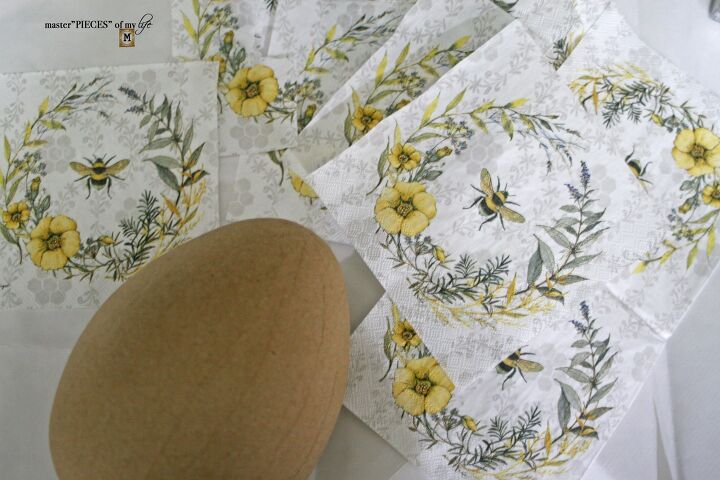
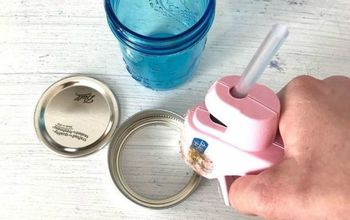
- Cut out pieces of the napkin around the design you want on your egg{s}.
- Apply a light layer of mod podge on the back of the napkin using the foam brush.
- Adhere the napkin piece with mod podge side against the egg.
- Apply enough paper to cover entire egg, overlapping pieces and layering two or three times.
- Use plastic wrap to press the napkin down against the egg, which protects the napkin from sticking and tearing.
- Once the paper napkin is flat set the egg aside to dry.
- When all the eggs are done seal with hair spray.


- If the napkins are 2 or 3-ply only use the top layer with the design.
- I used paper mâché egg forms for this project but in the past I have used plastic eggs left over from my littles’ Easter egg hunts on another decoupage project.
- Do not use styrofoam eggs. The Styrofoam does not work with the decoupage medium. I found out the hard way when I decoupaged these sheet music eggs hence why I resorted to left over plastic eggs in my Easter bin. 😅
- I think wooden eggs would also work for decoupaging but I am thinking they are more expensive.
- Applying the decoupage medium on the napkin rather than on the egg works best here since the napkin is so delicate.
- The plastic wrap is critical in preventing the napkins from ripping when you are pressing the paper down on the egg form.
- Invariably the napkin will tear a bit just keep working and layer more pieces on top.
- I left my paper napkins wrinkled and crinkled on the eggs for added texture, which is much easier than having it perfectly flat.
- I allowed my eggs to fully dry over night before handling.
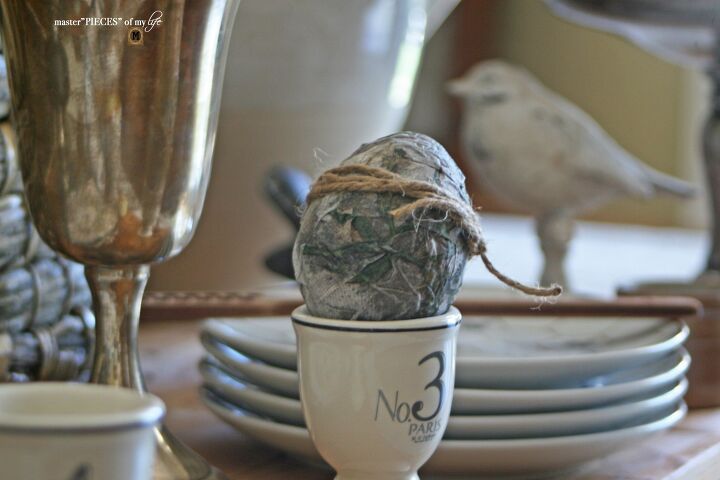
- Once the mod podge is set and dry wrap twine around eggs a few times if desired. I also added metal charms to the oversized egg since I thought it needed something more.
I am ready for all things Spring. Last week I shared my {easy Spring mantel} and I am ready to add some more spring goodness around the house.
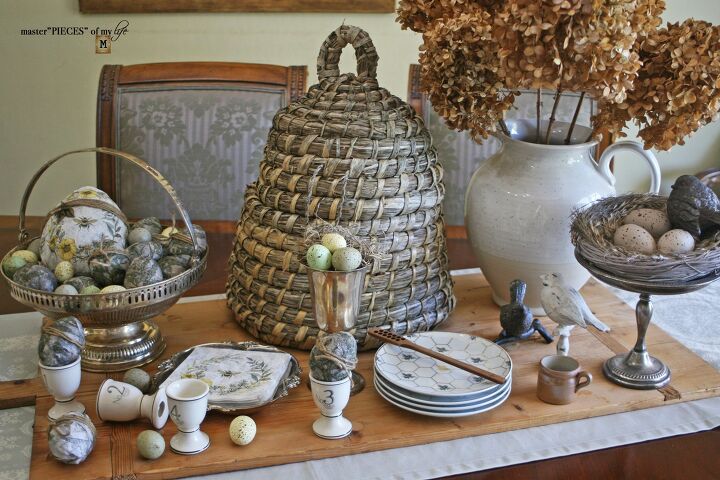
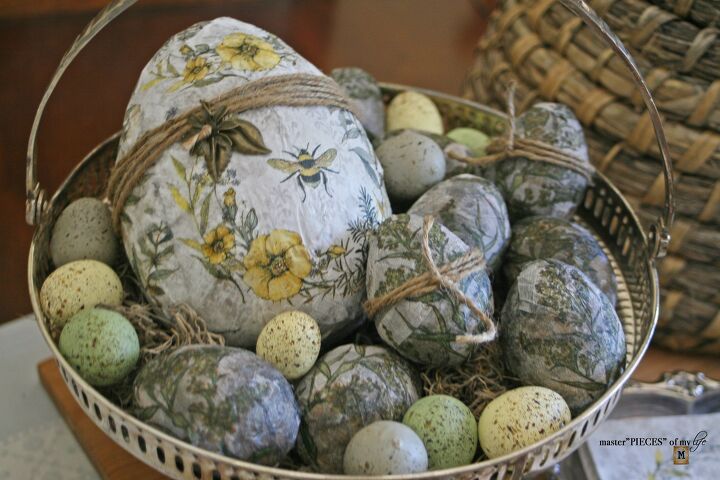
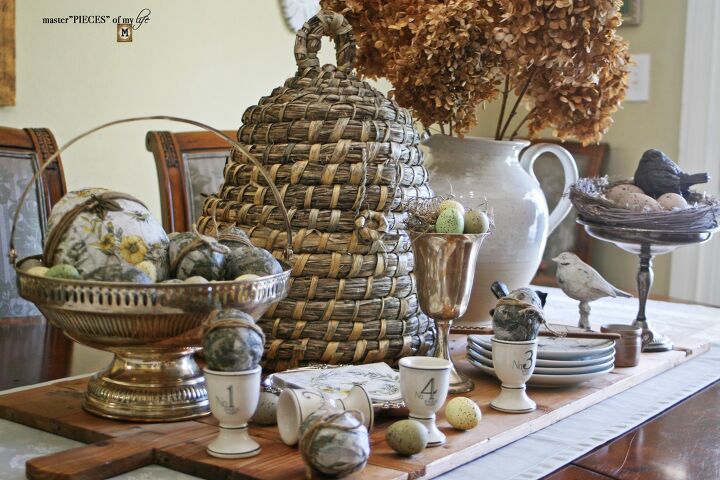
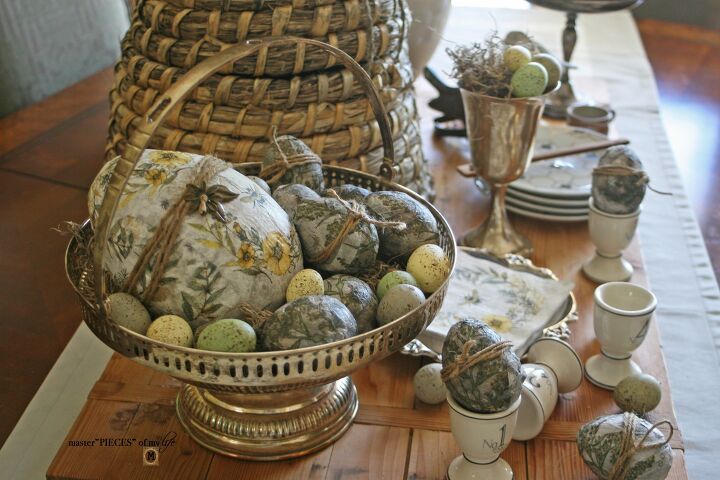
I found this vintage silver-plate basket while thrifting a few weeks ago. I thought it would make the perfect Easter basket and here we are. The newly decoupaged eggs sit on a bed of Spanish moss.
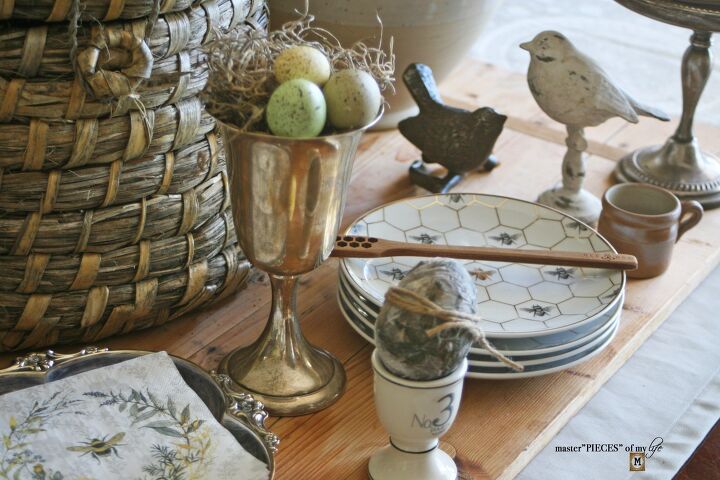
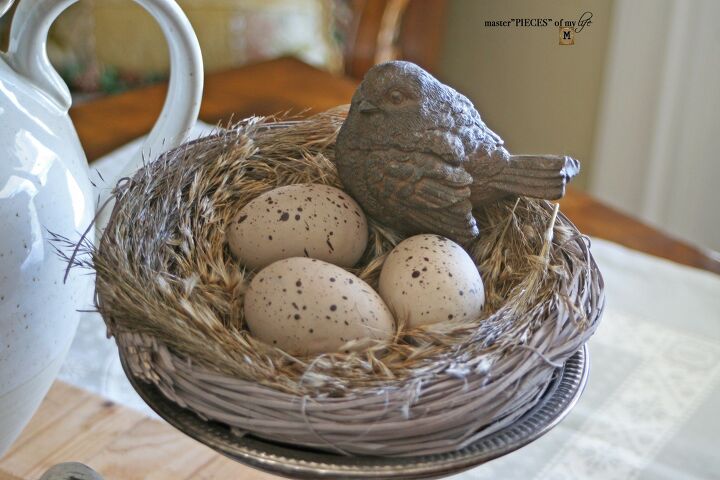
I created this fun Spring-y vignette on our dining room table, using Spring inspired decor. Birds, bees, nests and more give me the Spring vibes I am feeling right now. Our weather is beautiful in the 60s and 70s most days, which has all sorts of plants sprouting and flowers blooming around here.
If you’re a crafter and like to create & design your own seasonal decor this post might also interest you {5 fabulous ways to DIY Easter eggs}.

I am feeling all the Spring vibes and I hope this inspired you in some way.
“The hum of the bees is the voice of the garden”
Elizabeth Lawrence


Frequently asked questions
Have a question about this project?