


How to Make Ice Lanterns Easily With a DIY Coffee Can Mold
Introduce a touch of frosty magic to your holiday and winter decor with this step-by-step guide on how to make ice lanterns. With just a few simple materials and a dash of creativity, you can transform ordinary coffee cans into DIY ice lantern molds for enchanting luminaries that will illuminate your outdoor spaces.
This simple DIY Christmas lantern project is sure to brighten up your winter nights and bring a touch of seasonal magic to your home.
This post was transcribed by a member of the Hometalk editorial team from the original HometalkTV episode.
Tools and materials:
- Coffee can
- Can opener
- Tin can
- Rocks
- Faux winter florals
- Wire cutters
- Tape
- Flameless candle
Steps
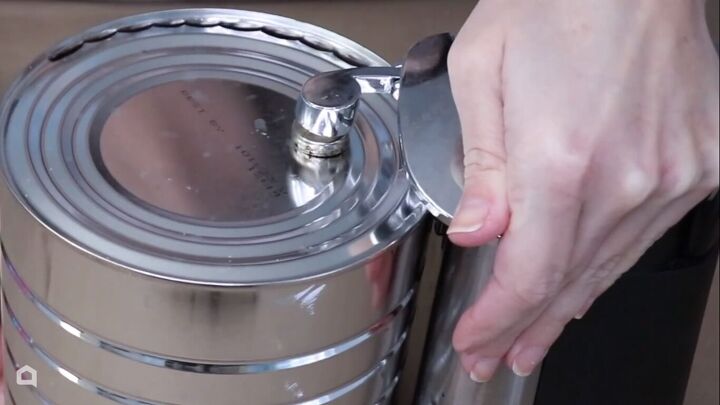
1. Take the bottom off the can
When you take the lid off the coffee can, there is a lip on the side. This has to be the bottom of your lantern. So we're going to flip this over and use a can opener to take off the bottom. We want to make sure that the edge is nice and smooth. This is going to allow you to get the ice lantern out nice and easy later on.
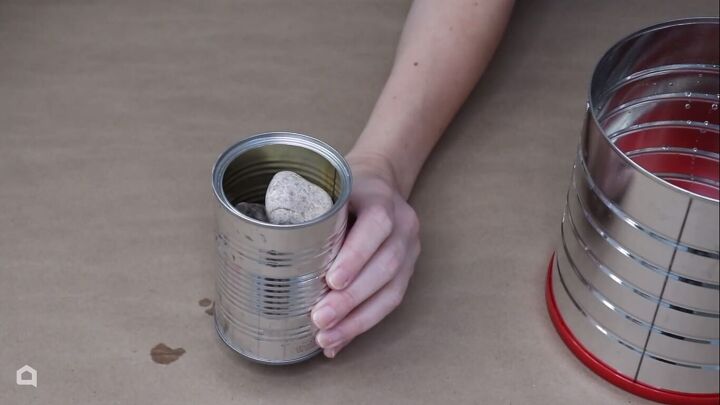
2. Add rocks to the smaller can
Grab a few rocks and fill up the smaller can. We're going to adjust the amount of rocks a little bit later on.
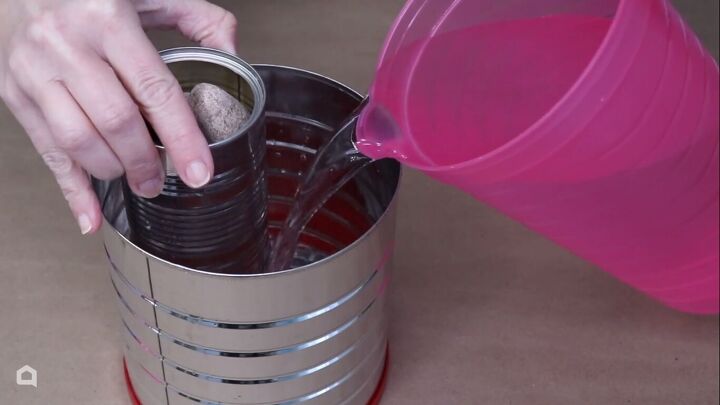
3. Add water
We're going to place the little can inside the big can and fill it up with water. The goal here is for the water to go around the sides and the bottom. So we want that center can to float just enough. So this is where you're going to adjust the amount of rocks that are in your can.
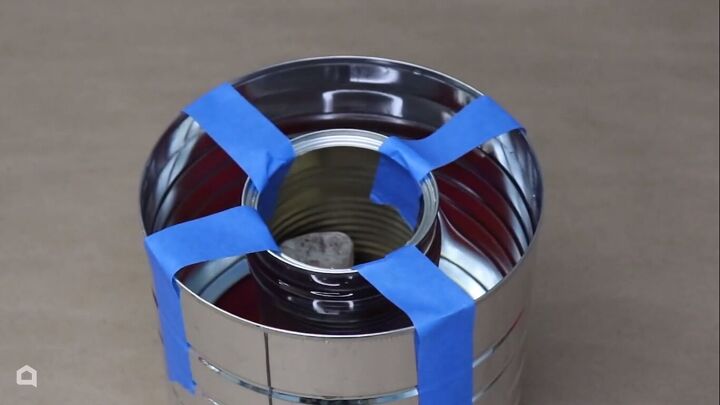
4. Tape the smaller can in place
Once we have just the right amount of rocks so that the can floats, grab some painter's tape or some masking tape, and we are going to secure the small can to the large can. Tape it all around the top, but leave some holes in between.
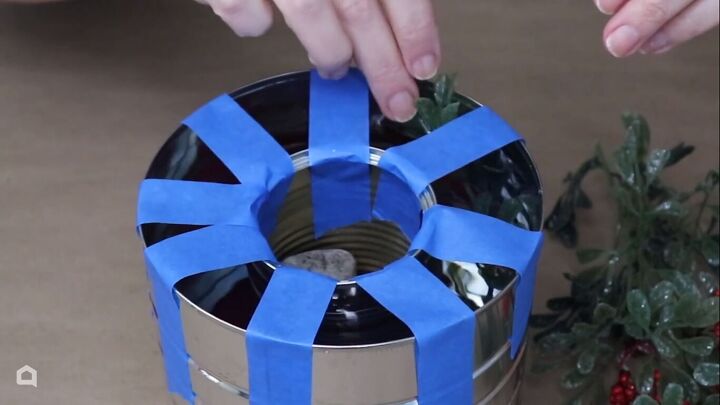
5. Add florals
Once everything is secure, grab some Christmassy or winter floral pieces, cut off some pieces, and start sticking those floral pieces into the can. You can remove one piece of tape at a time if you need to, but really fill it up, and bend the longer pieces if you need to, so they don't all float to the top.
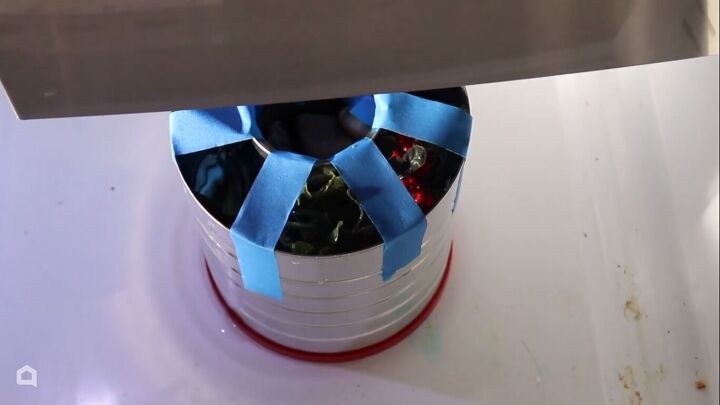
6. Freeze
Once your can is full, it is time to freeze this and turn it into an ice lantern.
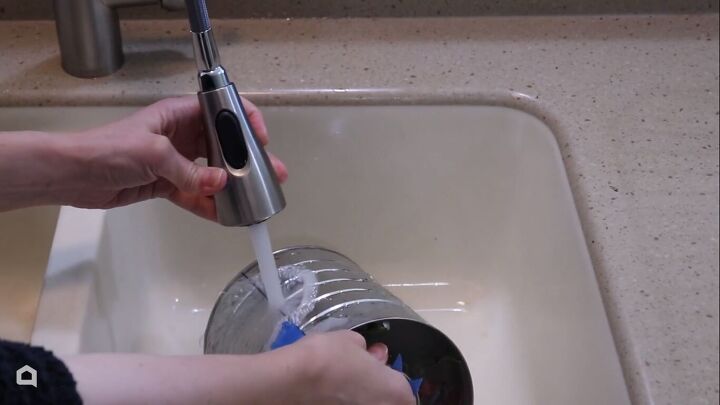
7. Run the can under warm water
When it is frozen, pull it out and head over to a sink. You can pop that bottom cover off, pull the tape off, and then I'm just running some warm water over the can. It's going to melt the ice just enough to pop this out. Remove those rocks from the middle and then fill that middle can with warm water. And that will slide right out.
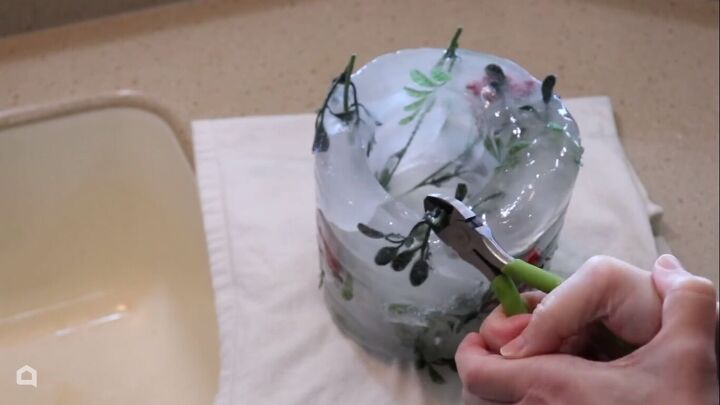
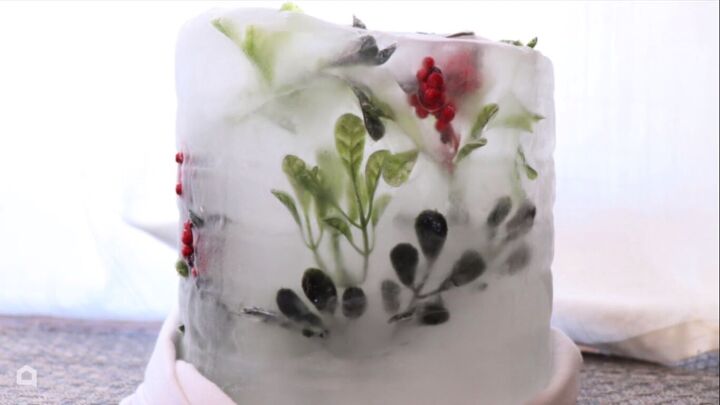
8. Trim the foliage
We have a few pieces of the floral stems sticking out. So I'm going to grab that wire cutter and just cut off some of the excess pieces until I'm happy with the look. You can see the red berries and the green holly peeking through the ice.
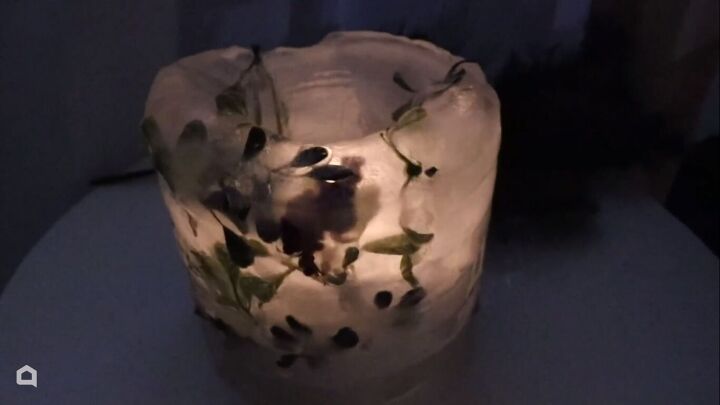
How to make ice lanterns
Now I'm going to take my DIY ice lantern outside and drop an LED candle in the middle. This is something you can leave outside all winter if you live in a colder climate; as long as it stays below freezing, this is not melting. If it does melt, you can make another one!
I hope this inspired you to go create an ice lantern for your holiday and winter decor. Let me know what you think of these DIY Christmas lights in the comments below.

Comments
Join the conversation
-
Love this, your looks wonderful! I am going to do this closer to winter, here on the coast of Maine that could be any day now!! LOL. but it is a long season, these candles will add some bright, cheer to my yard. Thank you for sharing and for the clear, easy-to-follow instructions.
-
I'm going to do this at the holidays, cute.


Frequently asked questions
Have a question about this project?