


DIY Thanksgiving/Fall Welcome Dollar Tree Pizza Pan Wreath

One thing I love about diy fall decor is that you can also use it for Thanksgiving decor! I am also a huge fan of pizza pan wreaths! I think my local Dollar Tree employees know that I use the pizza pans for crafting. I also found adhesive wood wallpaper at Dollar Tree. I was inspired to use the wood wallpaper for my Thanksgiving/Fall pizza pan wreath. The wood wallpaper gives the wreath a farmhouse look. :)
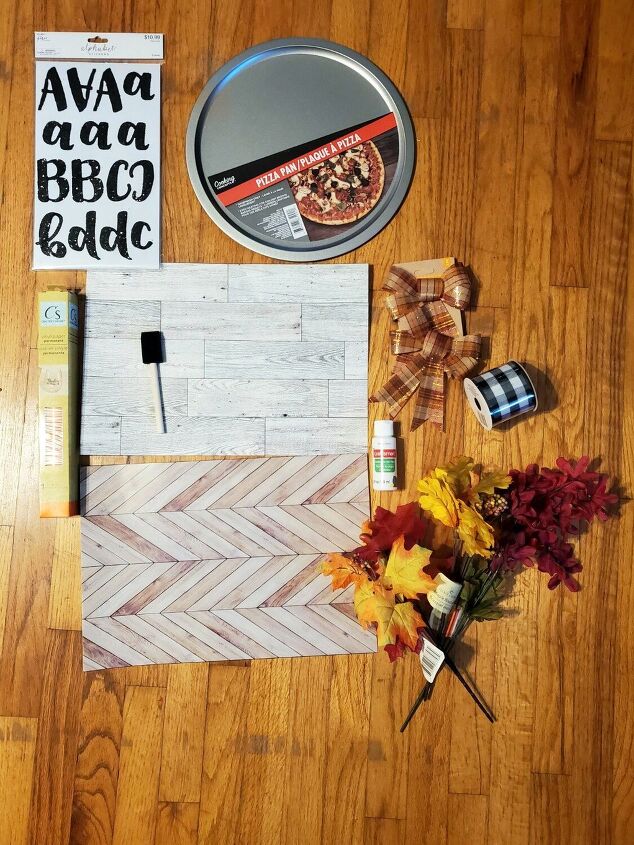
- Pizza Pan
- Plaid ribbon bow
- White Acrylic paint
- Foam paint brush
- 2 adhesive wood wallpaper designs
- Orange vinyl adhesive paper
- Artificial fall flowers
- Black Alphabet Stickers
- Mini pumpkin decoration
- Faux corn decoration
- Scissors (not in picture)
- Big maple leaf decor
- Jute rope
- Hot glue gun and glue sticks (not in picture)
- pen or pencil (not in picture)
- wooden beads (fall colors like orange, brown, yellow and white)
- Ruler (not in picture)
More DIY Pizza Pan Ideas
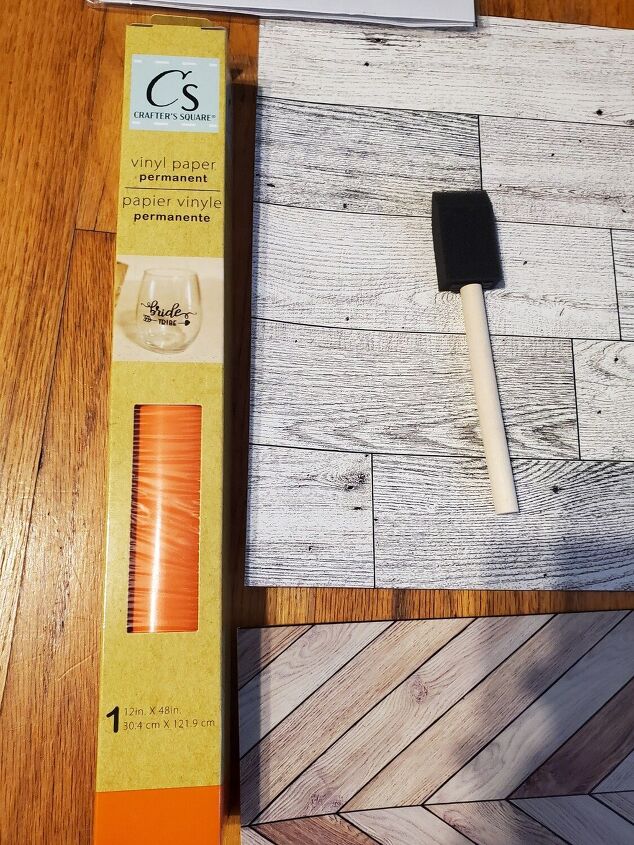
Here is a closer shot of the orange adhesive vinyl paper.
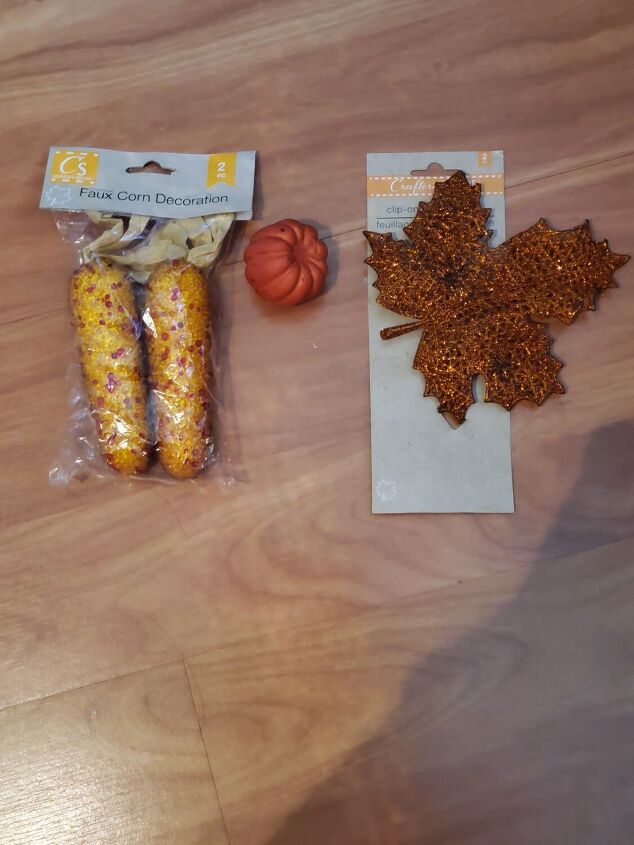
Here is a picture of the faux corn decor, mini pumpkin decor, and the big maple leaf decor.
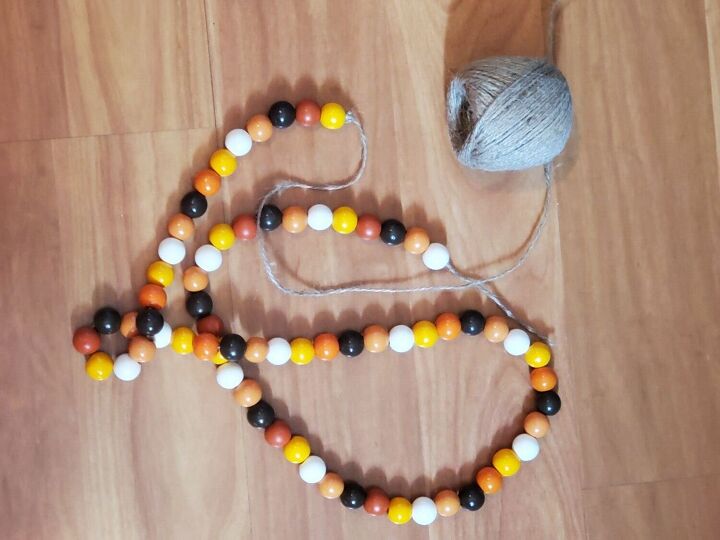
I created a beaded necklace by threading the wooded beads on the jute rope. The beaded necklace will be used for the outer border of the pizza pan wreath.

1). With white acrylic paint, paint only the outer and inner borders of the pizza pan. There is no need to paint the entire pizza pan because the wood wallpaper will be the background of the wreath. Let the paint dry for at least 1 day.
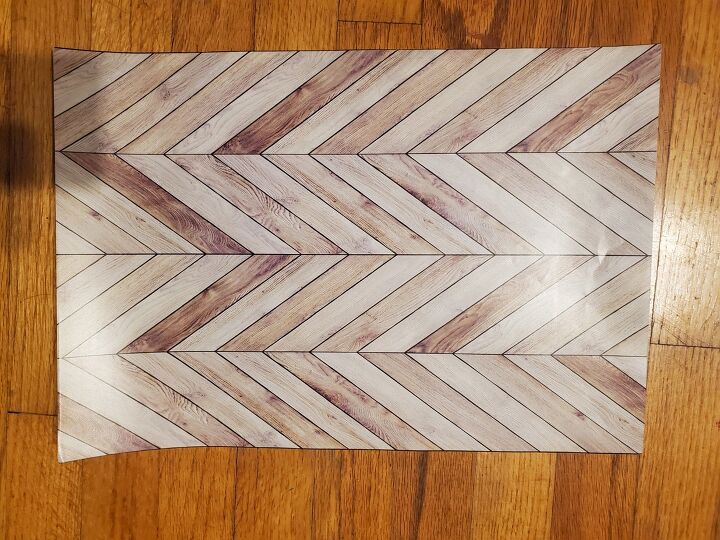
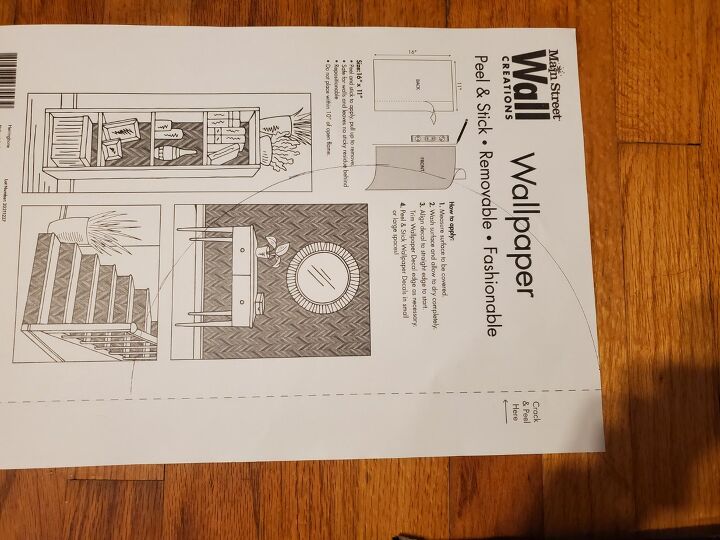
2). Grab 1 adhesive wood wallpaper.
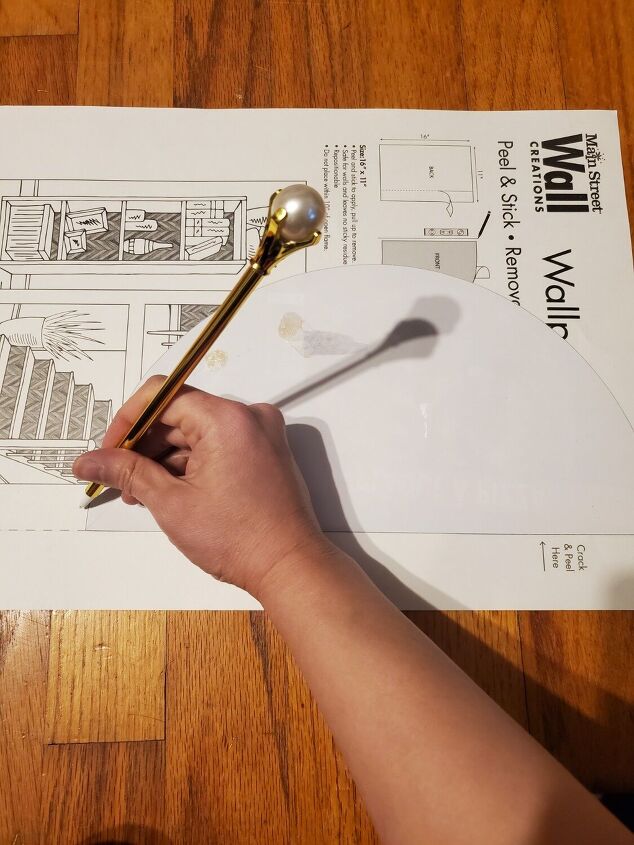
3). Turn over the adhesive wood wallpaper. With a pen or pencil, trace the pizza pan label to draw a half circle.
4). This is how the half circle should look on the back of the adhesive wood wallpaper. With scissors, cut out the traced half circle.
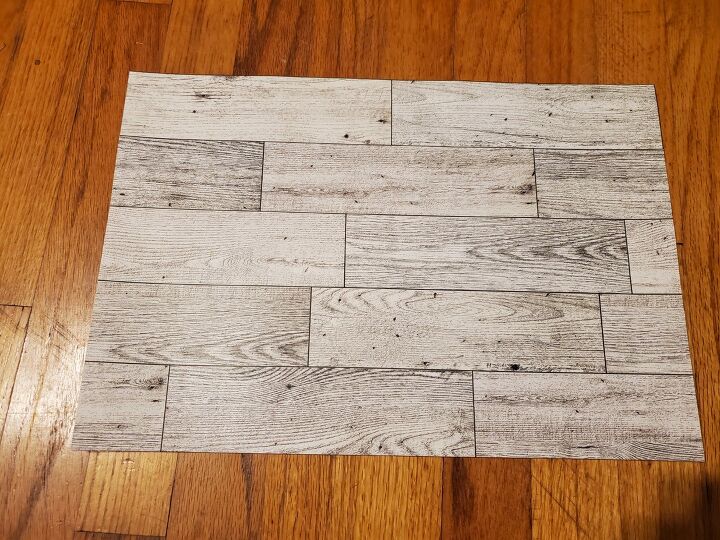
5). Grab the other adhesive wood wallpaper. Repeat steps 3-4.
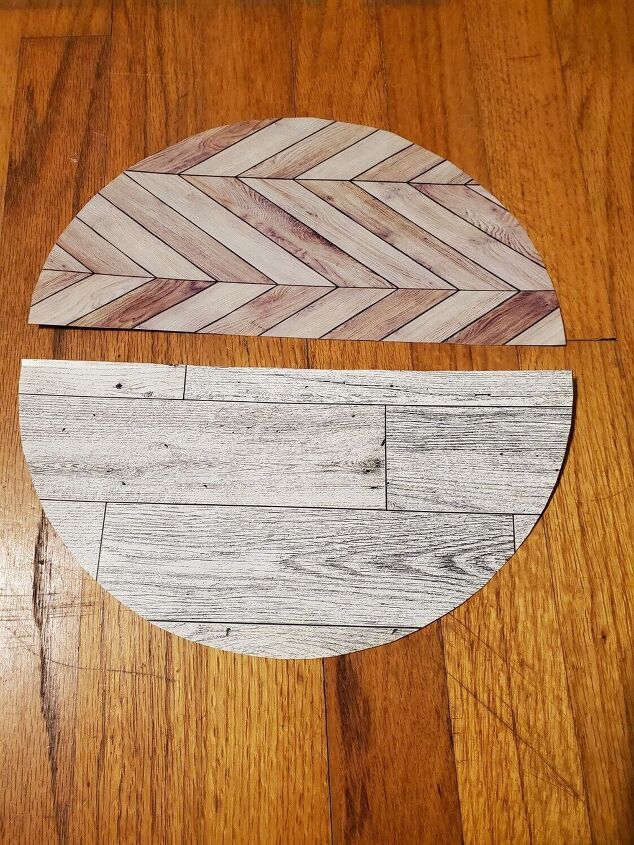
You now have 2 different wood wallpaper half circles.
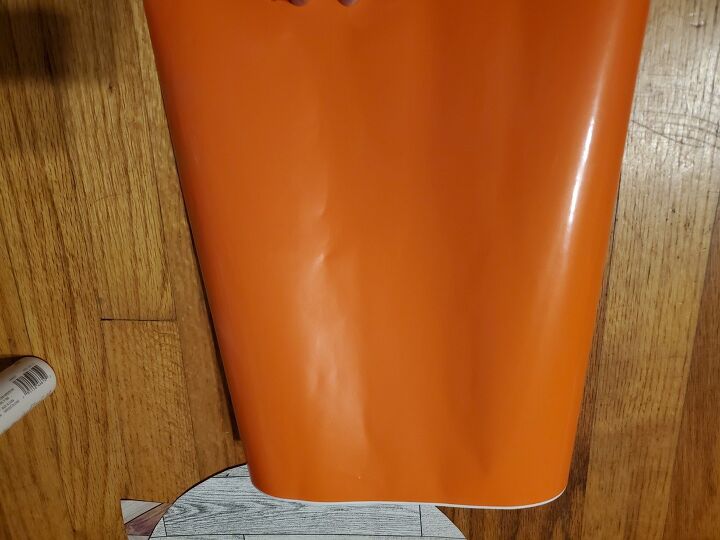
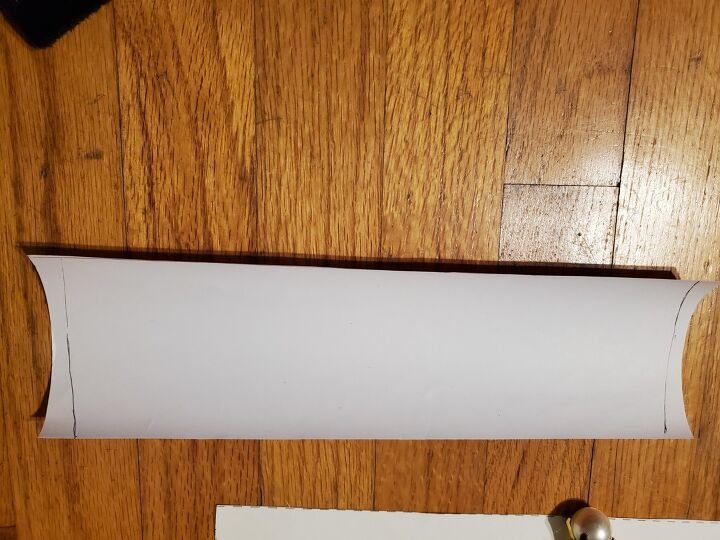
6). Unravel the orange adhesive vinyl paper.
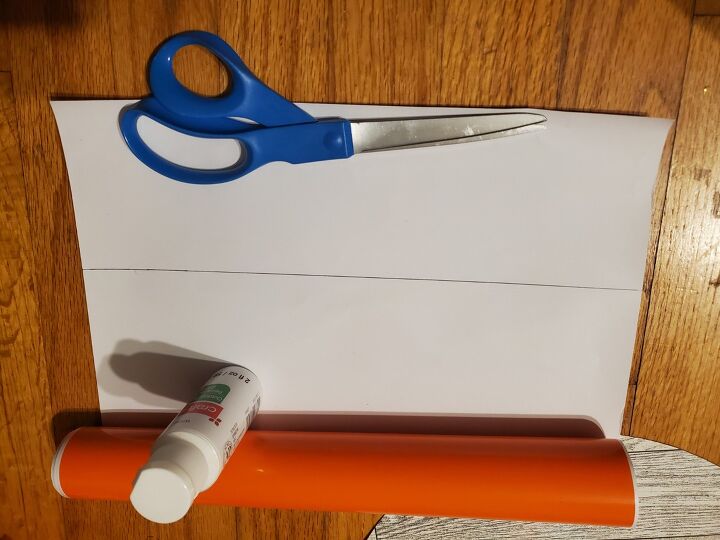
7). Turn the adhesive vinyl paper to the back side. I used a ruler to measure 3.5 inches for the height. With a pen or pencil, I marked the 3.5 inches. Then I drew a line across from the 3.5 inch mark. Use scissors to cut across the traced line.
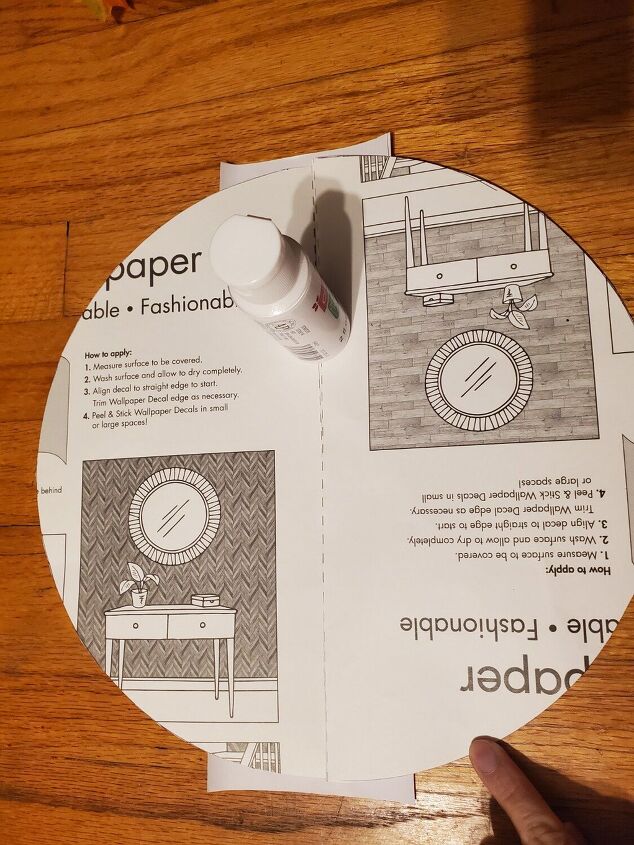
8). Place the 2 wood adhesive wallpaper cutouts on top of the adhesive vinyl paper (as shown in the picture). Use a pen or pencil to mark the side curves of the 2 wood adhesive wallpapers.
9). This is how the back of your adhesive vinyl paper should look after tracing the side curves of the 2 wood adhesive wallpapers. Use scissors to cut out the traced side curves.
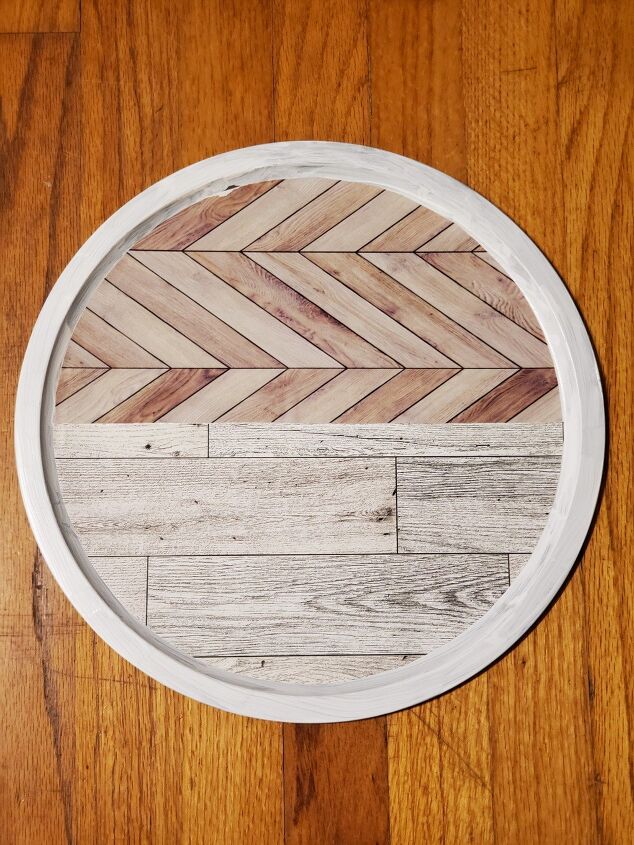
10). Now you are ready to start decorating your pizza pan. Peel off the backing from the 2 adhesive wood wallpaper half circles, and apply to the pizza pan (as shown in the picture).
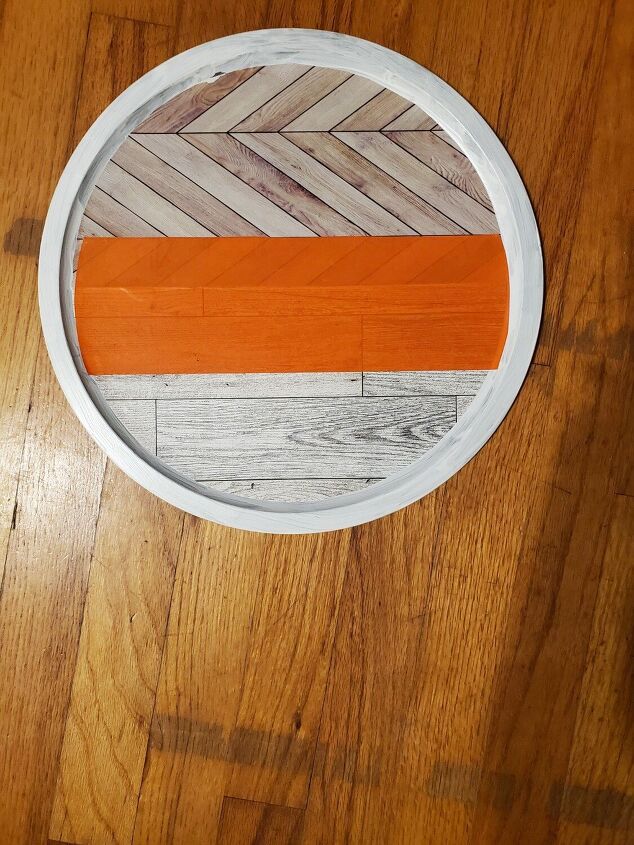
11). The next step is to apply the orange adhesive vinyl paper in the center of the pizza pan (as shown in the picture.
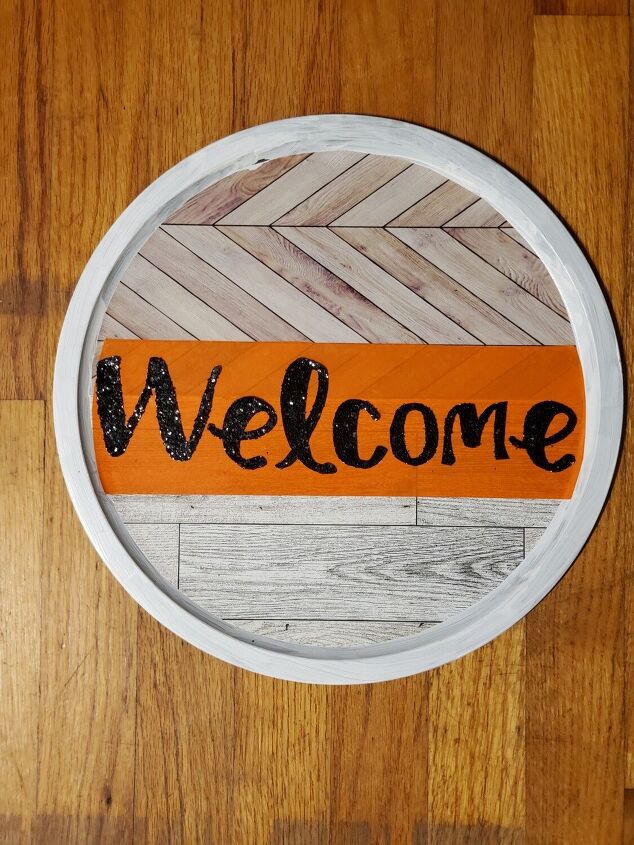
12). I do not have a cricut so I use alphabet stickers to spell out quotes on my craft projects. I used glitter alphabet stickers from Michael's to spell out the word "Welcome" on top of the orange adhesive vinyl paper.
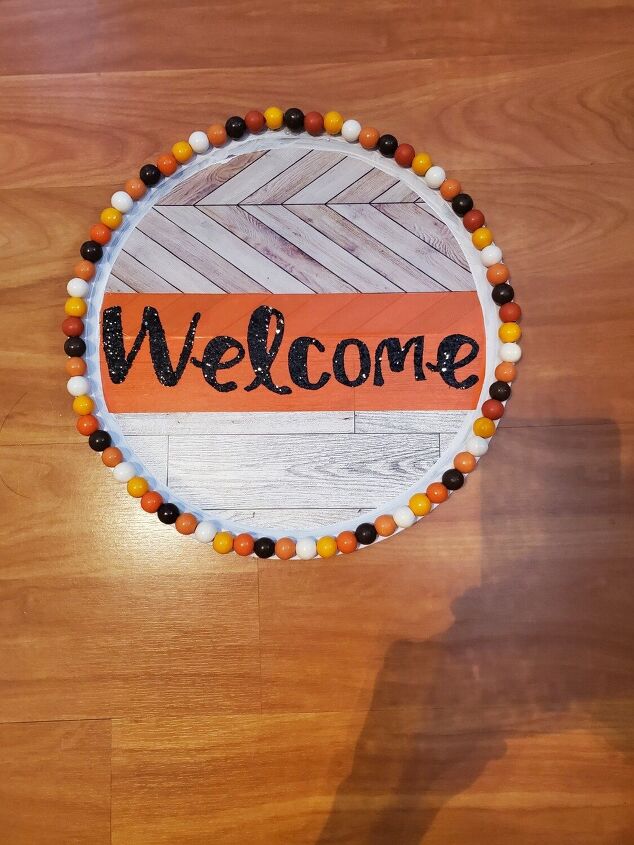
13). I was going to leave the outer border as is, but then I remember I had these wood beads in various fall colors. I threaded the wood beads on a jute rope. Then I used my hot glue gun to glue the wood beaded necklace on the pizza pan outer border.
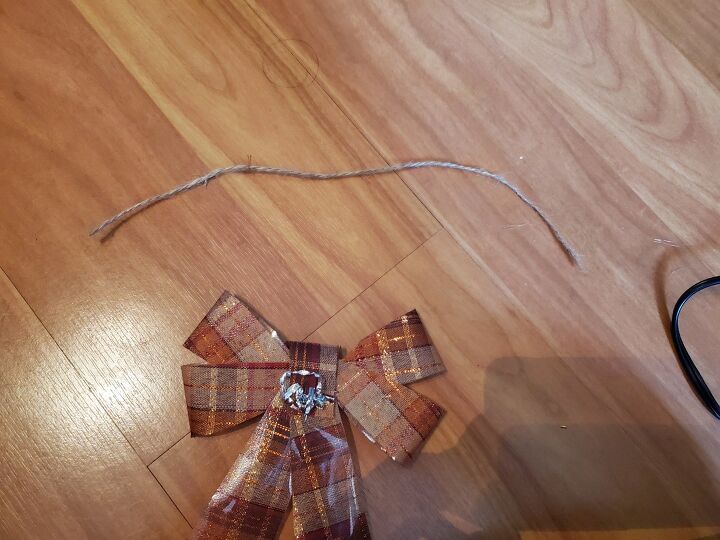
14). Cut out about 12 inches of jute rope. Turn over the plaid ribbon bow.
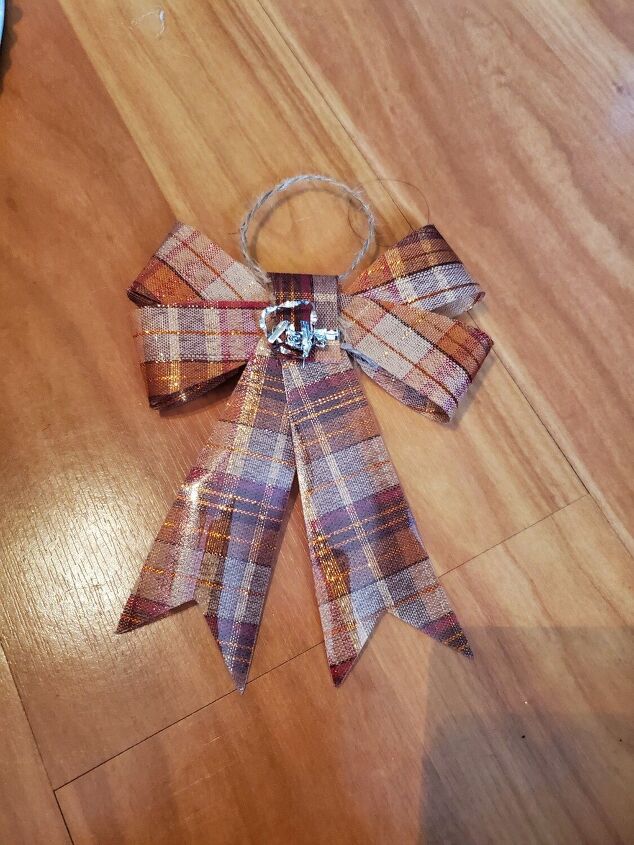
15). Insert the jute rope through the back opening of the bow (as shown in the picture). Then securely tie the ends of the jute rope.
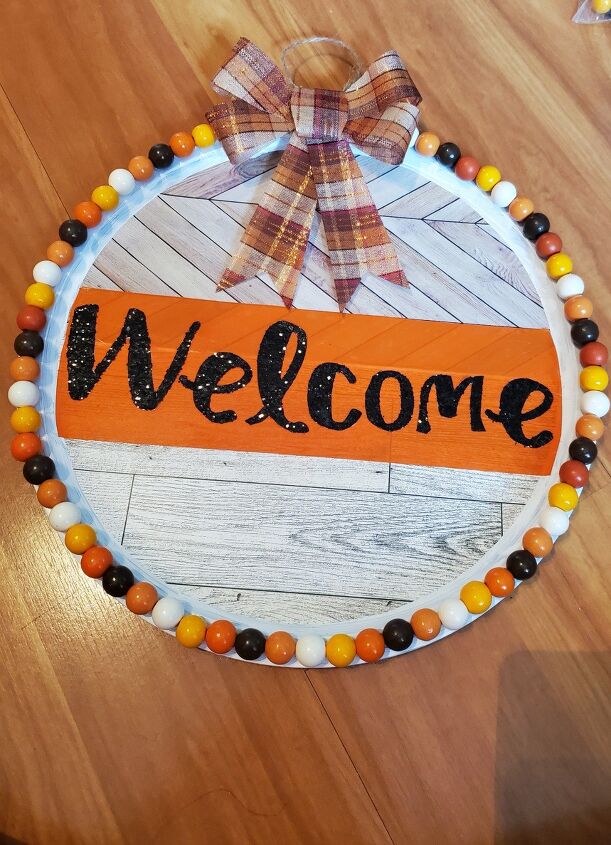
16). Glue the plaid ribbon bow to the top part of the pizza pan wreath.
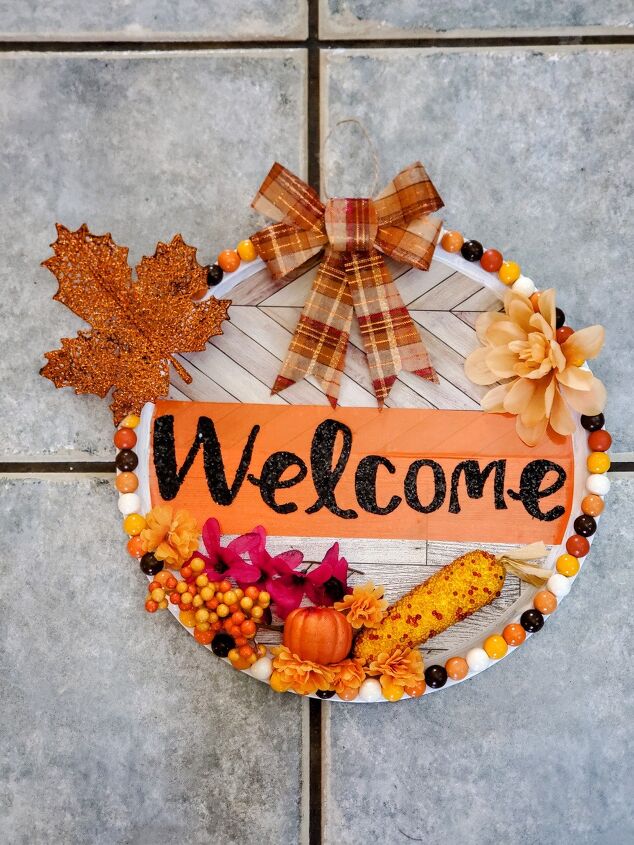
17). Finally, decorate the pizza wreath with the maple leaf decor, artificial fall flowers, mini pumpkin decor and faux corn decor.
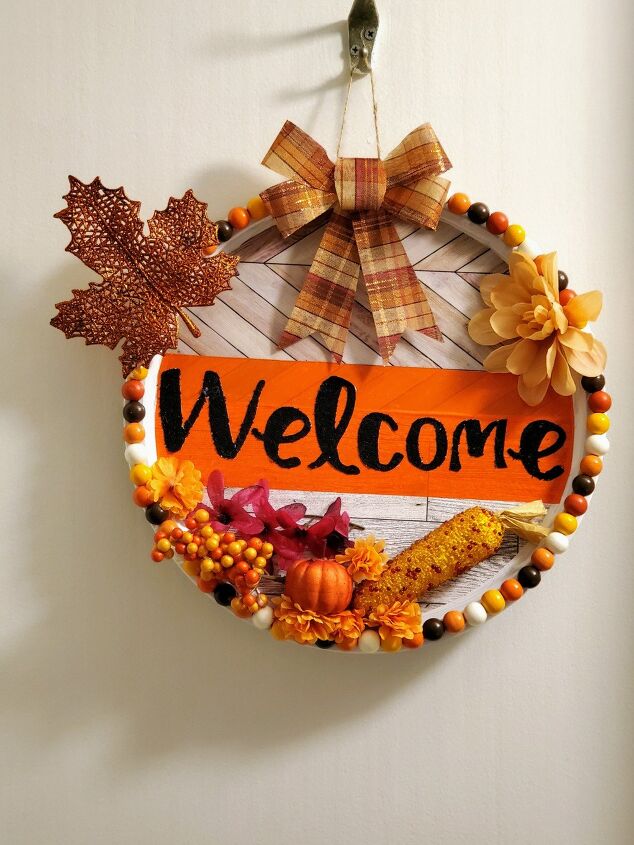
Your cute and warming Thanksgiving/Fall pizza pan is ready for your guests to see! Happy Early Thanksgiving! Cheers to Fall!
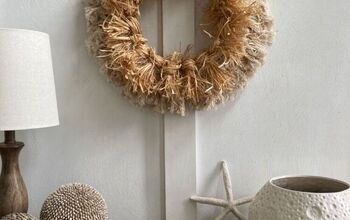
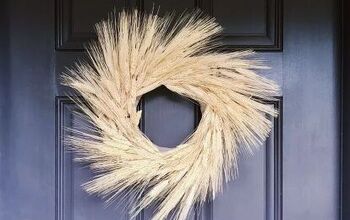
More Thanksgiving Wreath DIY Projects
Resources for this project:
See all materials


Comments
Join the conversation
-
SO cute! Thanx for sharing!
-
Wonderful fall craft!! I might have to try this as a group project even.


Frequently asked questions
Have a question about this project?