


How to Make a Cute Bandana Flower Wreath in 5 Easy Steps

Are you looking for a creative and stylish way to decorate your home for fall? This bandana flower wreath is an easy DIY project that uses only dollar-store items.
Whether you want to add a touch of rustic flair to your front door or create a vibrant centerpiece for a special occasion, this step-by-step guide will show you how to make a bandana flower wreath that is sure to impress.
Get ready to unleash your creativity and bring a burst of color and whimsy into your space with this fun and easy craft project.
This post was transcribed by a member of the Hometalk editorial team from the original HometalkTV episode.
Tools and materials
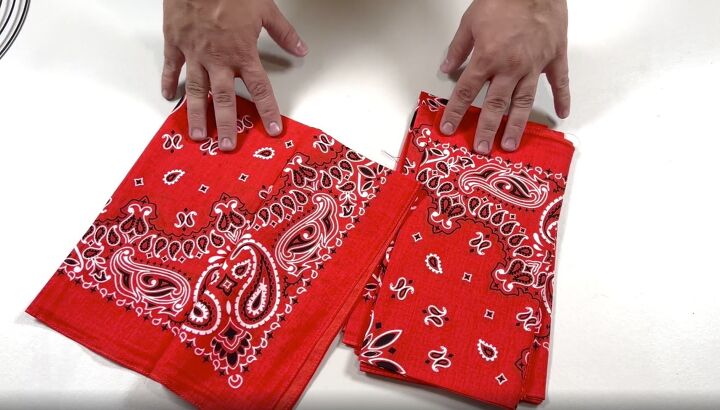
- Bandanas
- Wire wreath form
- Chunky yarn
- Scissors
- Zip ties
1. Select your materials
For my wreath, I chose orange bandanas. You can get bandanas from the dollar store or any craft store and they usually have all sorts of colors.
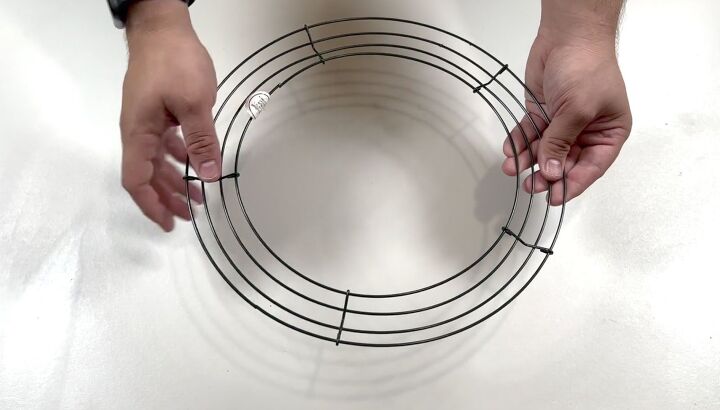
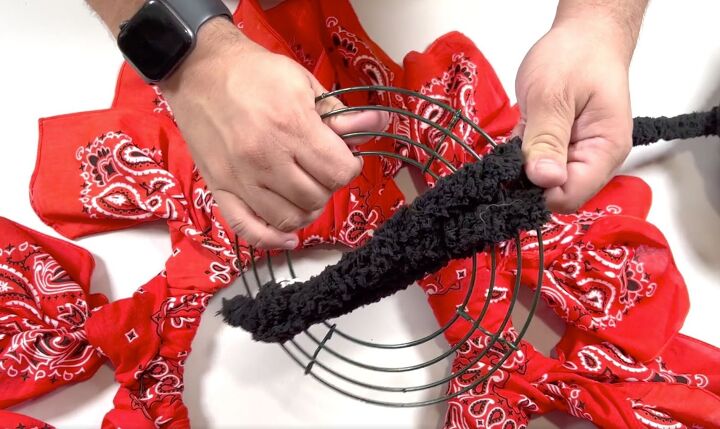
To start off with, you're going to need a twelve-inch wire frame and notice that it's a little bit elevated. It's not really going to make a huge difference, but this is how we're going to attach our bandanas.
2. Fold the bandanas
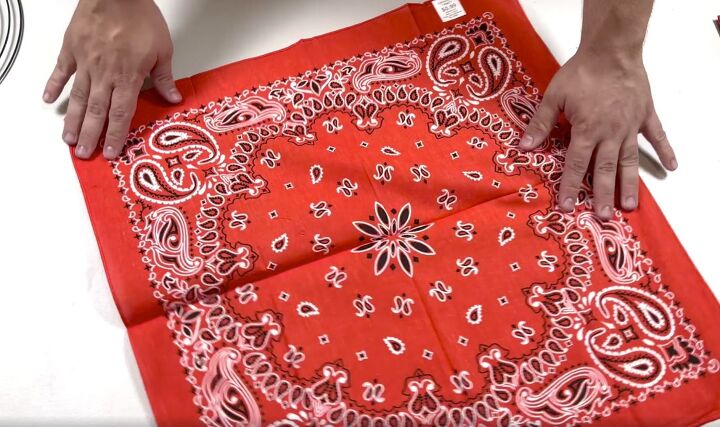
Before you can attach your bandanas to the wreath form, you will need to fold them. Start by opening it up.
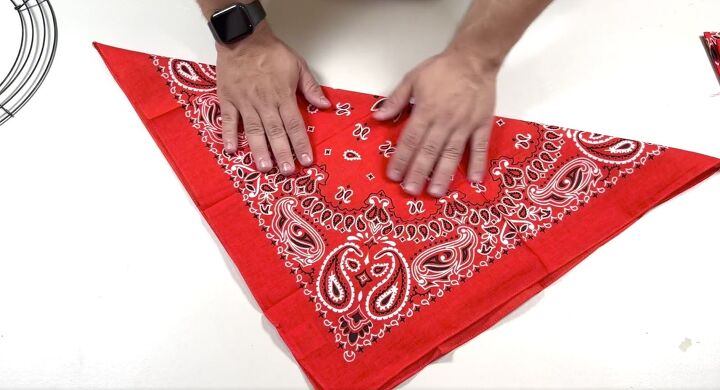
Then, take the corners to each other to form a triangle.
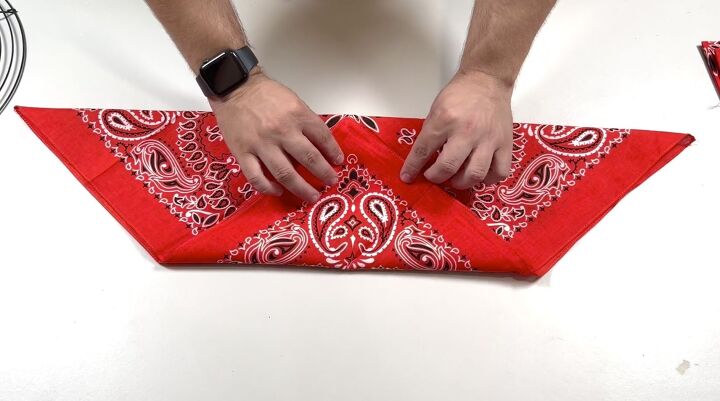
Grab the point and fold it over next.
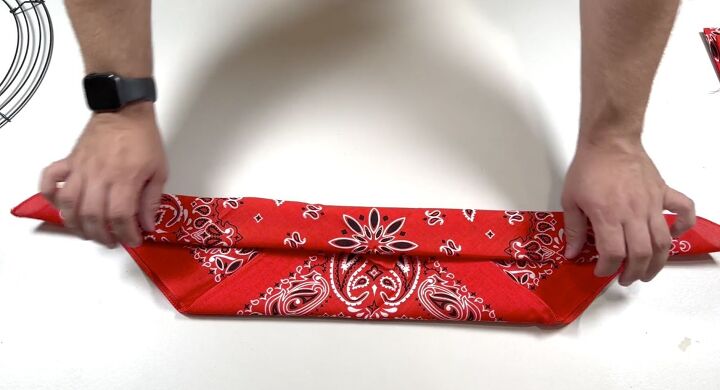
Then what we're going to do is we're going to fold it over.
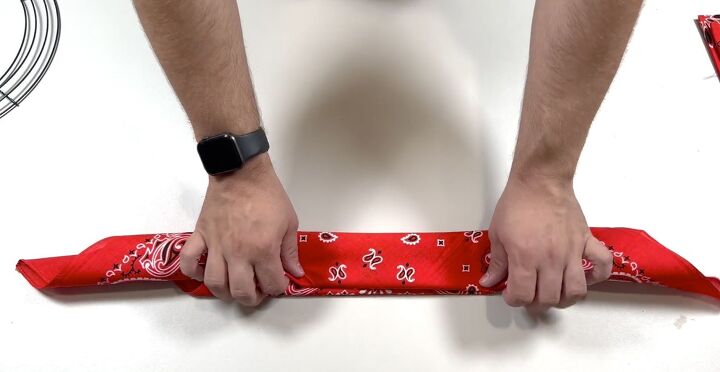
Then fold it over again. You will want to fold 10-15 of these.

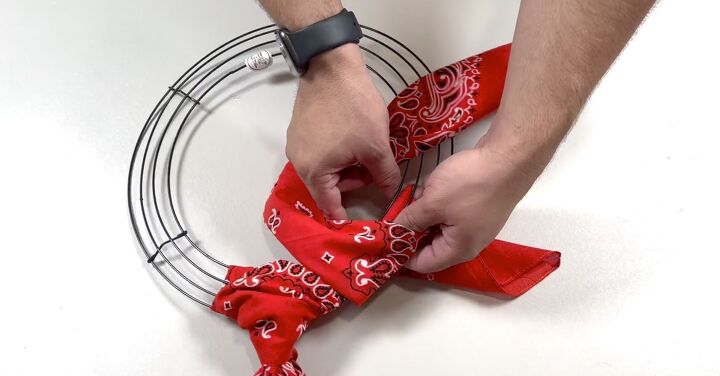
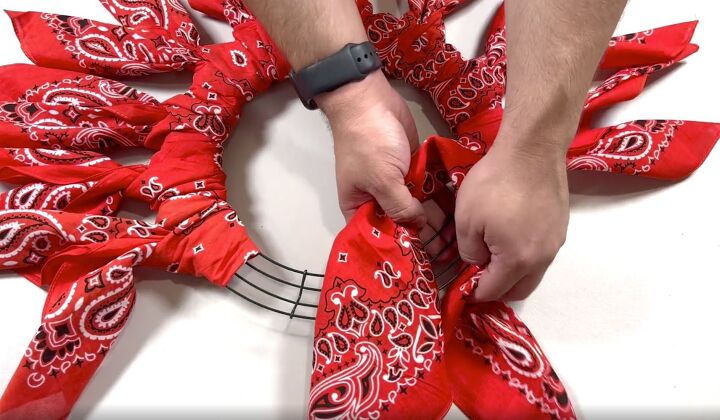
3. Attach the bandanas
Now it’s time to attach the bandanas to the wreath. Place it above your form and pull the ends through.

Pull it nice and tight so it stays.
Then we're just going to repeat that process over and over again with each of our bandanas.
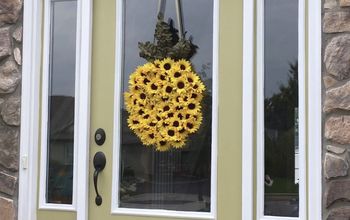
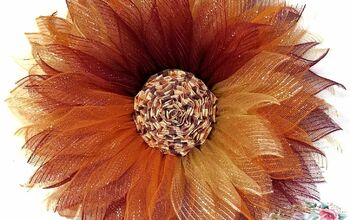
The cool thing about this wreath is that you can customize it. You can do it for summer and create daisies. We're going to do a sunflower for fall, so the flower is like a poppy.
You can also mix and match colors, do combinations like an ombre effect, use different size bandanas, and you can also just cut regular fabric into strips.
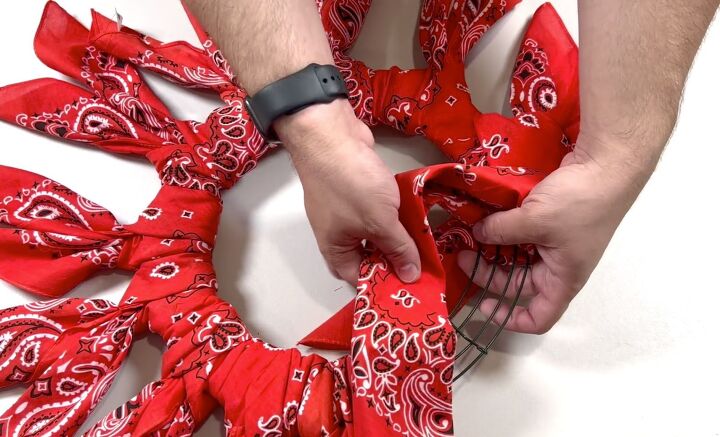
Continue working them in until you have gone all the way around.
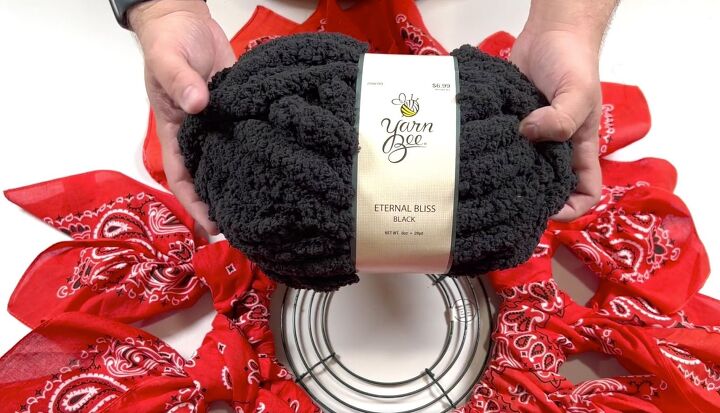
4. Add chunky yarn
Now it's time to make the flower center with some chunky yarn. I like the chunkier yarn because it's going to cover a lot easier. It's going to take fewer wraps, and it just creates a kind of fuzzy look.
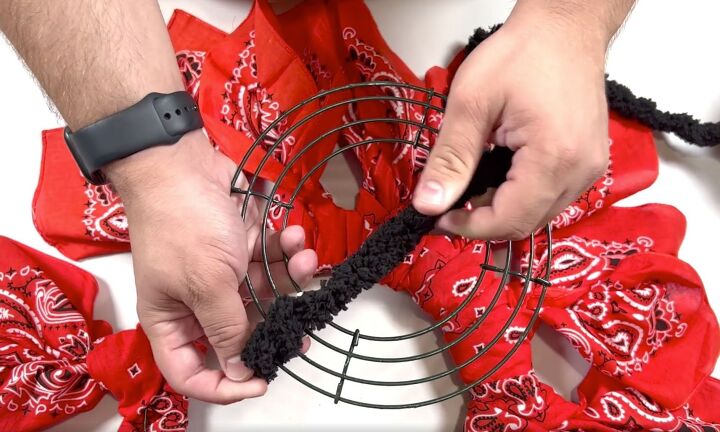
To start, take the end of the yarn and tie it around a smaller wreath ring.
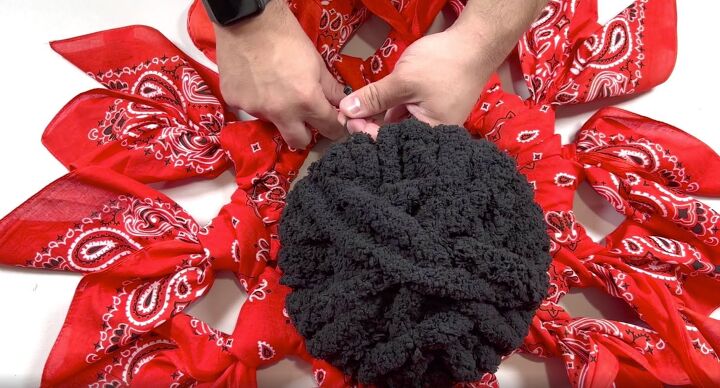
Wrap the yarn all around the small wreath form until it is all covered.
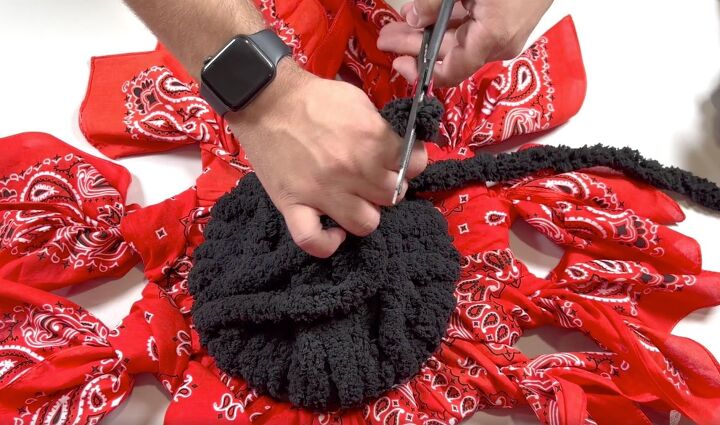
When you get to the end, snip it off and tuck it through to the backside.
5. Secure with zip ties
Now we want to secure the center to the flower with some zip ties. I fed it through the wire of the smaller frame. Then fed that through the larger frame.
Since the zip tie is black, it's going to match the flower center perfectly and you're not even going to see it in the end. Just feed it through and tighten it.
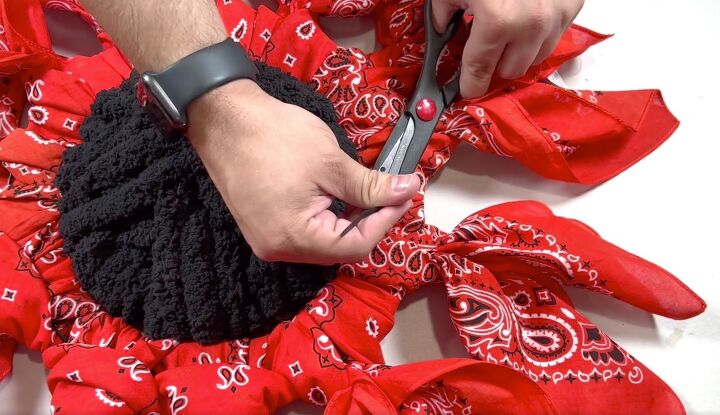
Do the same thing on the other side. That way you have two points of contact, preventing it from flipping over. Feed the zip tie through and snip it off.
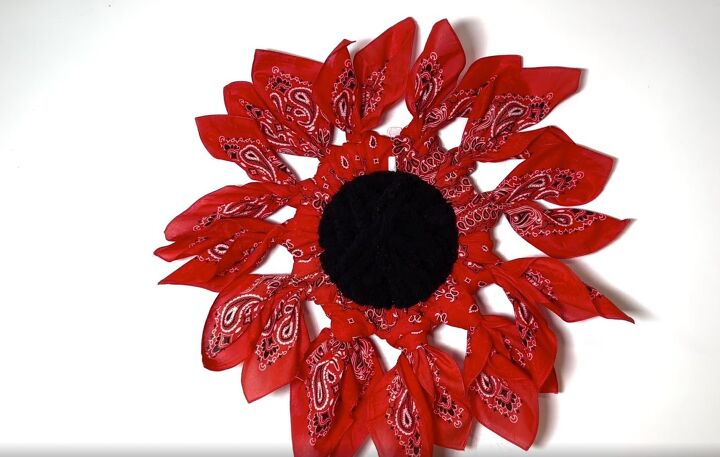
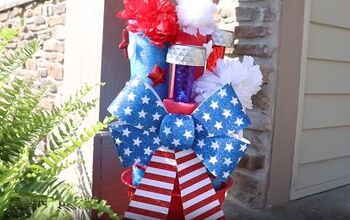
DIY bandana flower wreath
Finally, go ahead and fluff out your pedals so that they're nice and straightened out, and then hang your new DIY bandana flower wreath on your wall or door.
What I love most about this fabric wreath is its simplicity. We didn't overdo it with too many colors or products. I love that the flower center is just all black and fuzzy as well. It’s perfect for fall.
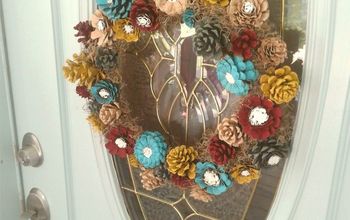
DIY home decor using vintage fabric
Resources for this project:
See all materials


Comments
Join the conversation
-
Well how cool is that? Nifty!
-
Well...this is just clever as can be! I adore it! And like you said sooooooo mannnyyy options and ways to make it unique! Fantastic! 👏👏👏
 Can't wait to do this... I may add some gold glitter 😉lol


Frequently asked questions
Have a question about this project?
Love this!! What size is the smaller ring?