


How to Make a Cute Fall Scarecrow Craft Out of Scrap Wood
There's something magical about creating your own seasonal decorations. In this step-by-step guide, I'll walk you through the process of crafting an adorable scarecrow craft that can be displayed inside or outside as part of your fall decor. You can see more of my crazy creations here
Whether you're an experienced crafter or just starting out, this DIY scarecrow project offers an opportunity to express your creativity and get in the spirit of the season.
This post was transcribed by a member of the Hometalk editorial team from the original HometalkTV episode.
Tool and materials
- 4x4 scrap wood
- Sandpaper
- Cloth
- Pencil
- Paint stick
- Painter's tape
- Paint and paintbrushes
- Saw
- Mod Podge
- Straw
- Buttons
- Hot glue gun
- Markers
- Bandana
- Scissors
- Rope
Steps
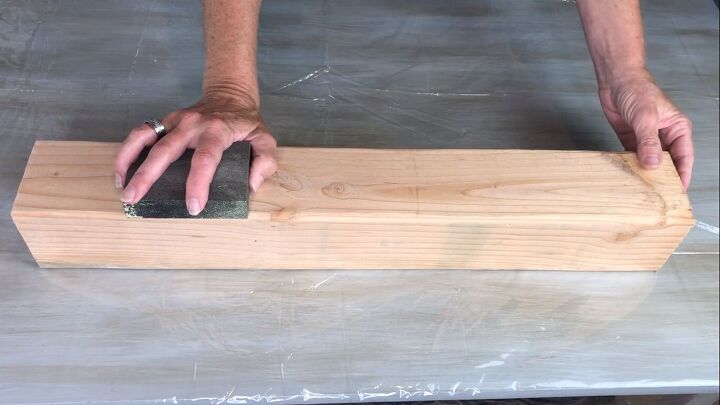
1. Sand the wood
I'm going to use this four-by-four piece of wood from a previous project, so it's scrap wood for me, but you could easily do this with a two-by-four or a fence picket or anything that suits your needs.
The first thing I'm going to do is take a sanding block and lightly sand the wood. I don't want to get any slivers from it. I'm going to sand all the sides, at least the three that are going to be more visible. It's up to you if you want to do the back. Then I'm going to lightly sand the top and bottom.
Now, if you want a smoother service, you can sand more if you want. Once I'm done sanding, I wipe it all clean to free it from all the sawdust; so that when I paint, it doesn't clog up the paintbrush or any of my paint.
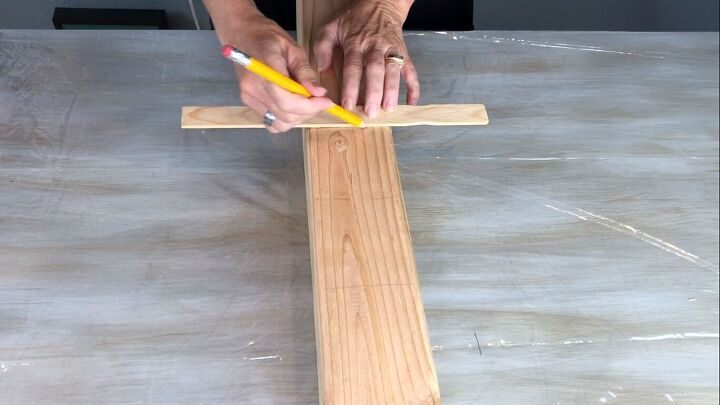
2. Draw the sections
The next step is to map out where I want each section of the scarecrow to be; his hat, his shirt, and so on and so forth.
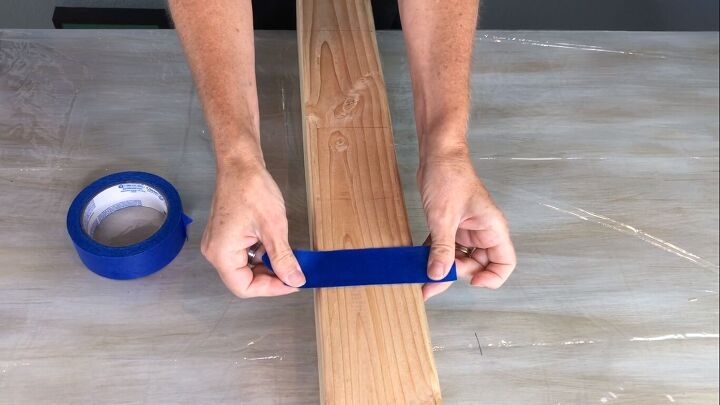
3. Paint the sections
For this first section of painting right here, I'm going be painting it blue, but I don't want it to go higher than this. So I put some painter's tape there to stop it from going into the next section.
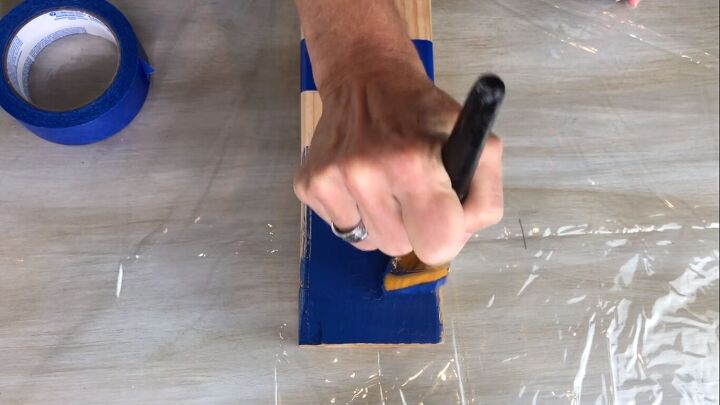
This Folkart Home Décor Chalk Paint in the color Nautical. You can use acrylic paint or whatever paint you'd like. You'll want to decide based on where you're going to put it. If it's going to sit in the elements, you might pick a different paint that's better for outdoor use and it'll explain to you if you need to add a top coat to it.
So I'm going to paint the sides so that I hit all three angles. Again, the back is optional. Once that's all painted, I'll peel off the painter's tape and let it dry.
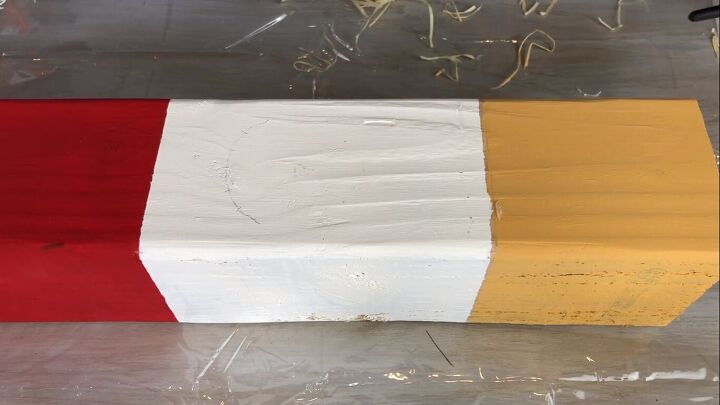
I used Folkart Home Décor Chalk Paint in the color Mustard to do his hat, Imperial for the shirt, and Sheepskin for the face. You could also leave the face without paint.
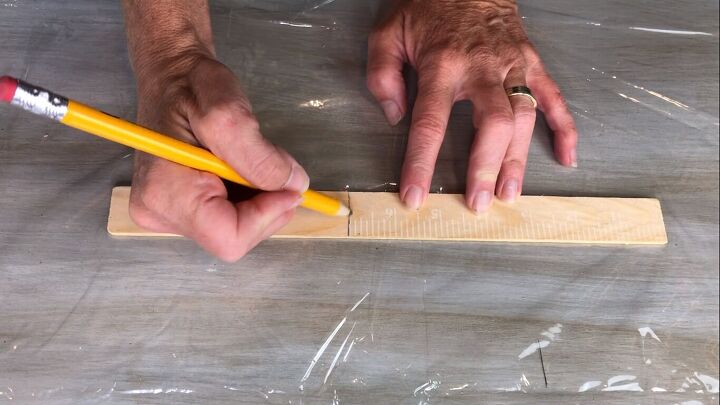
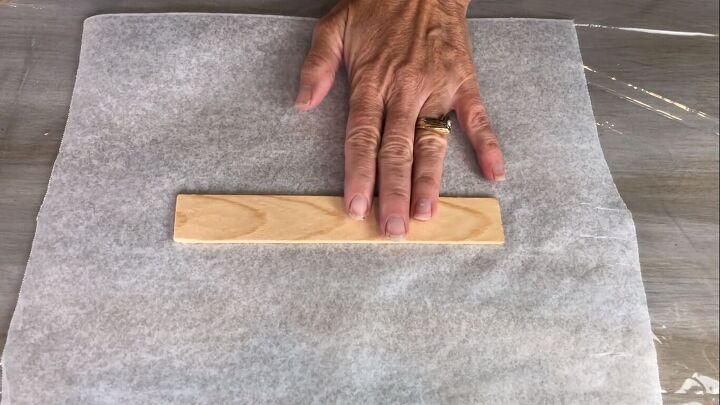
4. Make the hat brim
While that's drying, I've got a paint stir stick here and I'm just going to mark it, then use a saw to cut this off. Next, I'll sand the edge that I cut and wipe it clean.
This is actually going to be the brim of the hat, so I painted it the same mustard color.
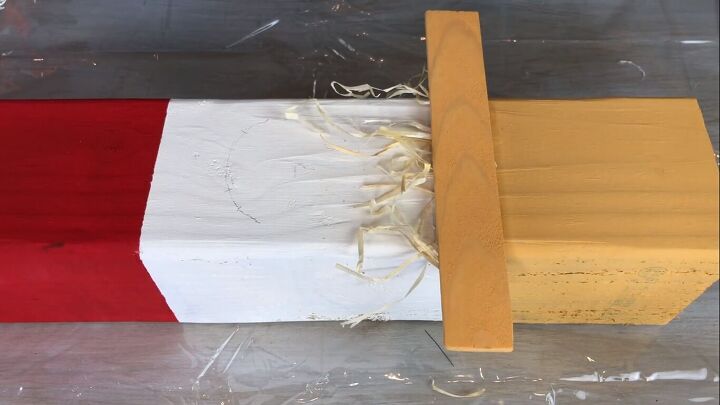
5. Attach the brim and add hair
Now we're gonna start working on the face. I applied a little Mod Podge, added some straw for the hair, then attached the brim of the hat. You could use twine or string, or you could skip this step. It's a personal preference as to what you want to have for your hair or maybe you don't want any. Once it's this dry, attach the rim.
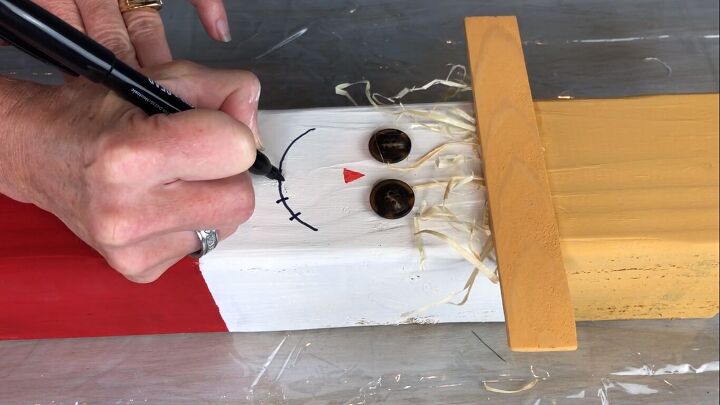
6. Add details to the face
We're going to add two button eyes with a little hot glue. Then, with an orange marker, I'm going to go ahead and draw a nose and color it in. You could easily use some paint here if you'd rather have that as well. Next, I'll use black permanent marker to draw his mouth.
You could use paint, but I have better control with markers. It also depends on where you are going to be setting it because markers will bleed.
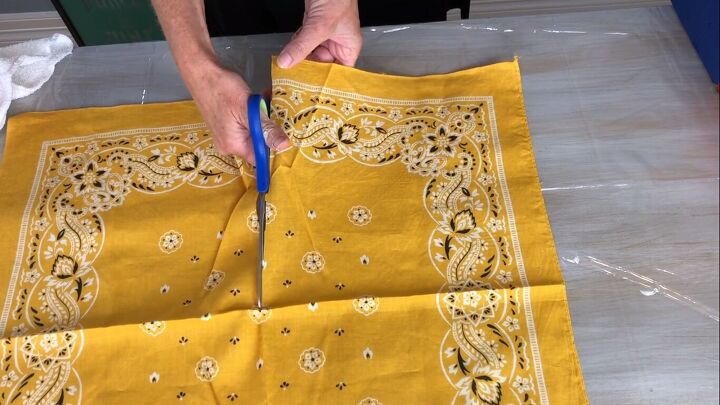
7. Add a bandana
I've got an old bandana here and I'm cutting a square out of it. It's a scarecrow, so you can choose how perfect you want things to be or do you want them to be a little ragged.
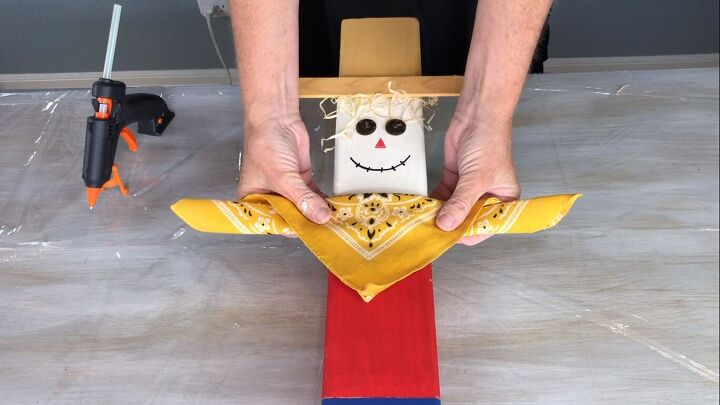
Fold it into a triangle, then fold it down twice to create a handkerchief. Place it on his neck, wrap it around, and hot glue the ends in the back. If it's long enough, you can tie it.
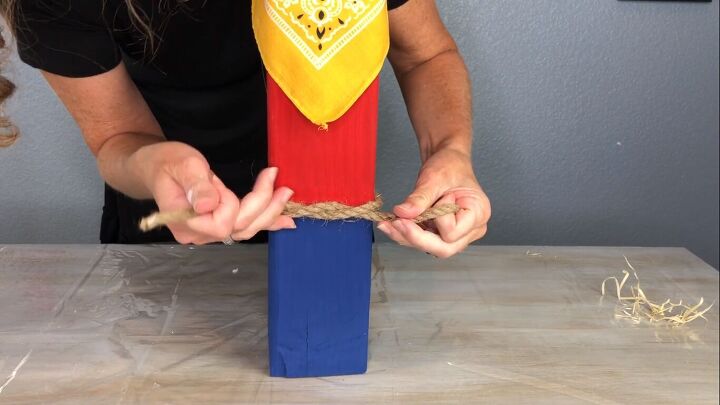
8. Embellish
For his belt, I used a bit of rope from the dollar store. You can always hot glue it into place.
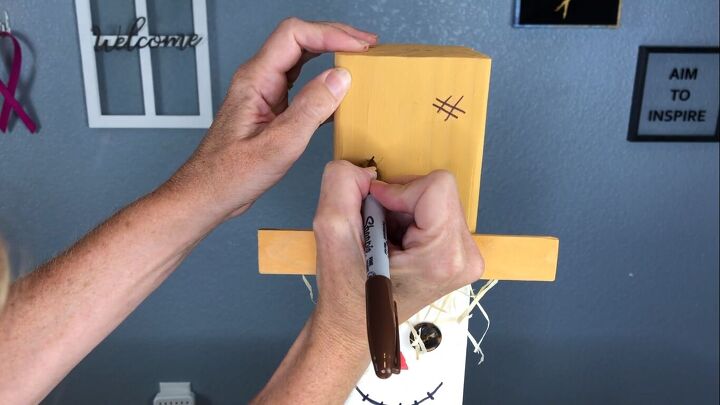
I want him to have more of a straw hat look. I took a pencil and marked these little hashtag marks for a straw hat feel.
I also added a couple of buttons on his shirt. Other ideas could be to add a sunflower to his hat, or add a little more straw; it's up to you.
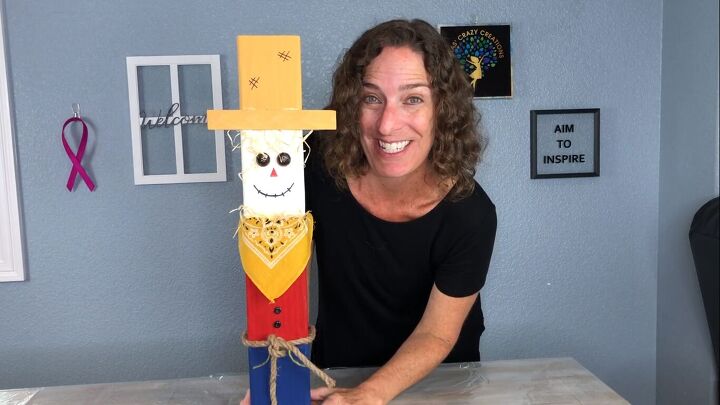
Scarecrow
Here he is all finished up. So let's go ahead and put him on display. What do you think of this cute scarecrow craft? Let me know in the comments below.
I would love to have you stop by my blog Chas' Crazy Creations for the full tutorial as well as sign up for my latest creations, posts, recipes, exclusives, and more…
I would love for you to subscribe to my YouTube channel to see more of my crazy creations - https://www.youtube.com/c/chascrazycreations

Comments
Join the conversation
-
Thank youI'd love to invite you to join me ...Chas' Blog - https://chascrazycreations.com/Chas' YouTube - https://www.youtube.com/c/chascrazycreations


Frequently asked questions
Have a question about this project?