


8 DIY Fall Tablescape Ideas to Warm Your Home This Season

There's no better way to embrace the spirit of autumn than by decorating our tables with cozy details that capture this magical time of year. In this roundup, we bring you a collection of 8 DIY fall tablescape ideas that will bring warmth and beauty to your home this season. Let's get started with some DIY fall decor!
This post was transcribed by a member of the Hometalk editorial team from the original HometalkTV episode.
Fall tablescape ideas
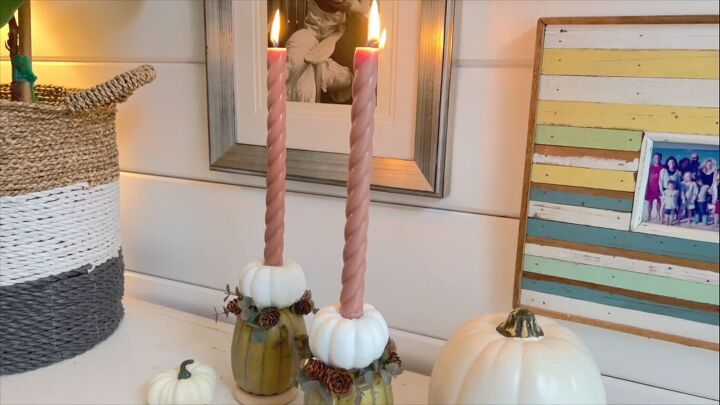
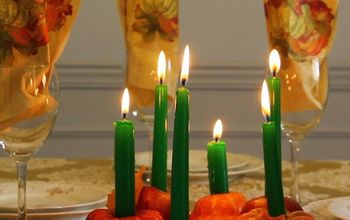
1. DIY pumpkin candle holders
Let's start decorating for fall with these DIY pumpkin candle holders by Bella Branch DIY.
- Plastic pumpkins
- Tapered candles
- Hot glue gun
- X-ACTO knife
- Marker
- Wooden rings
- Faux fall foliage
- Mini pine cones
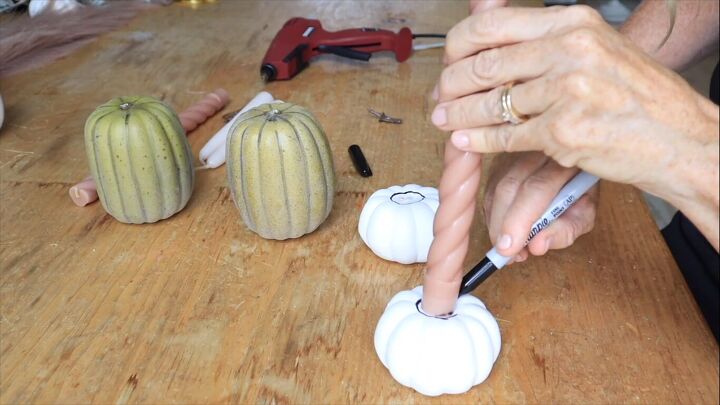


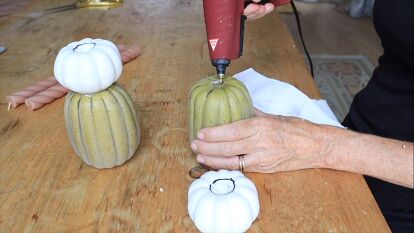
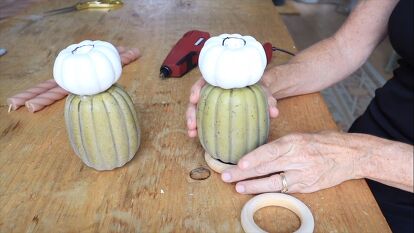

Grab four pumpkins and pull off the little stems. Take the small ones, grab a taper candle, and draw around it with a marker. Then, take an X-ACTO knife and take out the area that you just drew. Glue the two pumpkins together, then glue the wooden rings to the bottom. Now they are totally stable.
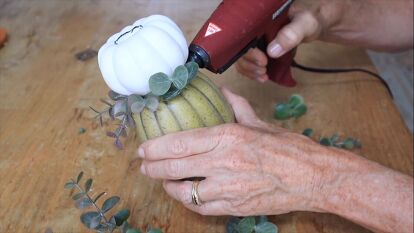
To decorate, put dots of glue between the two pumpkins and add in your faux branches and mini pine cones. Look how cute and festive these candle holders are!
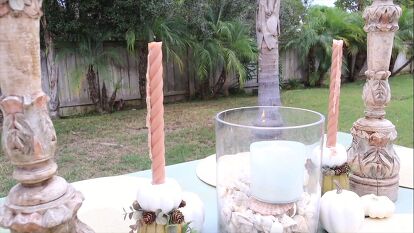
2. Bleached pine cone centerpiece
Learn how to make a gorgeous fall tablescape with bleached pine cones and other natural materials, following this tutorial by Chloe Crabtree.
- Two large containers
- Water
- Bleach
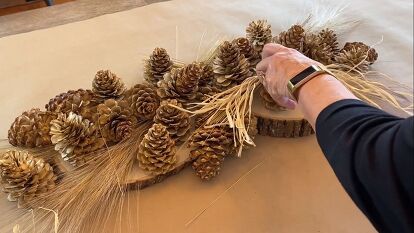
- Pine cones
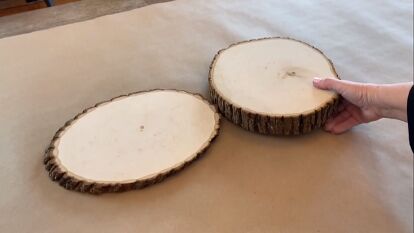
- Wooden rounds
- Brown paper
- Raffia
- Dried grass
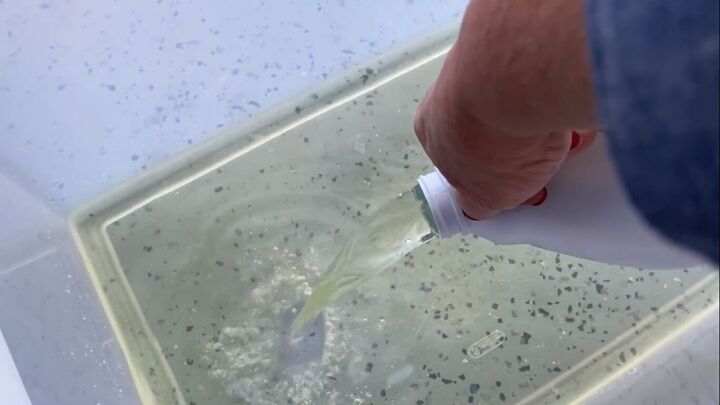


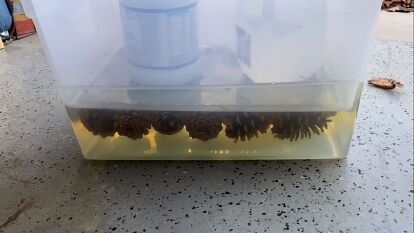
Start by pouring bleach and water into one container, four parts water to one part bleach (be very careful with this step). Then, put your pine cones in the bleach solution, then set the empty bin on top, plus the water and bleach containers. Those will weigh the pine cones down so that they are submerged. Leave for 24 hours.
As your pine cones start to dry, they're going to start opening up. Start your fall tablescape with a big piece of brown paper and a couple of rough-cut wood rounds in the center. Tuck in those beautiful pine cones, dried grasses, and tied knots of raffia.
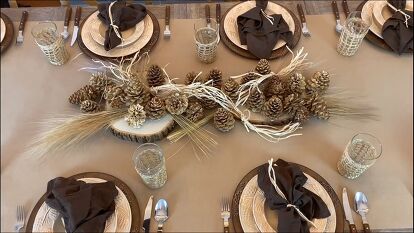
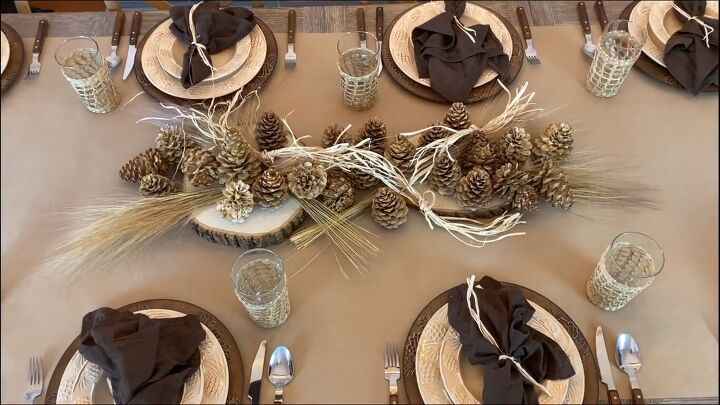
The table is set and the beautiful bleached pine cone centerpiece is the star of the table.
3. Fall camping tablescape
Next, learn how to style your fall tablescape in a fun camping theme, with this tutorial by Chloe Crabtree.
- Placemats
- Charger plates
- Dinner plates
- Napkins
- Birch logs
- Pine branches
- Pine cones
- Wood slices
- Camping ornaments
- Mountain sign
- Wine glasses
- Cutlery

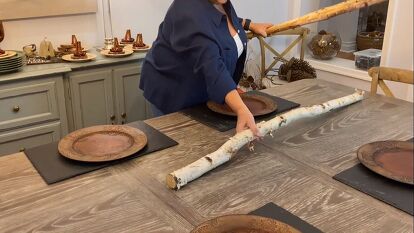
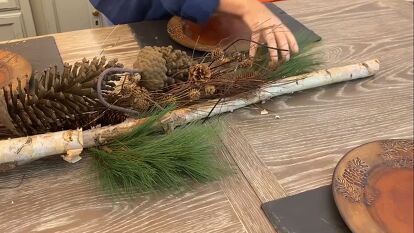
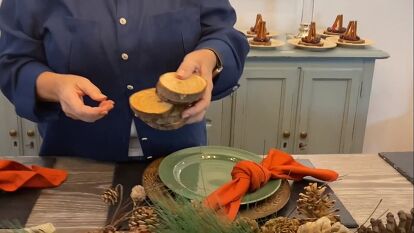
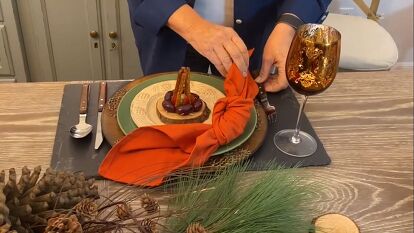
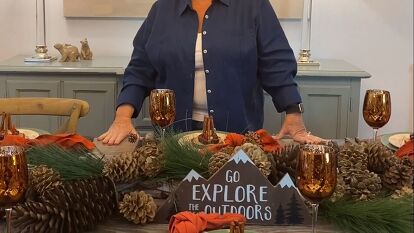
Start by placing the placemats and charger plates. For the center of the table, arrange birch logs, pine cone branches, pine cones, pine branches, and bleached pine cones. Intertwine them together.
For the camping details, add a cute little sign with the quote, "Go Explore the Outdoors." Tuck in camping-themed Christmas ornaments.
Next, add the dinner plates and top them with napkins tied in a simple knot. Tuck wood slices around for coasters, then top with wine glasses. Then, all that's left to do is set the table with cutlery and serve your appetizers!

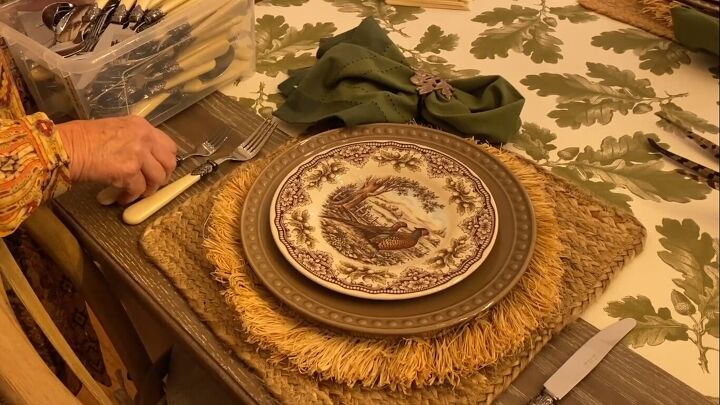
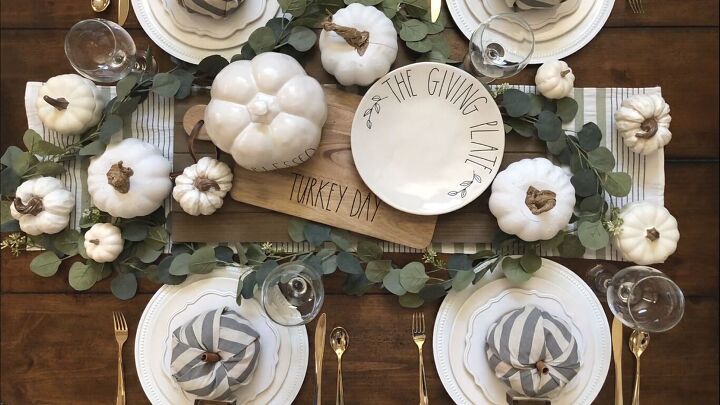
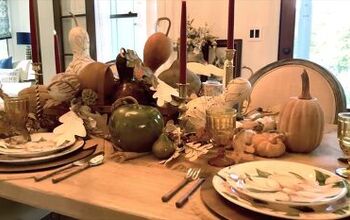
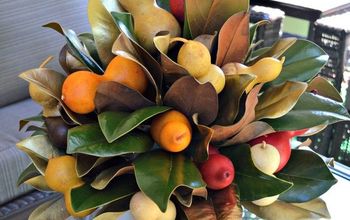
4. Thanksgiving tablescape
Chloe Crabtree also has another impressive fall tablescape up her sleeve, this time with an elegant Thanksgiving theme.
- Paper table runner
- Antler
- White pumpkins
- Faux fall leaves
- Feathers
- Placemats
- Crockery, cutlery, and glassware
- Napkins and napkin rings
- Turkey decor
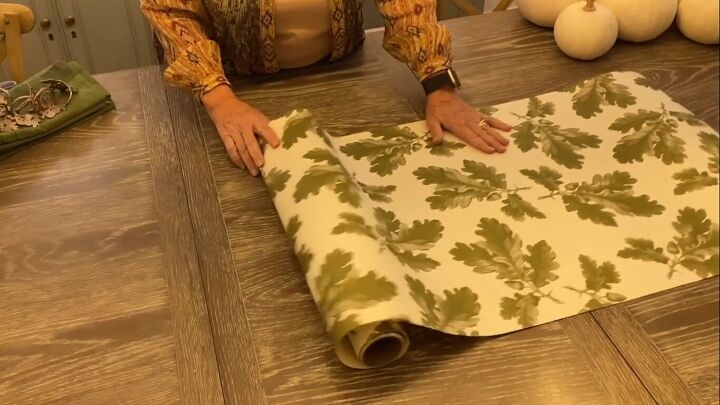
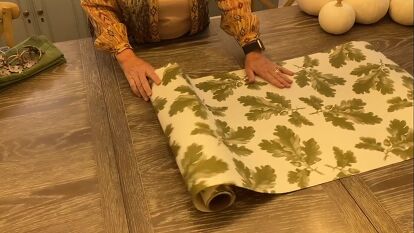
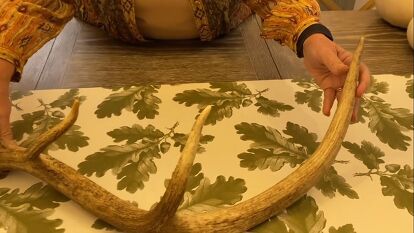


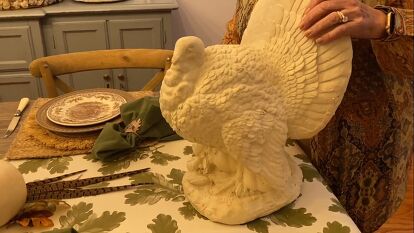

Start by rolling out a paper runner; any paper can do. Place an antler in the center (this actually is an antler that Michelle's husband picked up). Place white pumpkins around the antler, then tuck in faux fall leaves and various feathers.
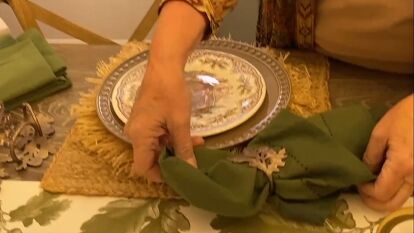
Now for the place settings. You can layer placemats for more texture, then add your dinner plates on top. Pull your napkins through your napkin rings, then add crystal stemware to each place setting. You can finish by placing some turkey decor at the end of the table.
5. Stamped place cards
For this fall tablescape idea, Michelle Stewart demonstrates how to make personalized place cards.
- Tower game pieces
- Hot glue
- Canvas
- Rolling cutter
- Letter stamps and ink

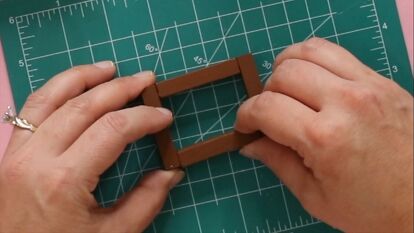
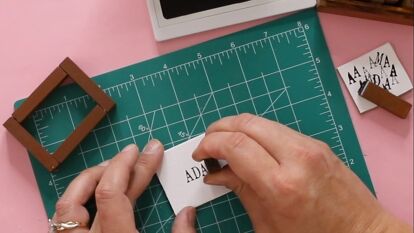


To start off, what you're going to need is four pieces of the towering game. Create a frame with the pieces and attach them together with hot glue. Cut the canvas down to fit behind the frame.
Use an alphabet uppercase stamp set, apply some ink, and write out the names for the place cards. Then, simply attach the canvas to the back of this frame, and the place cards are ready to be added to your fall tablescape.
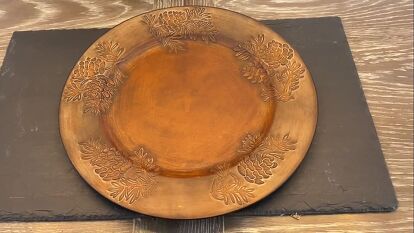
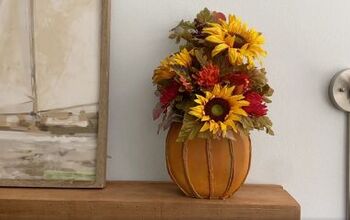
6. DIY pumpkin cake plate
If you're looking for a unique fall centerpiece, then Lisa at Recreated Designs has you covered with this DIY pumpkin cake plate.
- Foam pumpkins
- Epoxy
- Plates
- Bronze and gold paint

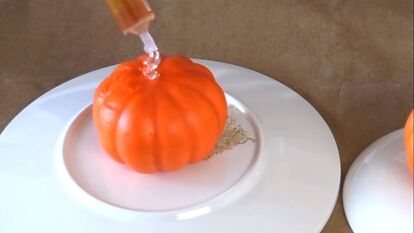
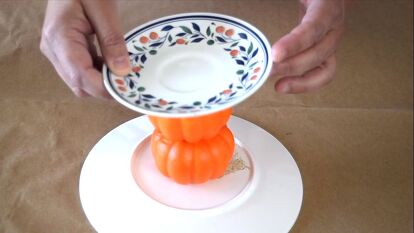
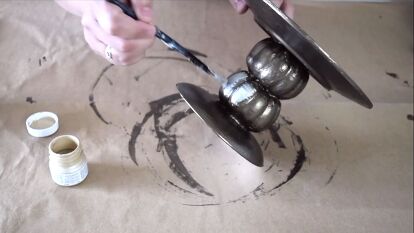
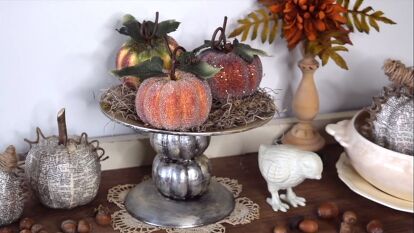
Take your foam pumpkins and remove the stems. Push them down until they're pretty flat. Use a generous portion of epoxy to stick the pumpkins to the plates, and then to each other. Leave it and let that epoxy dry. Then, cover the creation with bronze paint, followed by a little bit of gold to lighten it up a bit and give it some highlights.
Here you have a beautiful fall pumpkin-inspired cake plate!

7. Ombre pumpkin fall tablescape
If you're looking for an alternative color scheme for your tablescape, take a look at these ombre pumpkins by Alicia W.
- Paint
- Paintbrushes
- Kitchen towel
- White pumpkins
- Canvas drop cloth
- Scissors
- Painter's tape
- Candlesticks
- Fall sign
- Faux berries and foliage
- Pine cones
- Electric tealights covered in washi tape

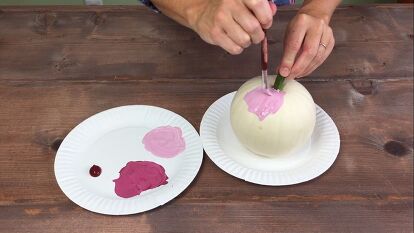
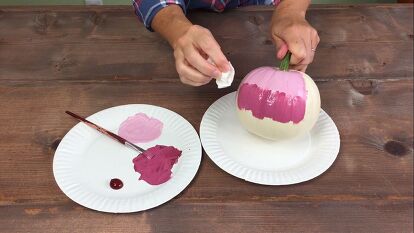
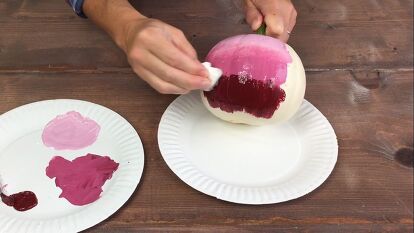

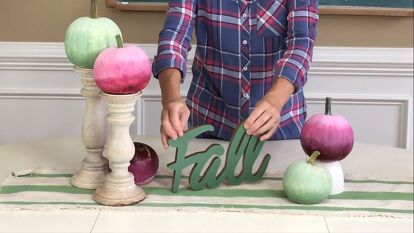
Mix a light, medium, and dark shade of the same cover. Then, paint a third of the way down your white pumpkin with the lightest shade, a further third with the medium shade, and the final third with the dark shade. Use a scrunched-up kitchen towel to dab between the shades to blur the lines and create an ombre effect.
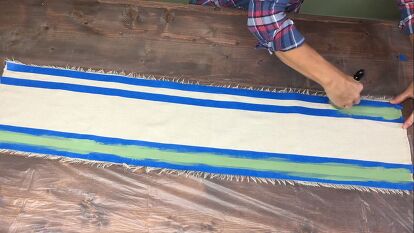
Next, take a canvas drop cloth, snip the end, and pull the material. Now you've got fringe. So here's mine. Use painter's tape to make two lines, then paint between them.
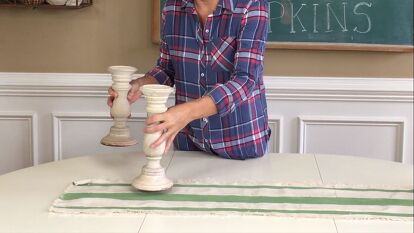
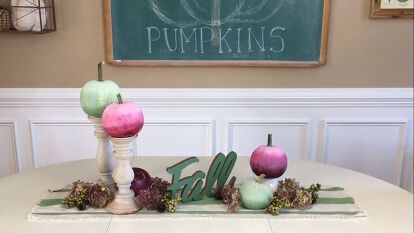
Now we're ready to set our tablescape. First, add the table runner. Next, position wooden candlesticks at one end and put the ombre pumpkins on top of the candlesticks. Add some berries, a few little pine cones, a fall sign, and battery-operated tea lights covered in washi tape. There's your ombre fall tablescape.

8. DIY fall candles
Finally, Melanie Czoka shows us three ways to make pretty fall candles for her tablescape. (Check out more fall candles and candle holders here.)
- Candles
- Wood pieces
- Hot glue
- Mod Podge
- Glue sponge
- Faux flowers

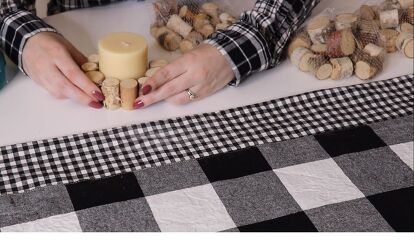
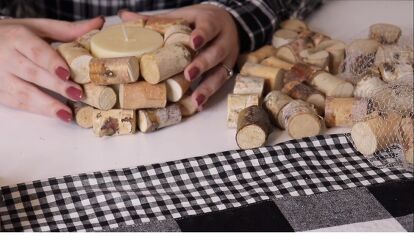
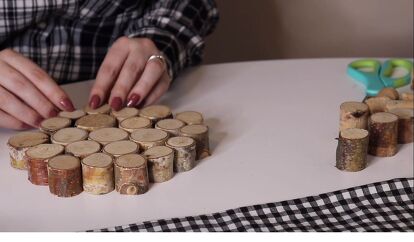
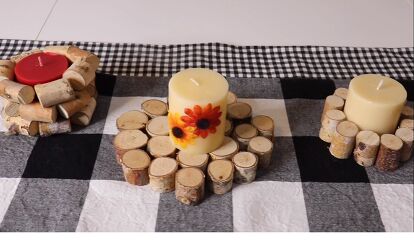
First, make a little base for your candle by gluing wood pieces around it. You can also lay the wood pieces sideways and stack them that way.
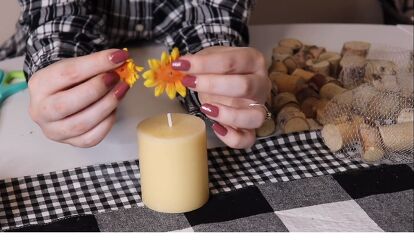
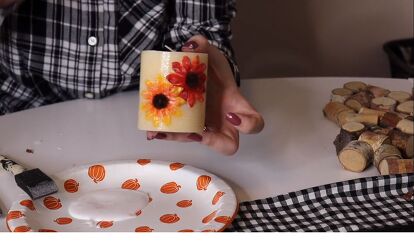
For another DIY fall candle idea, deconstruct some fall faux flowers. Glue the petals flat to the candle, then go over them with Mod Podge. You can poke the middles of the flowers back in as well if you like.
Finally, glue more wood pieces together to make a stand for the candles. This fall dollar store craft is definitely our cup of tea. See more DIY wood decor projects for fall here.

More fall DIY decor ideas
For more creative fall decor projects, discover Hometalk's best autumn color DIY ideas. For something a little more spooky, discover these Halloween tablescape ideas.
Fall tablescapes
Whether you prefer a rustic camping theme, an elegant Thanksgiving arrangement, or an artistic ombre gradient, these DIY fall tablescapes offer something for every taste.
Which of these fall tablescape ideas was your favorite? Let us know in the comments below.


Frequently asked questions
Have a question about this project?