


How to Make a Charming DIY Fall Gnome Decor Piece For Your Home

Get ready to add some fall charm to your home with this adorable DIY fall gnome decor project! I'll show you how to create a wooden gnome, step by step. From tracing and cutting the wood to painting and adding rustic touches, this gnome is sure to bring a smile to your face and warmth to your fall decor. So let's get crafting and welcome autumn with this customizable DIY fall gnome!
This post was transcribed by a member of the Hometalk editorial team from the original HometalkTV episode.
Steps
Tools and materials
- Maple wood piece
- Measuring tape
- Pencil
- Dinner plate
- Jigsaw
- Sander
- MDF
- Colored paint
- Paintbrushes
- Sponges
- Black wax
- Small piece of wood
- X-ACTO knife
- Needle
- Sharpie
- Faux fur
- Scissors
- Screws
- Drill
- Hot glue
- Wooden bead
- Stapler
- Raffia
- Gold wire
- Embellishments
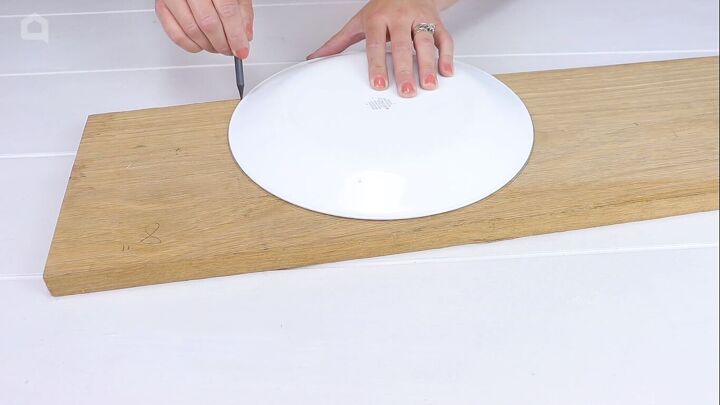
1. Draw around a dinner plate
To begin my project, I'm going to take this piece of maple wood here. It is about eight inches wide. You want to find a nice, thick, heavy wood like maple so that your gnome will stand up. Then I'm going to take this standard dinner plate and trace around it about three-quarters so that I have almost like a semicircle shape on my wood.
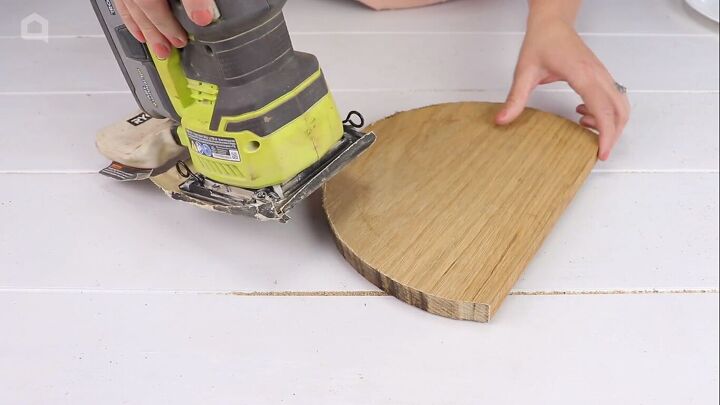
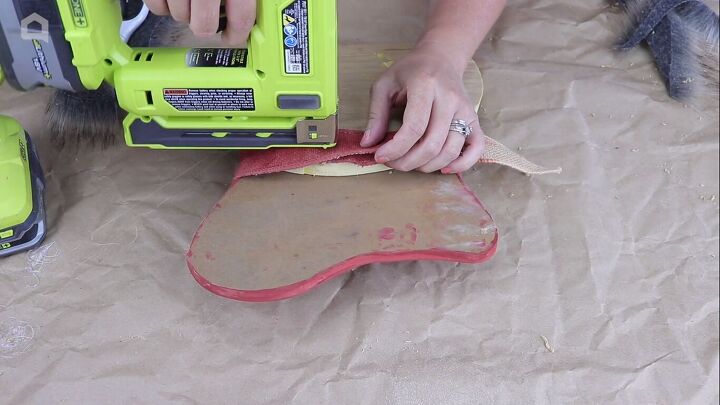
2. Cut and sand
Using my jigsaw, I'm going to cut that out. Then I'm going to take my sander and give it a little rough sanding just to smooth out the edges.
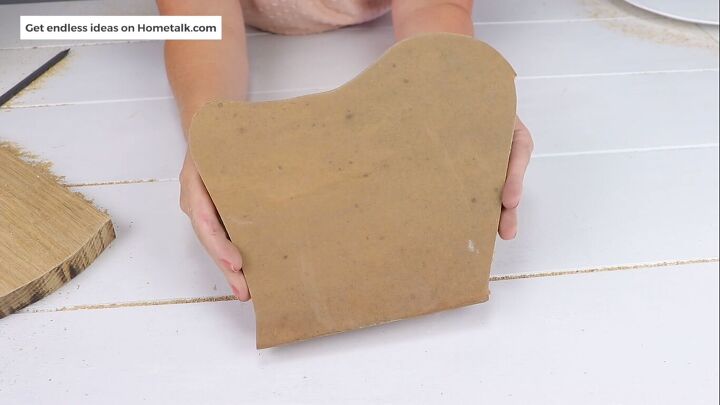
3. Make the base for the hat
Next, I'm going to take a piece of MDF that is a little bit less than half an inch thick, and I'm going to cut out the shape for my hat. I just did a rough drawing here. You just basically want to have a shape that's similar to this with one larger hump and then a smaller hump, really easy to draw.
Then I'm going to take my sand and sand that down as well so it's not rough.
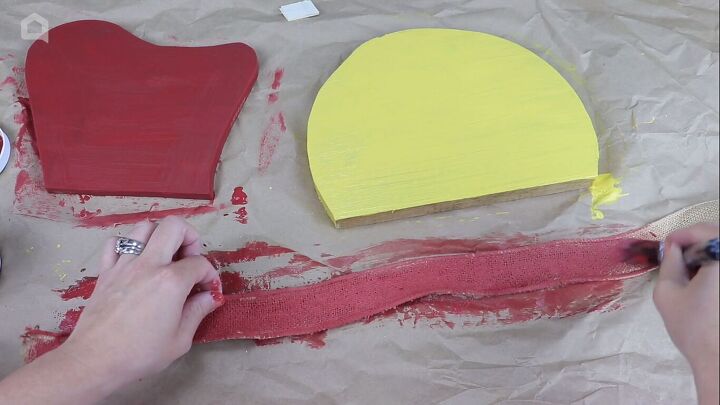
4. Paint
I'm going to paint these pieces. For my bottom part, I'm going to use yellow paint. Make sure that you don't forget to paint the edges as well because these will be seen. Next, I'm going to paint the hat red. Now this does look a little bit like ketchup and mustard, but we're going to fix that in a bit.
Also, I'm going to take a wired burlap ribbon and paint that in the same color. I couldn't find a ribbon that I liked that matched, so I decided I'd paint my own.
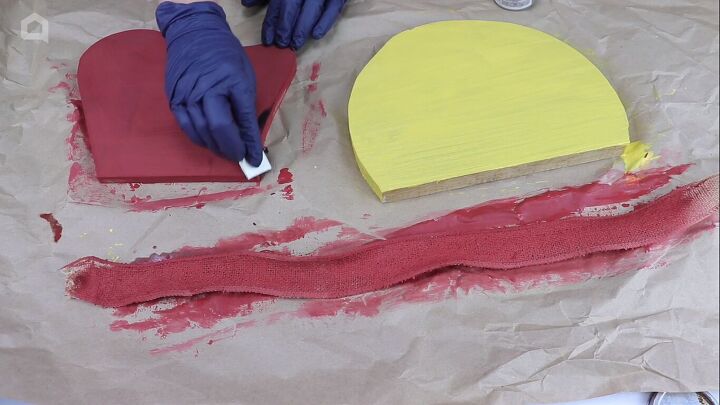
5. Make it look rustic
Next, I'm going to take black wax and rustic up the hat and the body of the gnome. I'm going around the edges using a foam brush, rubbing it in on the hat just to darken this red color a little bit, and then on the body as well.
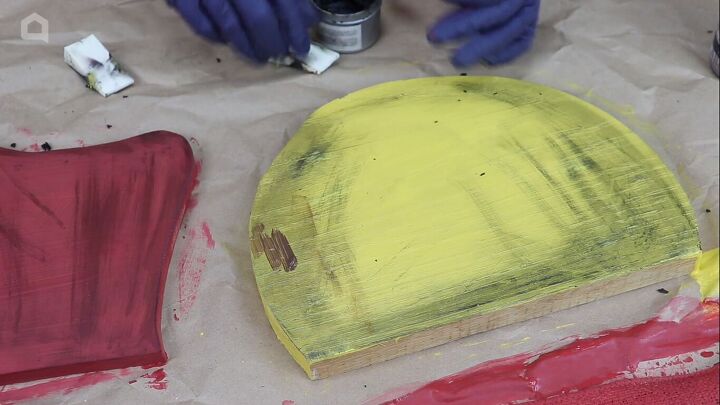
I'm going to go over it as well with a little bit of brown paint in areas for a bit here. Basically what I'm doing is I'm creating my underlayer that's a little bit more rustic looking.
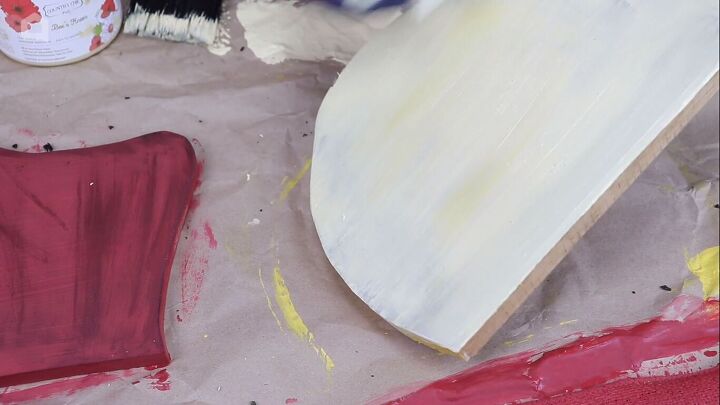
I'm going to dry brush white paint over top of this, making sure that I just do a quick light coat. Then I'm going to take my sponge again and rub the paint off so that those rustic layers are going to show through. This is an easy way to achieve a rustic finish.
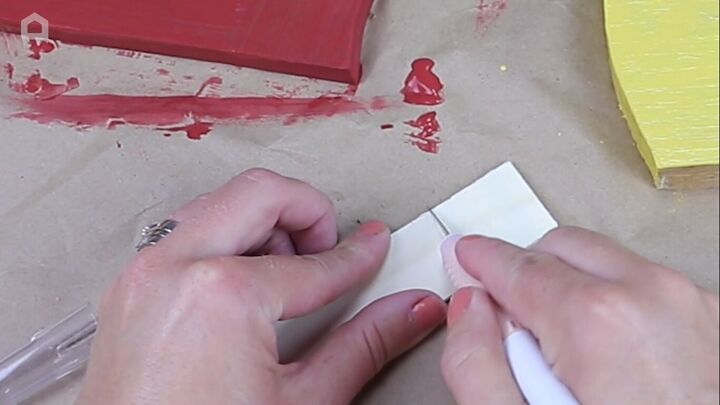
6. Make the patch
Next, I'm going to take this piece of really thin wood. This was actually just a garden steak that I got from the Dollar Store, and I'm going to cut off a little square using an X-ACTO knife.
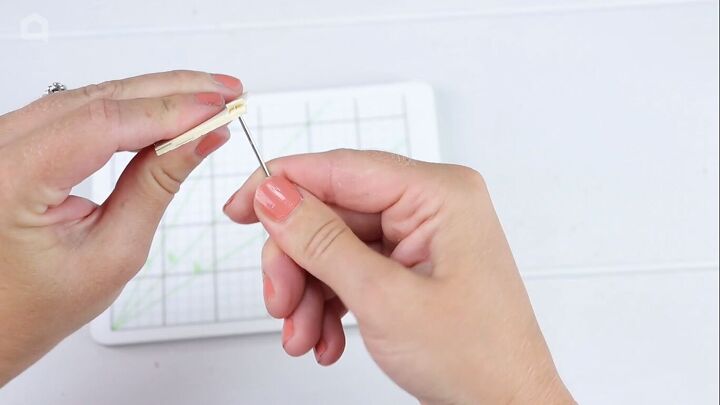
Then using a thick needle, I'm going to poke holes into the edges of my square going all around. They don't have to be uniform or lined up exactly. You can poke as many holes as you like.

I'm going to paint this square using a nice green.
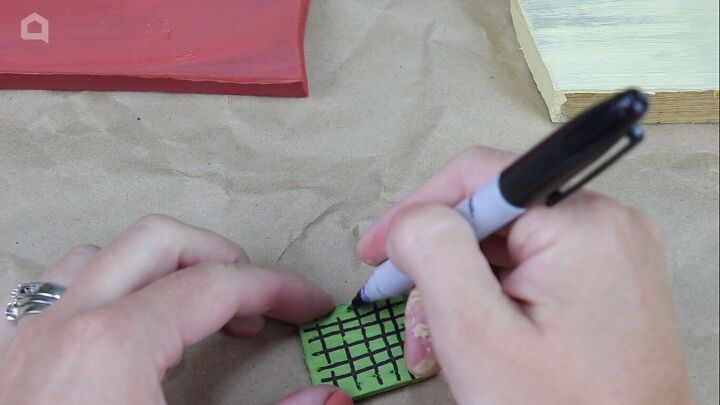
Once that's dried, I'm going to take a double-ended Sharpie marker, and I'm going to create some lines here for a checkered pattern. I'm going to use the thick end first, and then once I've done that, I'm going to go along as well with the thinner end of the Sharpie just to create a little checkered pattern patch.
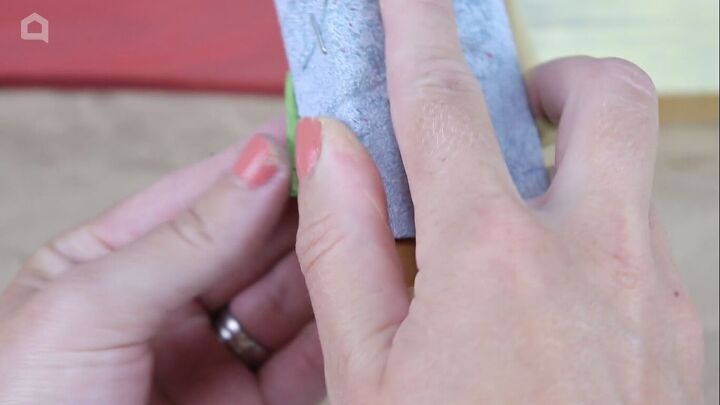
I'm going to take a piece of sandpaper and rough it up a little bit so it looks more primitive and rustic.
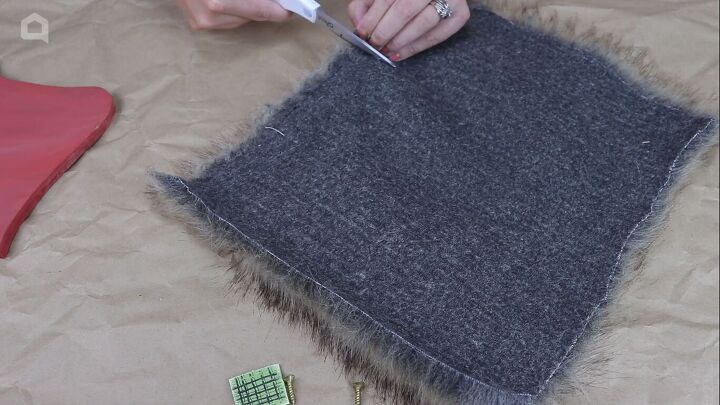
7. Cut the beard
For the body of my gnome, I have this piece of fur here. I'm going to lay it over top of the body to see how short I need to cut my beard. You always want to make sure that you cut fur from behind so that you don't wreck the fibers and the direction of the fur. I'm going to cut out a rough triangle shape here to start my beard.

8. Attach the hat to the body
Before I attach my beard, I want to attach the hat to the body. So I'm just drilling some pilot holes before I place my screws so that I don't crack the wood. Then I'm just placing in my screws to attach the body to the hat.

9. Glue the pieces together
Once I have the hat and the body attached, I'm going to line up all my pieces and make sure they fit nicely before gluing them down.

I need a nose, so I just have this wooden bead here to make it easier to glue on. I just sand down one edge of the bead so that it's flat, and it sits nicely on the wood.
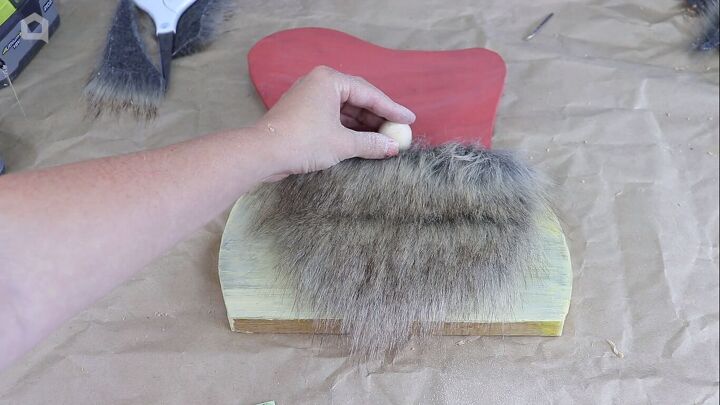
I'm going to lay my beard down first, just covering the seam where the hat and the body meet. Then I'm going to glue down my nose as well and follow it up with my ribbon for my hat.
I attach the ribbon with my crown stapler to the back and cut off the excess.

10. Fill in the gaps
Attach another piece of fur just around the nose to cover any holes or gaps between the nose and the ribbon. It acts like a mustache and gives the beard a little bit more full look.
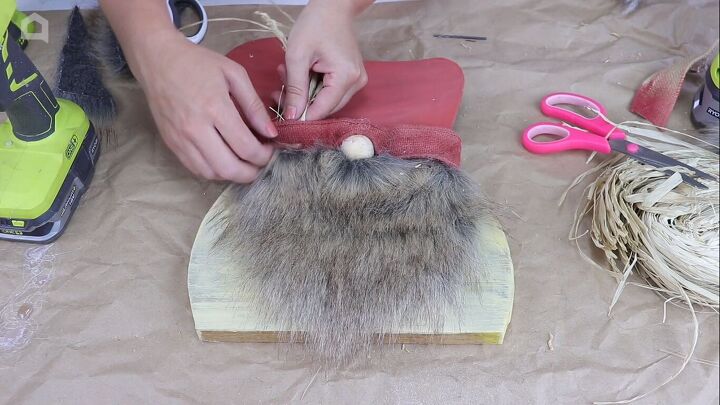
I'm going to take this raffia and shove it in the gaps between the ribbon and the hat. With a bit of hot glue, work these in.
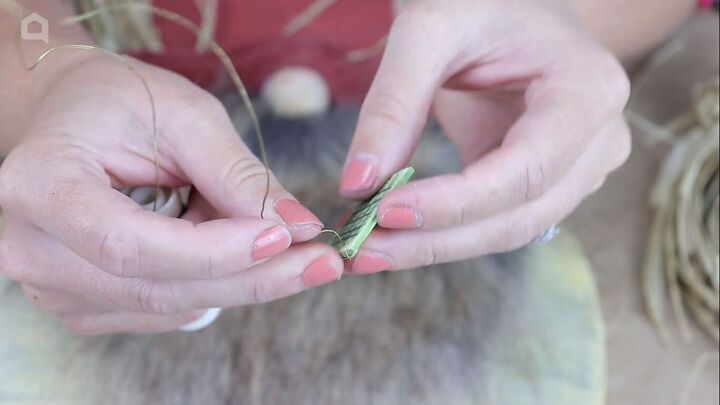
11. Add the patch
I'm going to take this patch that I made here and fill those holes with some gold wire. I'm just going to place those in, wrap them around the back, and then cut them off. This makes a little realistic 3D patch for our hat. Glue that in place.
I also have a wooden crow that I'm going to stick in the hat. You can embellish your hat with whatever fall touches you like.
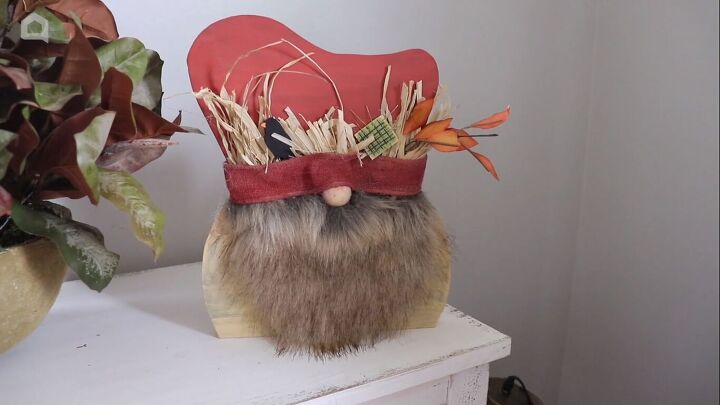
DIY fall gnome decor
Here is our completed gnome! I love this little DIY fall gnome decor piece I'm so happy with how it turned out. The best thing about this project is you can get really creative and add your own touches to match your decor.
What do you think of this DIY fall gnome? Let me know in the comments below.
DIY fall gnomes
For more creative autumnal decor projects, discover Hometalk's best DIY fall gnome ideas here, best fall wood crafts here, and other rustic DIY fall decor inspiration here.


Frequently asked questions
Have a question about this project?