


How to Make Easy Fabric Ornaments With Mini Embroidery Hoops

Hello Readers. It is Christmas time and that means decorating a tree with ornaments.
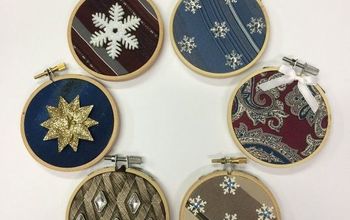
I had an idea to make fabric ornaments using small embroidery hoops. I thought this would be a great way to save a piece of fabric or scrap from a sentimental sewing project.
Let's get started rafting these DIY embroidery hoop Christmas ornaments!
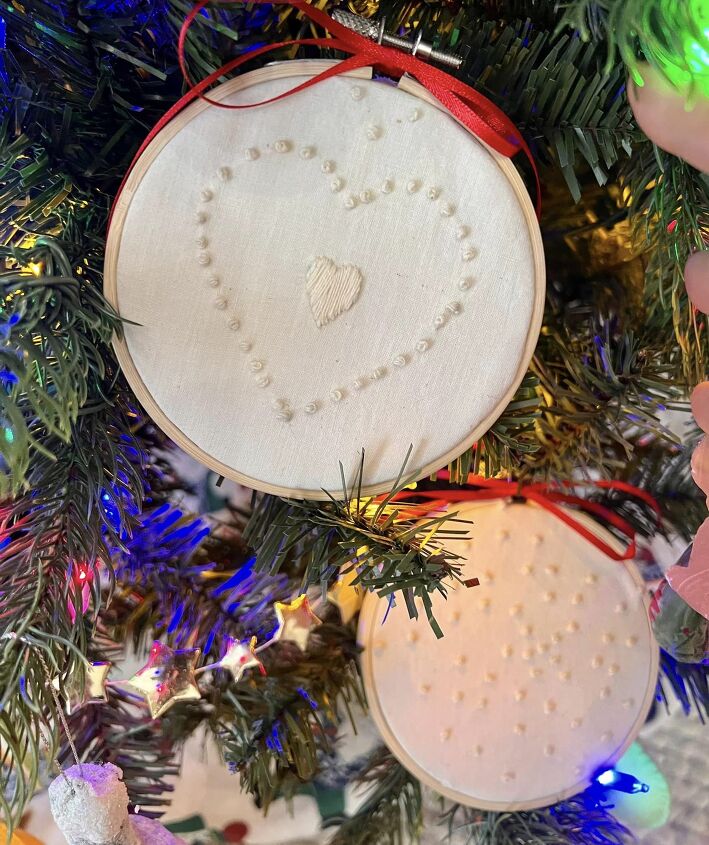
These ornaments were quick and easy to put together. They also gave me a way to use these little embroidery pieces.
 Video processing...
I got my embroidery pieces from a failed sewing project but you could use almost anything. Scraps from a wedding or christening gown. A piece of a favorite baby blanket. The character or design from a t-shirt. Anything you like.
More DIY Embroidery Hoop Ideas
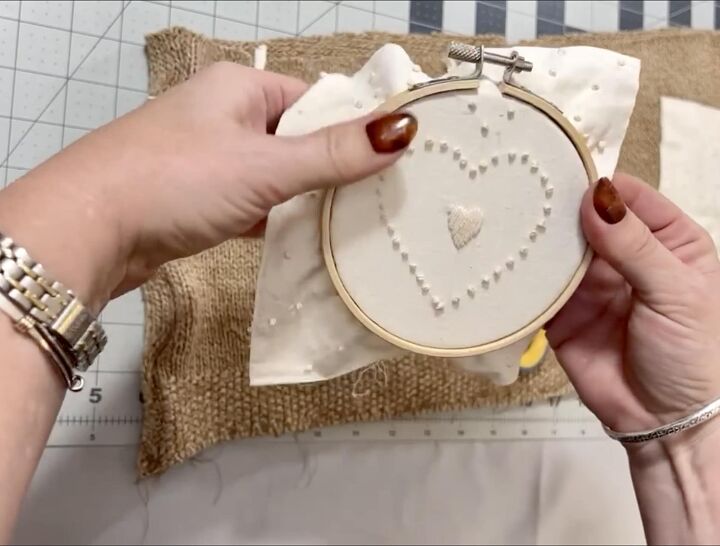
1. Attach the fabric to the embroidery hoop
When you place the piece of fabric between the 2 pieces of the embroidery hoop and tighten the screw on top, the fabric will be very secure and will not come out unless you loosen the screw.
There will be a lot of excess fabric sticking out in the back though.
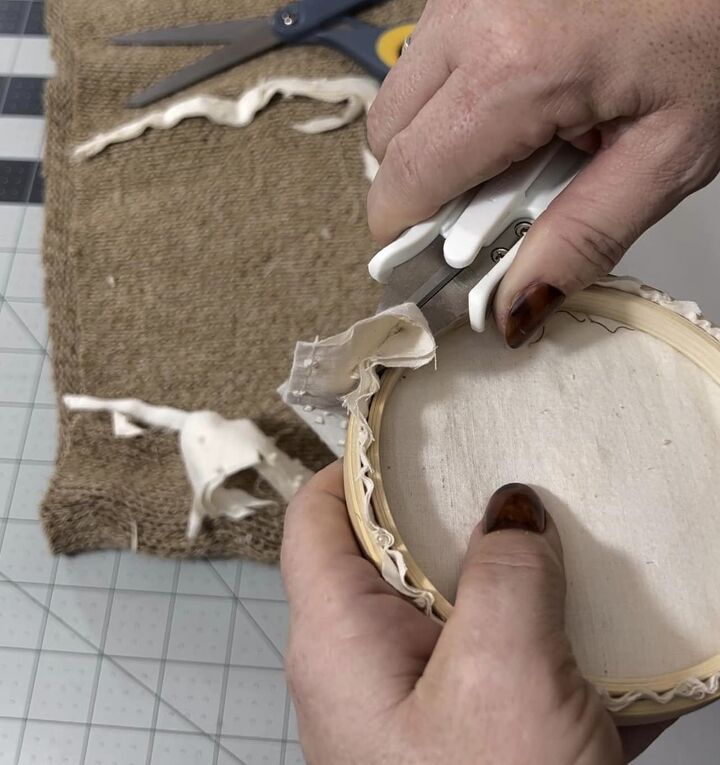
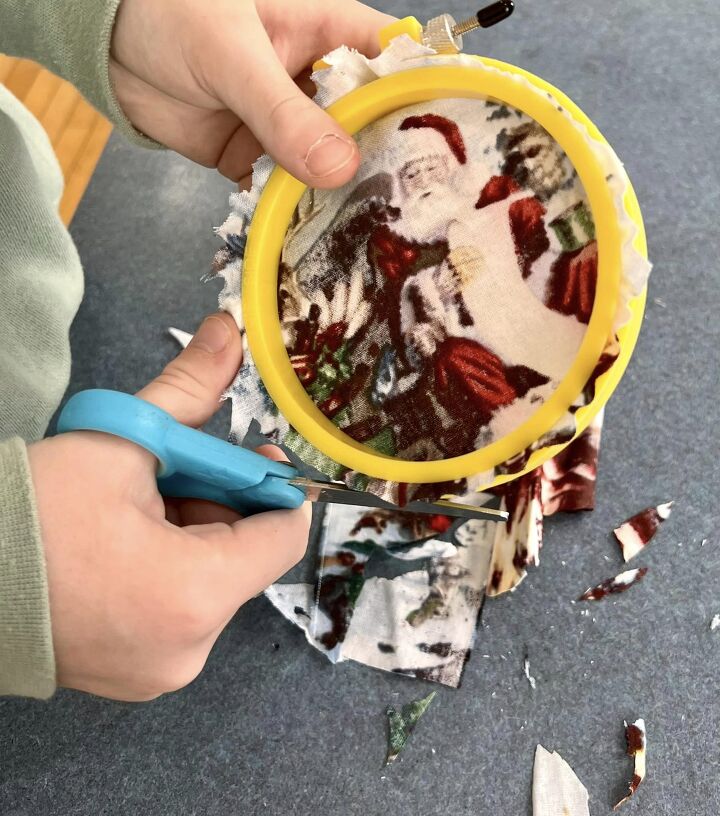
2. Trim the excess
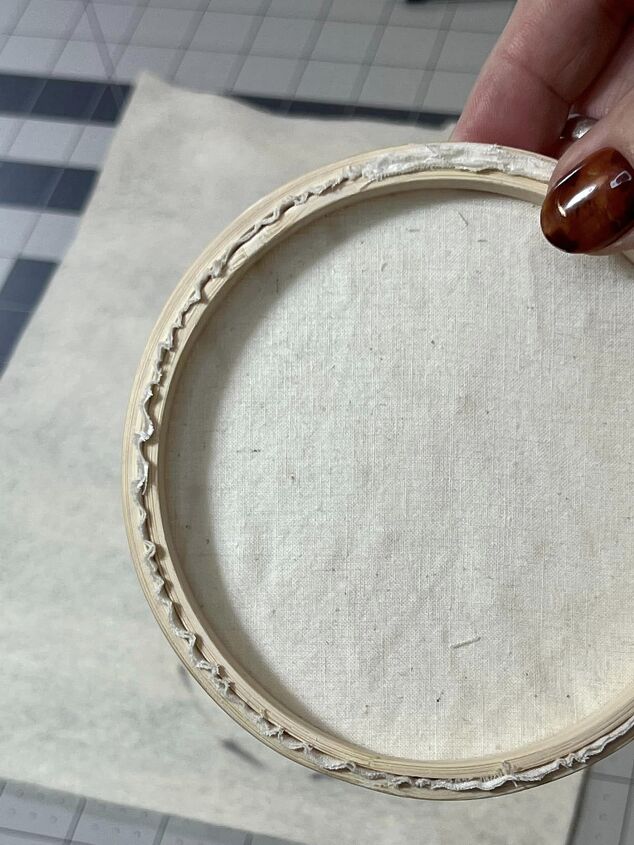
You can use scissors to trim that excess off. Cut as close the the embroidery hoop as you can to remove as much excess as possible.
3. Hide the back with felt
The back of my ornament looked OK but if you want to hide the back of your fabric, you can glue on a piece of felt. Felt doesn't fray so it will be great as a backing.
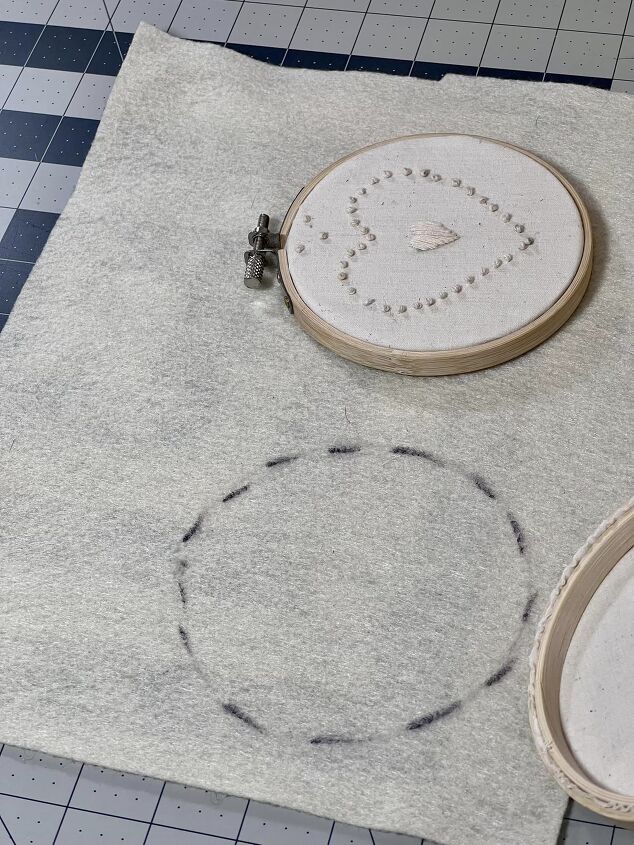
Trace the embroidery hoop
Trace around the embroidery hoop so you can cut out a circle that is exactly the right size for your hoop.
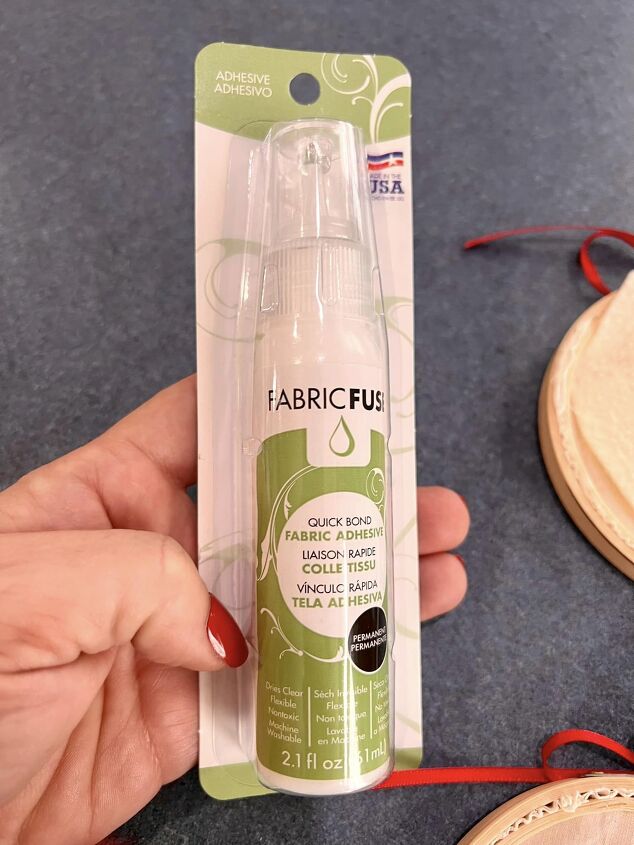
Grab some fabric or craft glue to attach your felt circle.

Apply glue to the back of the embroidery hoop
Put glue on the back, all the way around the hoop.
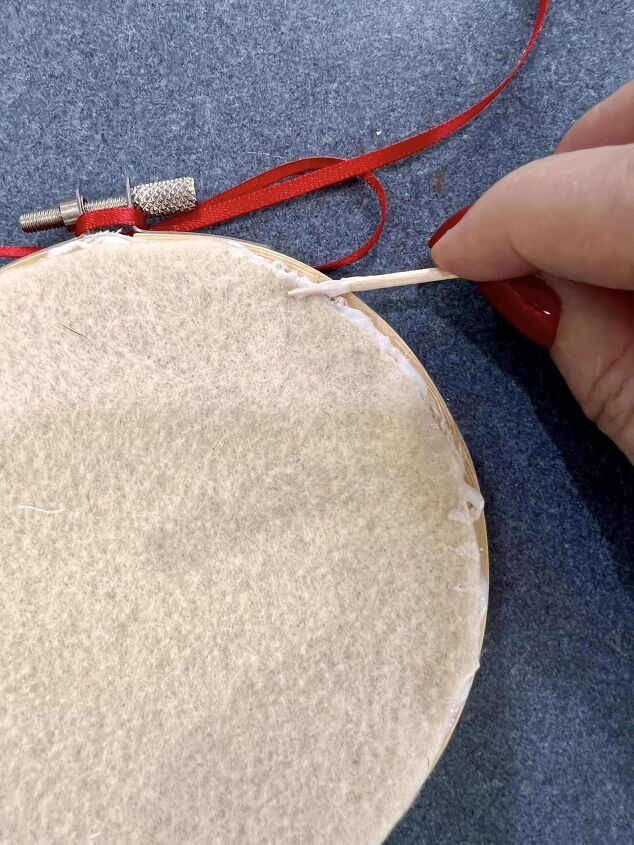
Attach the felt
Press the felt down on the glue to set it in place. Press firmly so it really gets adhered to the hoop. I let my ornaments dry overnight.
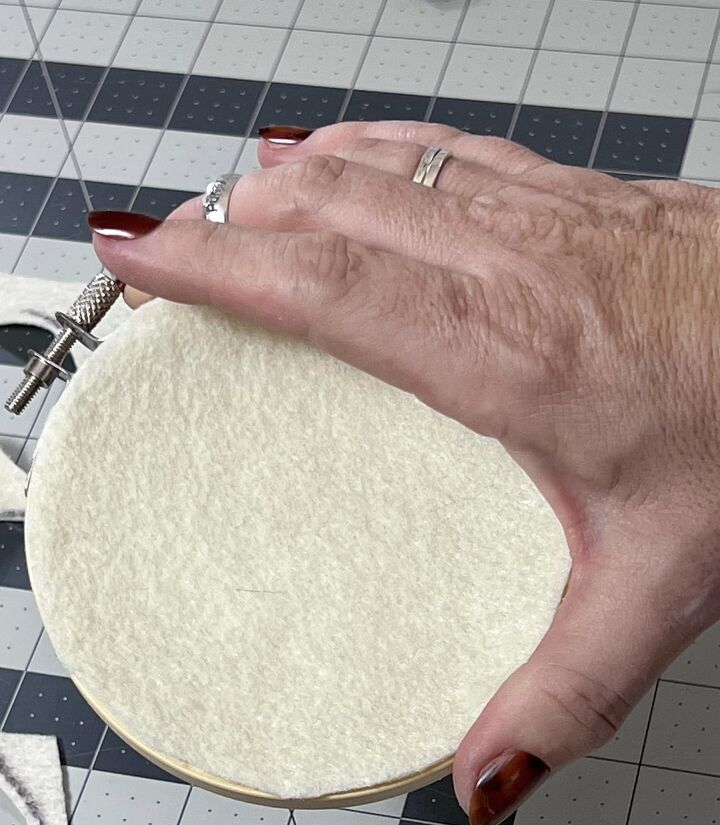
The felt gives the ornament a very clean look in the back but you can skip this step if you don't think it is necessary for your ornament.
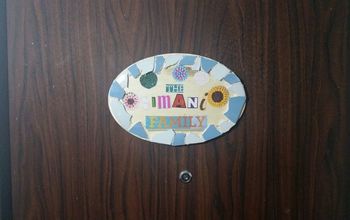
Bonus: alternative hoop ornament
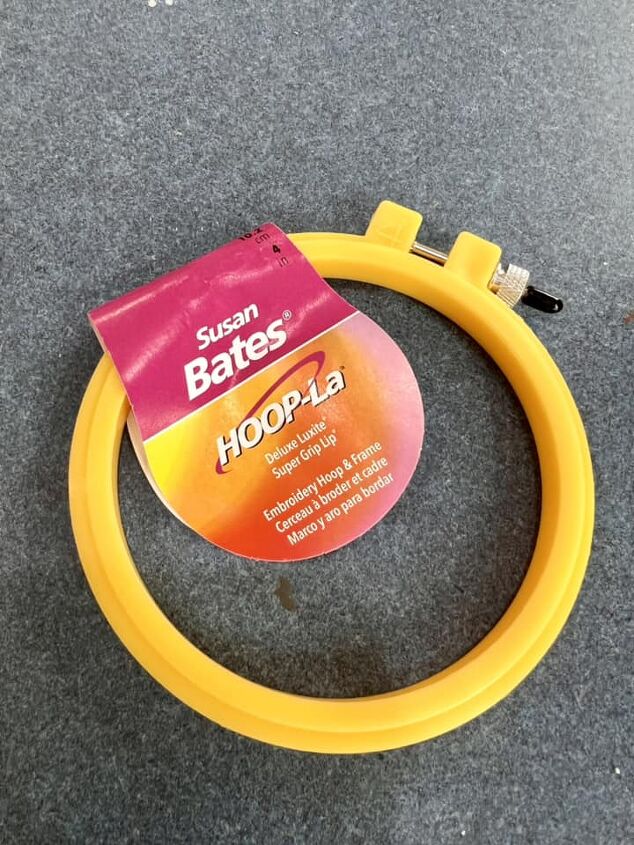
When I bought my little embroidery hoops I saw this brightly colored plastic hoop.
I thought this would be a fun kid or grandparent project. I let my son put an ornament together using basically the same method.
He liked this Santa fabric scrap. He was able to put the fabric in and cut off the excess. I made sure the screw was tightened and would keep the fabric in place for him before he started cutting.
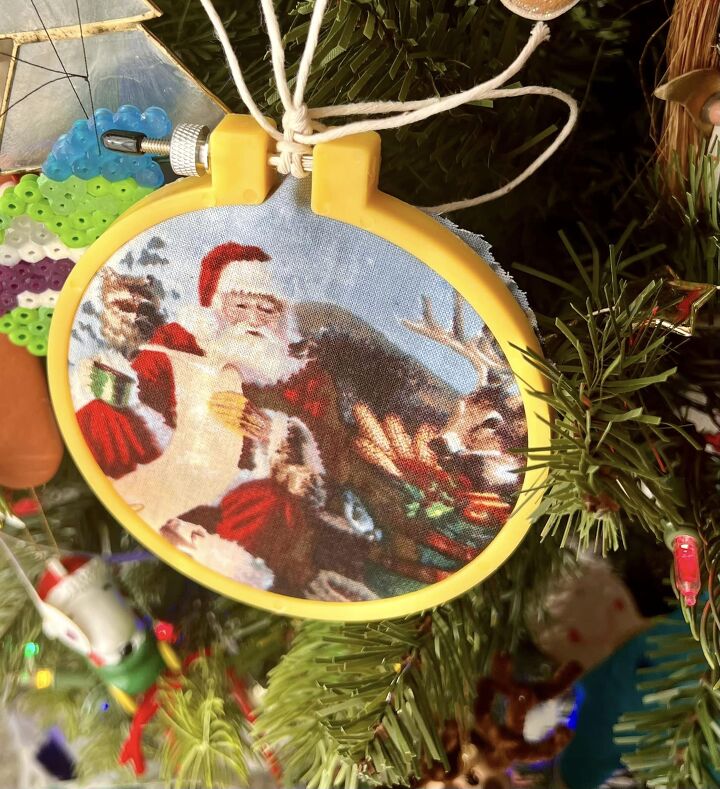
This ornament of Santa turned out cute and he was very happy with it.
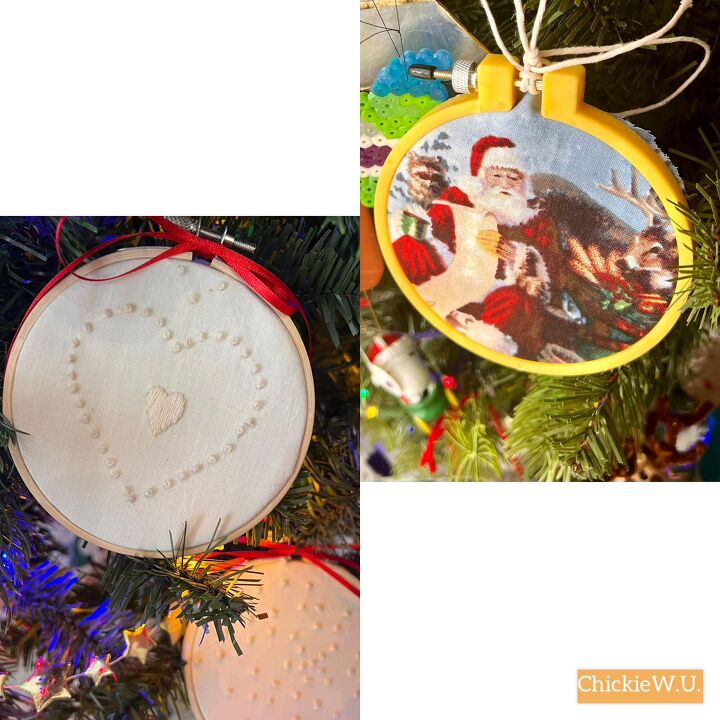
DIY embroidery hoop ornaments
I hope you can make a DIY fabric ornament or embroidery hoop ornament using this idea. Let me know what you think of this project in the comments below. I wish you a very Happy Holidays.


Frequently asked questions
Have a question about this project?