


3 Quick, Easy & Budget-Friendly DIY Christmas Ornament Ideas
Today, I'm going to show you how to create your own unique and personalized holiday decor with these easy DIY Christmas ornament ideas. These ideas are cheap, quick, and easy to do. Hang your creations on the tree for a personal and budget-friendly festive display that adds joy to your holiday celebrations.
This post was transcribed by a member of the Hometalk editorial team from the original HometalkTV episode.
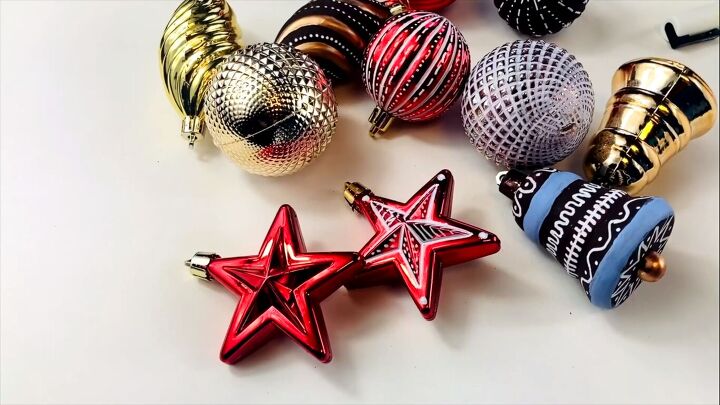
Tools and materials
- Glass ornament
- Plastic ornament in two halves
- Styrofoam ball
- Sandpaper
- Paint
- Permanent markers
- Photo
- Scissors
- Napkin
- Glue
- Gold decorations
- Cord for hanging
DIY Christmas ornament ideas
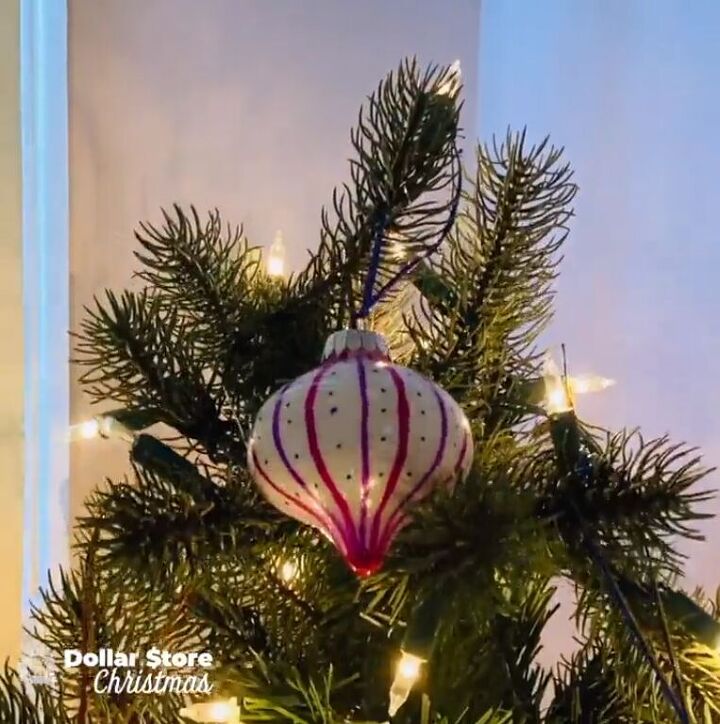
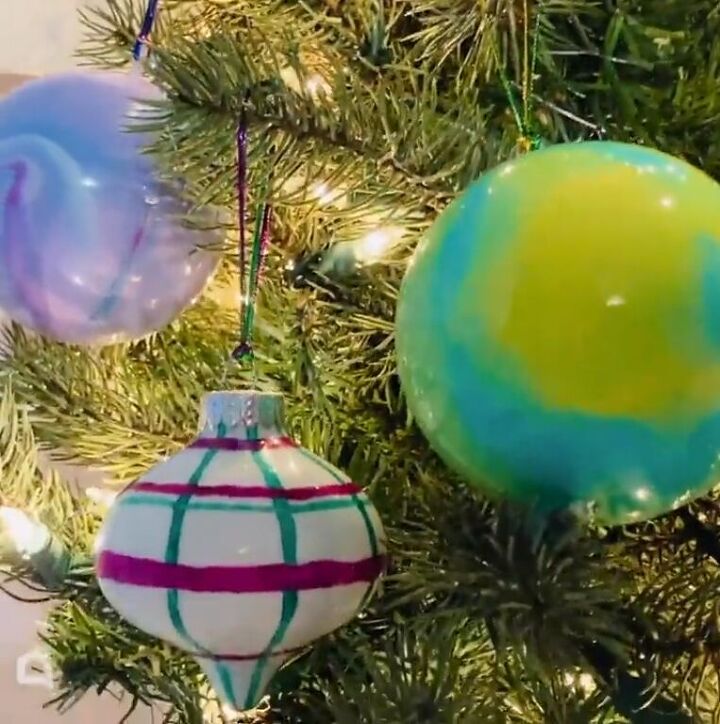
1. Glass ornament with drawn designs
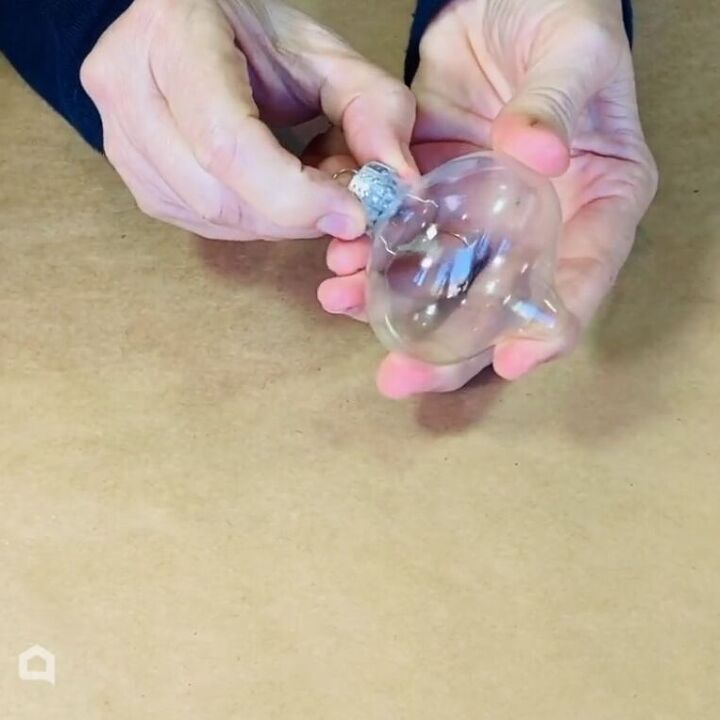
1. Remove the top
The first one I'm using is a glass ornament that I've bought. You just remove the top.
2. Pour paint and shake
I'm taking some white acrylic craft paint and I'm going to start pouring it inside, all the way around. Whiz it around like that so that the paint moves around inside until the whole thing is coated.
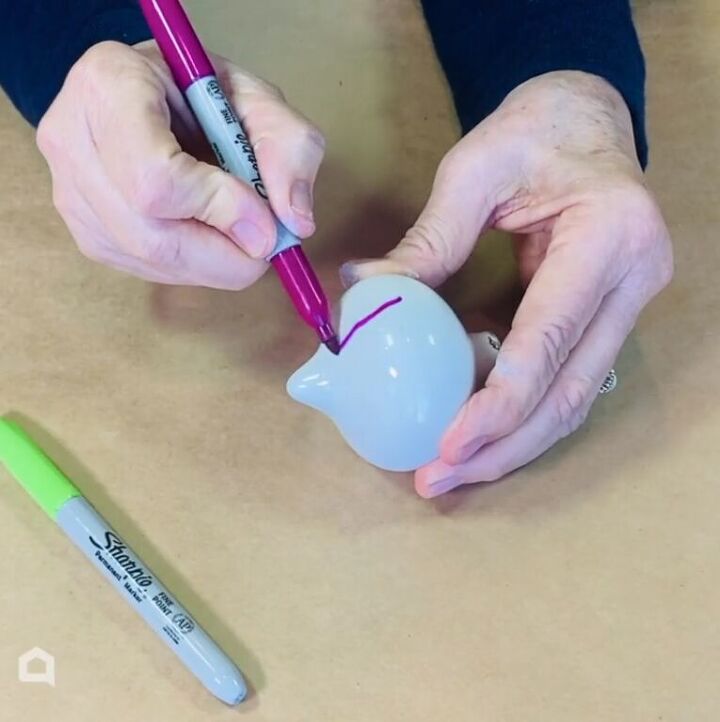
3. Draw designs with permanent markers
I'm going to make it look like we've hand-painted this ornament by using permanent markers to draw designs. You can really get creative here.
I also did one with some black paint if you want more of an industrial look.
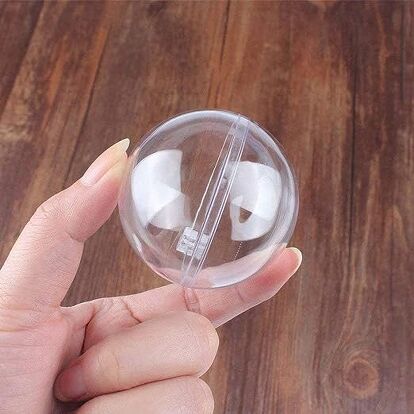
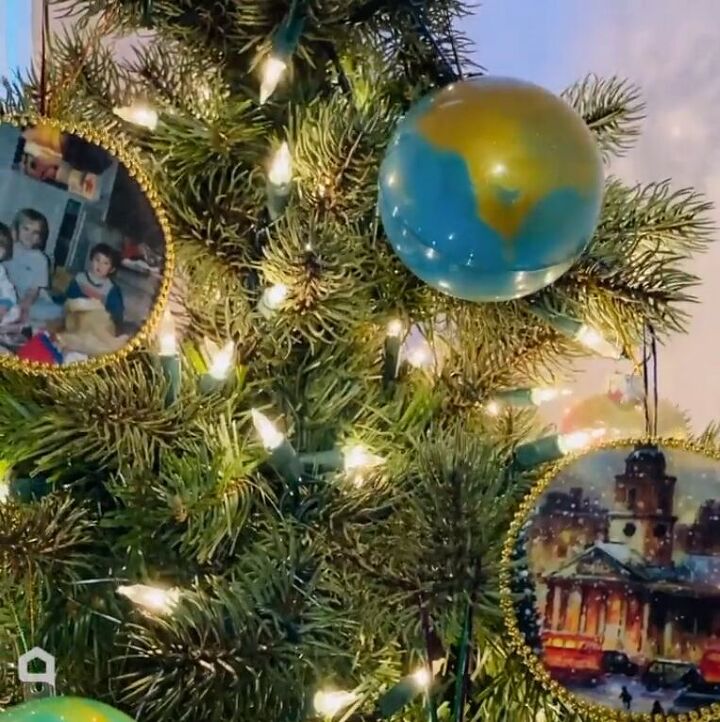
2. Mixed paint ornament
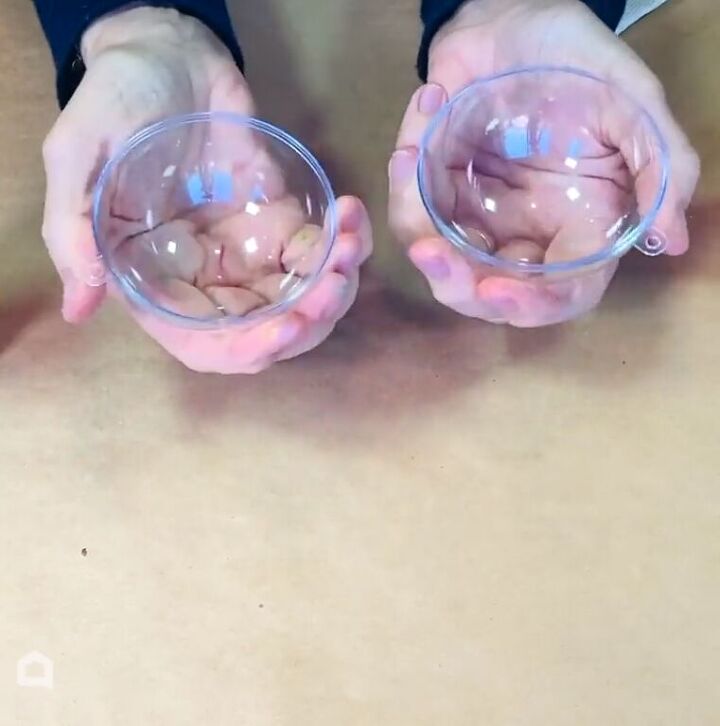
These are clear plastic ornaments that come in two parts. And they click together like that. They're easy to open.
Clear Plastic Acrylic Fillable Ball Ornament Set (60mm 24pcs)
Hometalk may receive a small affiliate commission from purchases made via Amazon links in this article but at no cost to you.
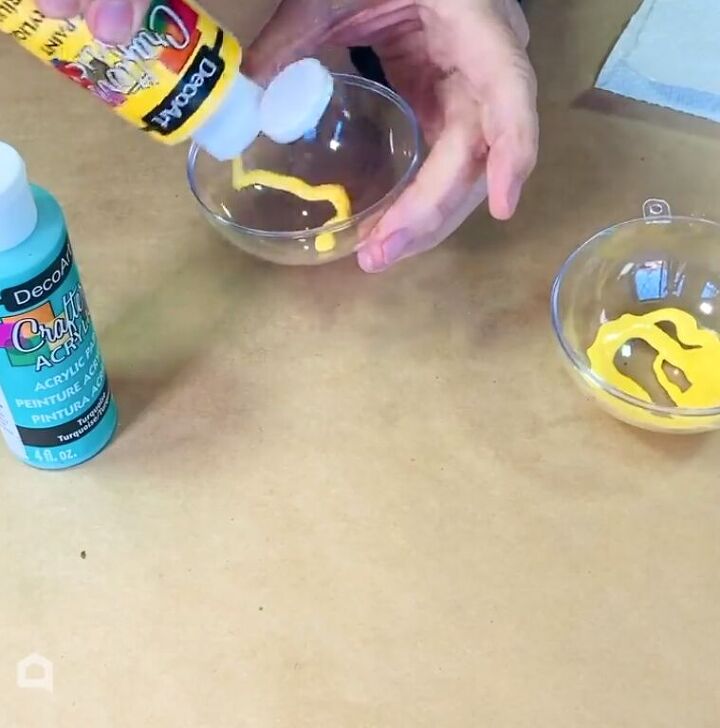
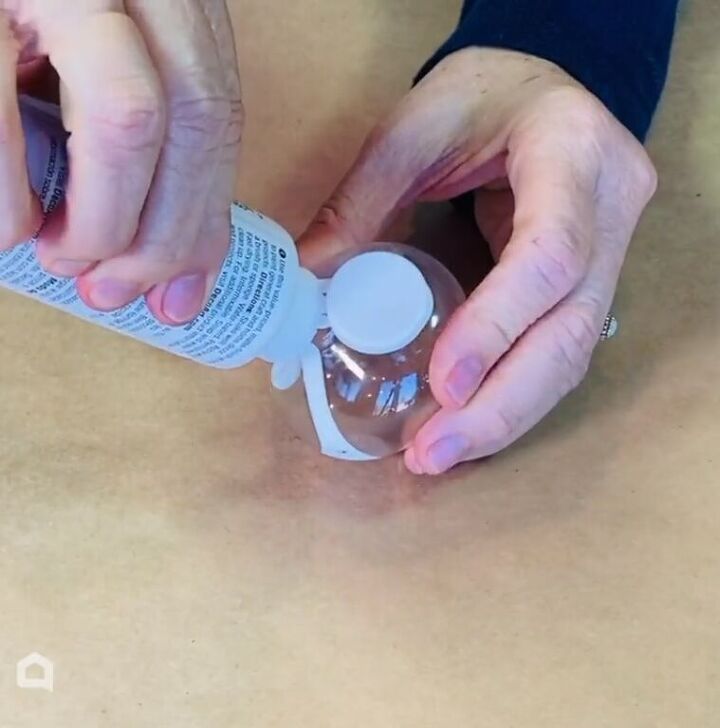
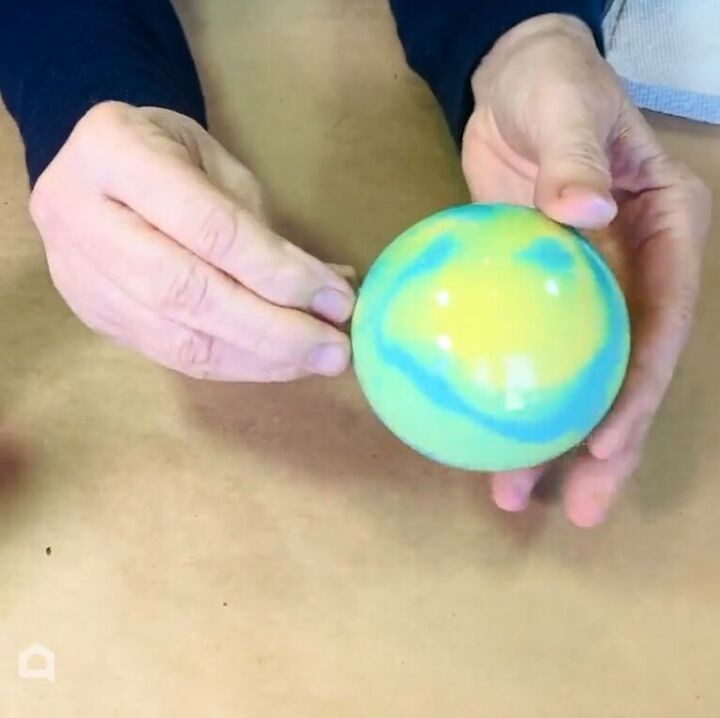
1. Pour paint in both sides
First of all, I'm just going to squirt some paint in both sides.
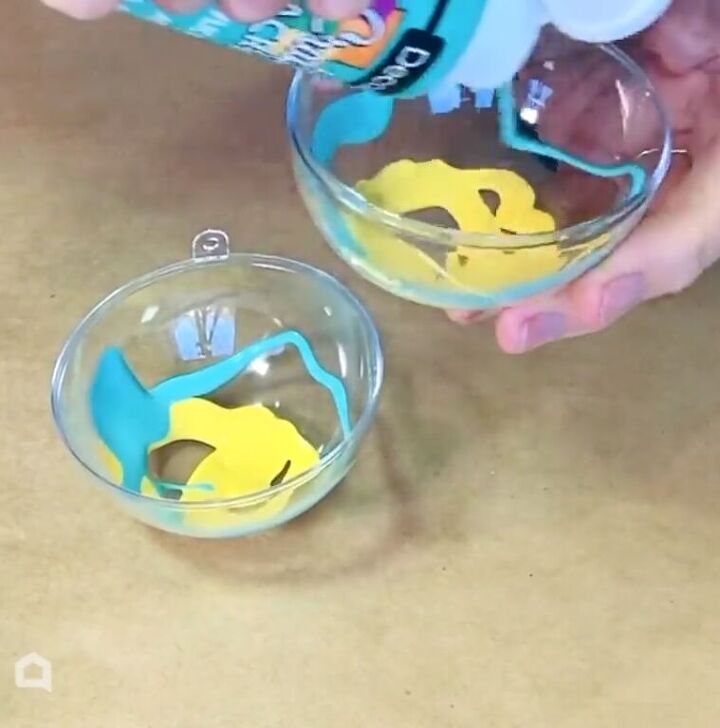
2. Assemble and shake
Then using the shaking method, I'm going to combine the paints. Okay, so that is now completely covered in paint! Paint is probably the easiest way to fill a clear Christmas ornament and it looks really effective.
3. DIY photo ornament
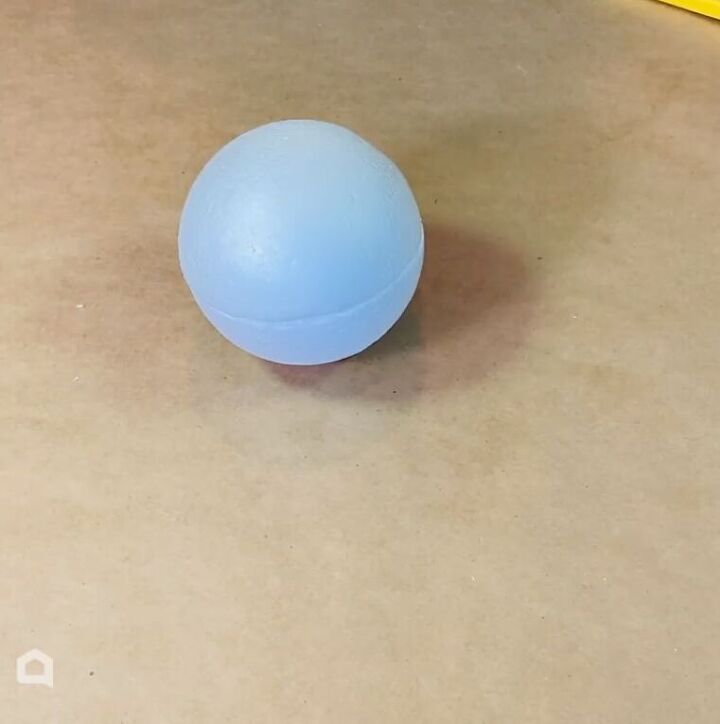
1. Cut a styrofoam ball in half
For the third ornament, I'm using a styrofoam ball that I have cut in half.
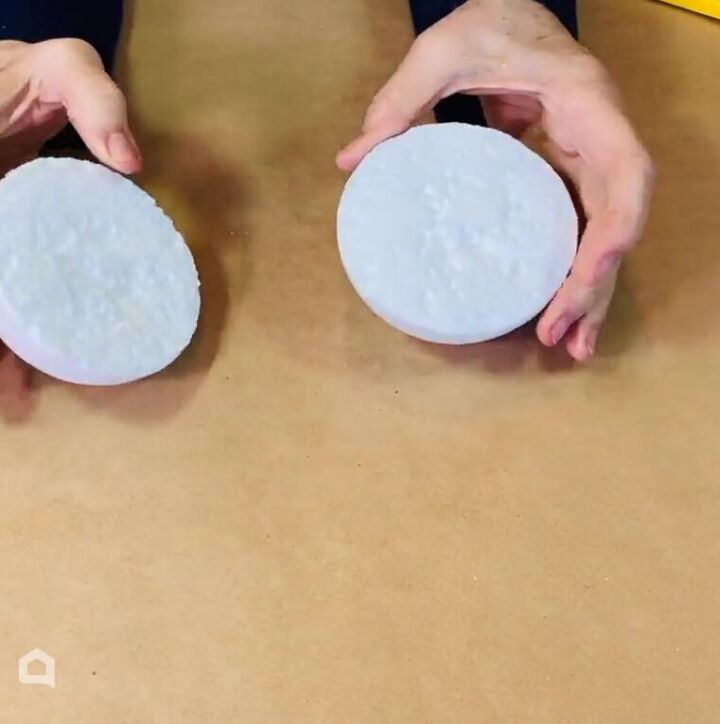
2. Sand
Then I sanded the top.
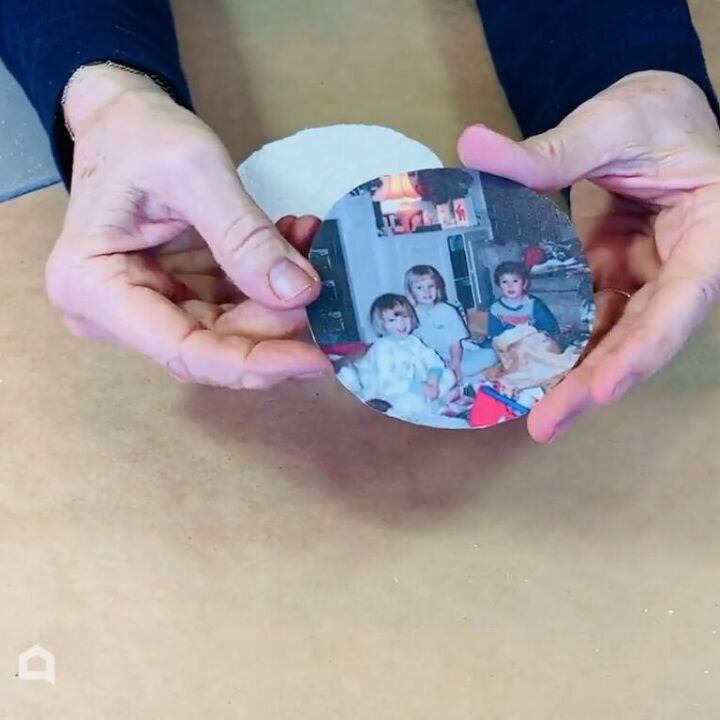
3. Cut a photo to size
I had this picture of my children when they were little on Christmas morning. So I took a photocopy of it on card. And then over the top, I've used some clear contact pape, just to give it more strength and to make it a little bit shiny.
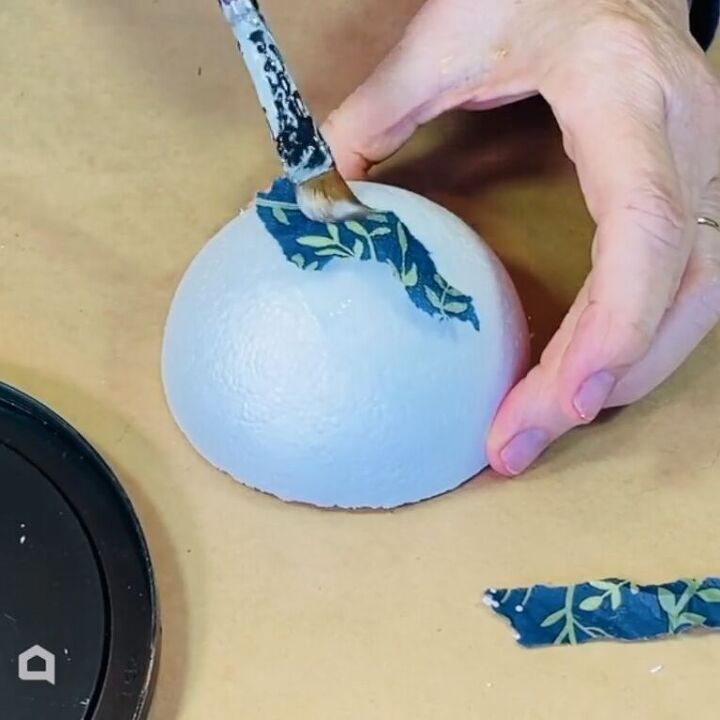
4. Decoupage the back
The first thing I'm going to do is to decorate the back. I have got a Christmas napkin and I'm going to take just the top layer. As always, when we use napkins to decoupage, we just use the top layer. Simply put some glue on the ball and then lay the napkin on top. Just go all the way around until it's all covered.
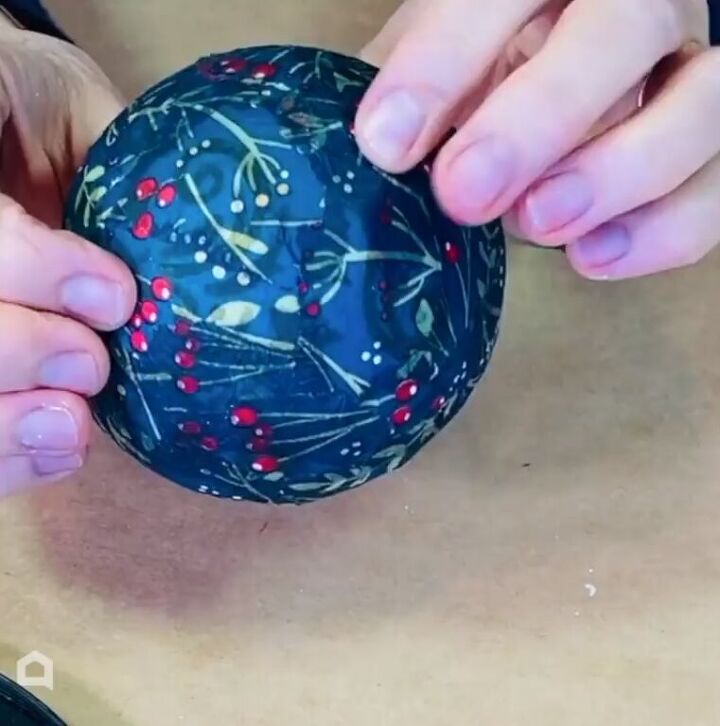
So this has been completely covered now. And I've also gone over it with one coat of glue as well, just to seal it in.
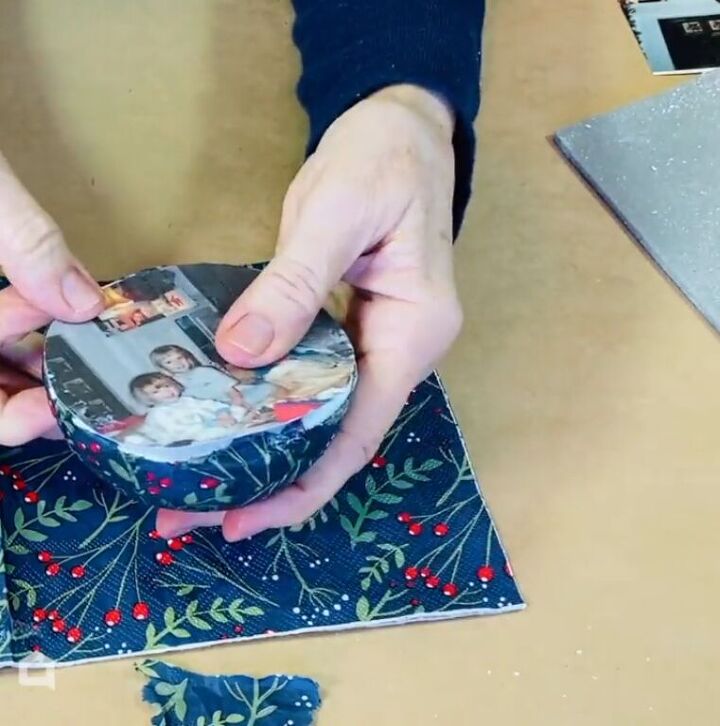
5. Glue the photo to the ornament
I'm putting some glue on the flat side. And I'm also going to put some on the back of this card as well. And then press it in place.
This is a really nice idea to make something that's more like a personalized Christmas ornament. It doesn't have to be a photograph. It could be anything that means something to you.
I leave that to dry and then I just come back and decorate it a little bit more.
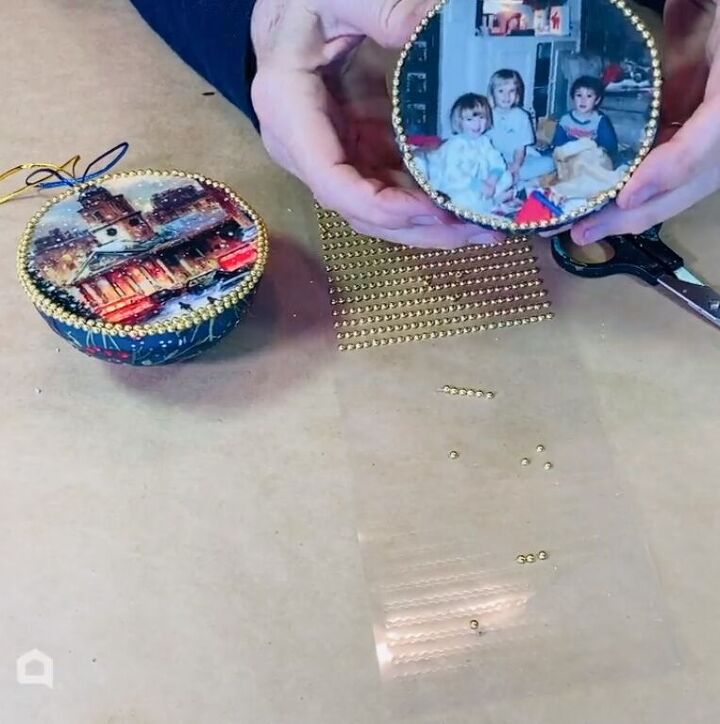
6. Decorate
So my image is well and truly stuck on now. And I have also stuck around the edge these little sticky half pearls in gold, which I got in the dollar store, just to finish it off.
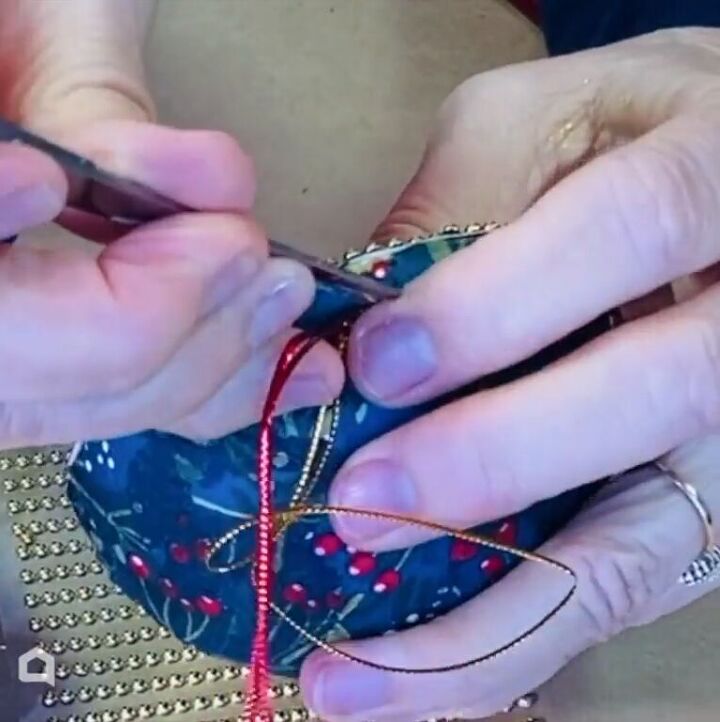
7. Insert the cord
Push the cord in at the end of the scissors, and put some glue on it to glue it in place.
DIY Christmas ornament ideas
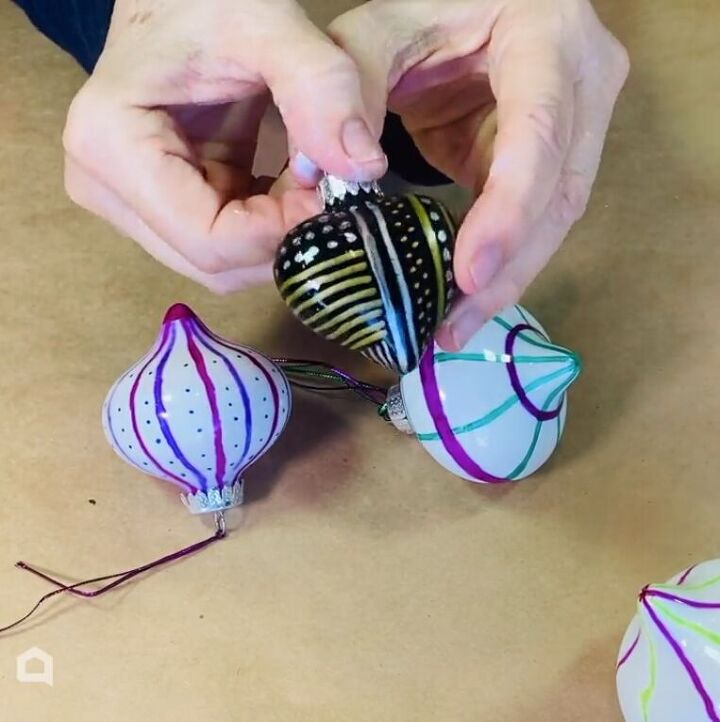
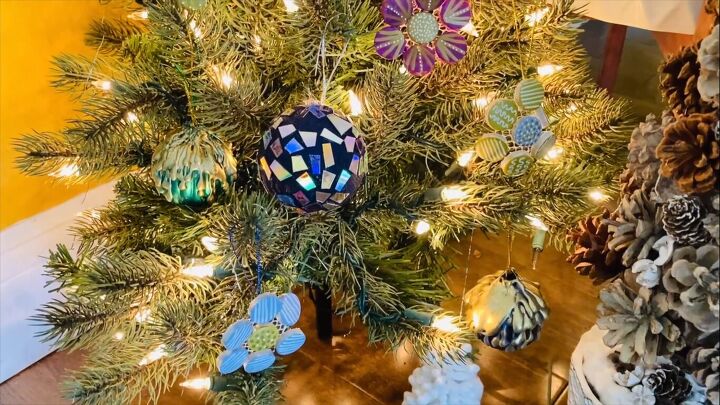
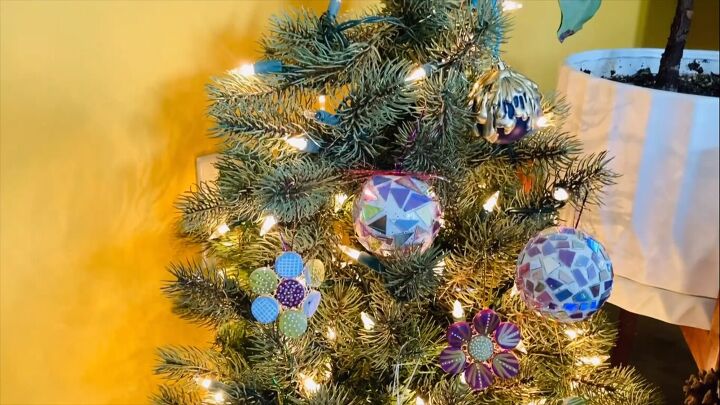
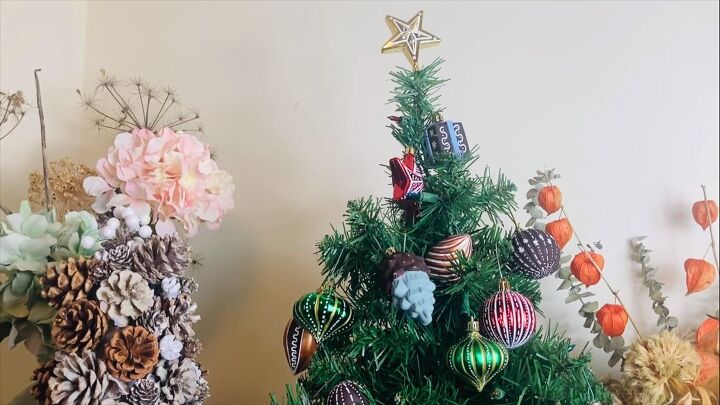
The DIY Christmas ornaments are all hung now on the tree. I'm really happy with how these turned out. They're all very personal and made for a fraction of the cost of buying them new. I hope you've enjoyed this video and I have inspired you to have a go.
Which of these DIY Christmas ornament ideas was your favorite? Let me know in the comments below.
Check out more easy DIY Christmas ornaments and DIY painted ornaments in my other tutorial:
More easy DIY Christmas ornaments


Comments
Join the conversation
-
Wow, what beautiful ornaments. Thank you for your wonderful ideas. Christmas is just around the corner. I better get started. Have a great day. Stay safe.


Frequently asked questions
Have a question about this project?