


How to Make Gifts Even More Special With DIY Wrapping Paper
Creating your own DIY wrapping paper is a fun and creative way to make your gifts even more special. In this step-by-step tutorial, I'll show you how to make custom wrapping paper using sponges and cookie cutters. Let's get started!
Tools and materials
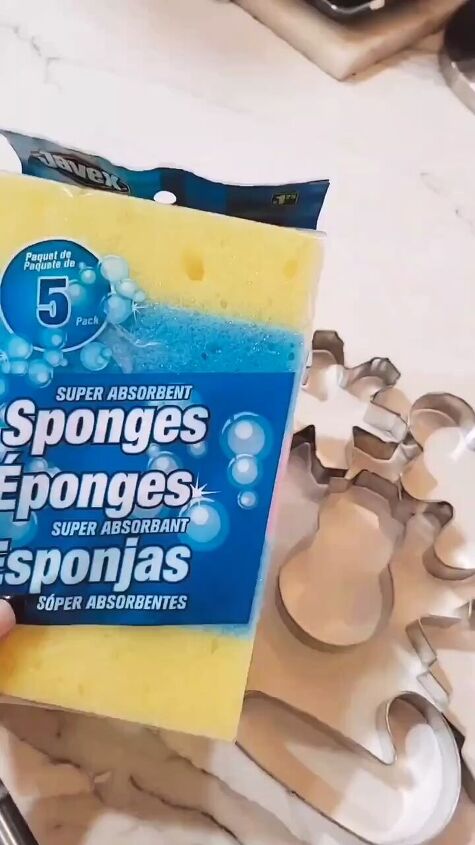
- Sponges
- Cookie cutters (in a shape you like)
- Kraft paper roll
- Acrylic paints
- Paintbrush
- Palette or disposable plate
- Newspaper or plastic sheet (to protect your workspace)
- Scissors
- Marker
- Water and paper towels (for cleaning)
Table of contents
Step 1: Prepare Your Workspace
Lay down newspaper or a plastic sheet on your workspace to protect it from paint spills. This will make cleanup much easier.
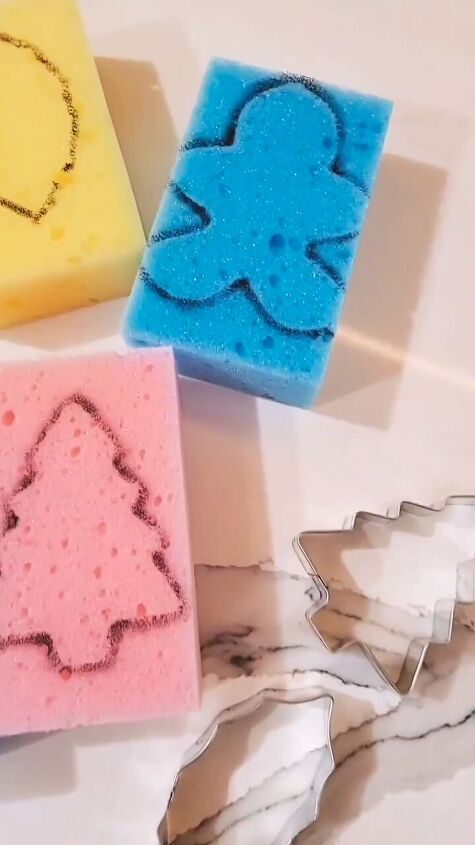
Step 2: Cut Out Sponge Shapes
Take a sponge and your chosen cookie cutter. Place the cookie cutter on the sponge and trace its shape with a marker. Use scissors to carefully cut out the traced shape from the sponge. Make sure it's well-defined and neat.
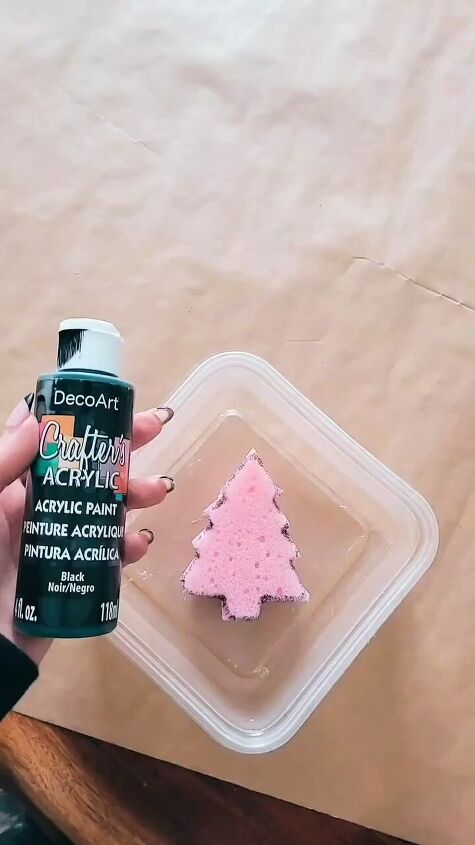
Step 3: Select Your Paint Colors
Choose the acrylic paint colors you'd like to use for your DIY wrapping paper. Pour a small amount of each color onto a palette or a disposable plate for easy access.
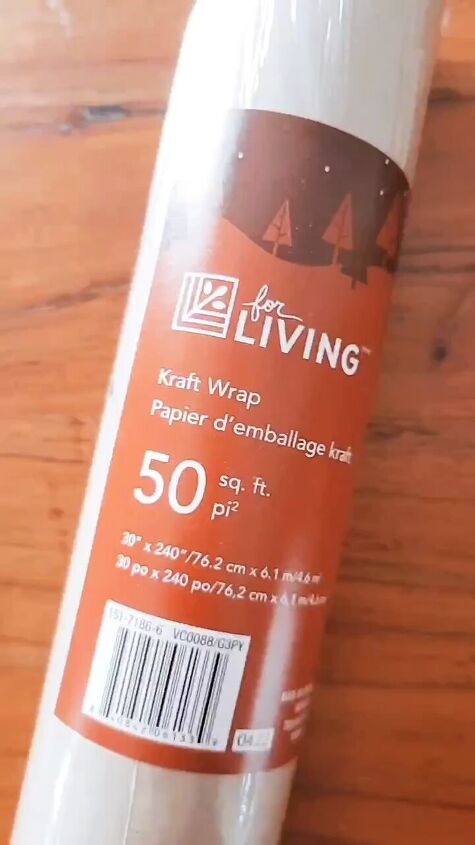
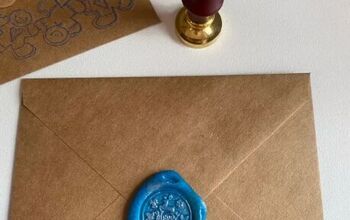
Step 4: Prepare the Kraft Paper
Roll out a length of kraft paper from the roll, ensuring it's long enough to wrap your gift. Cut it to the desired length.
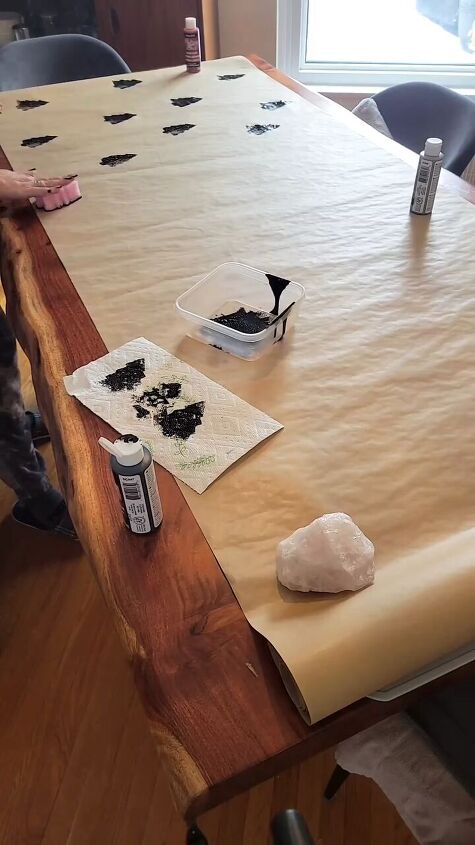
Step 5: Start Stamping
Dip the sponge into one of the chosen paint colors, ensuring that the entire shape is coated evenly. Carefully press the painted sponge onto the kraft paper. Apply gentle and even pressure, so the shape transfers clearly.
Repeat the stamping process with your sponge and various paint colors, creating a pattern or design as you go. Feel free to get creative with your color choices and placements.
Step 6: Allow to Dry
Set your painted wrapping paper aside and allow it to dry completely. Depending on the thickness of the paint, this may take a few hours.
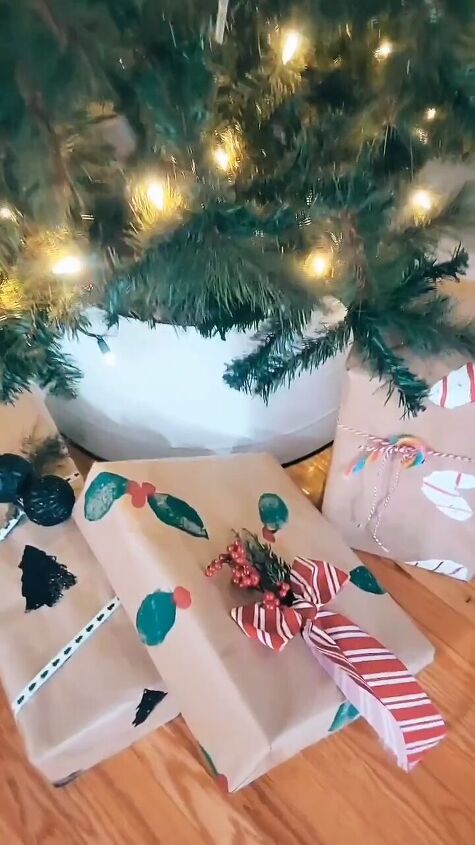
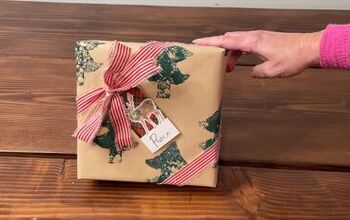
Step 7: Wrap Your Gift
Once your DIY wrapping paper is dry, it's ready to use! Wrap your gift with the customized paper, and secure it with tape. Don't forget to add a ribbon or bow for that finishing touch.
Step 8: Clean Up
Clean your sponges, paintbrush, and palette with water and paper towels. Properly dispose of any leftover paint or paper scraps.
DIY wrapping paper
Creating your own DIY wrapping paper is not only a budget-friendly option but also a fantastic way to add a personal and artistic touch to your gifts. Whether you're using sponges and cookie cutters to make shapes or trying other creative techniques, your customized wrapping paper is sure to make your gifts stand out.
Have fun experimenting with different designs and colors, and let your creativity shine through in every gift you give. Enjoy the satisfaction of knowing that your wrapping paper is as special as the gift itself!
Don’t forget to leave me a comment and let me know how your DIY wrapping paper turns out.
Follow @createdbyfarran on Instagram for more DIY ideas.


Frequently asked questions
Have a question about this project?