


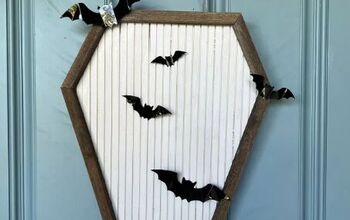
Halloween Coffin With Bats

These coffin wall/door hangers or table Halloween decor with bats with their neutral colors will go perfectly with any type of Halloween decor you already have.
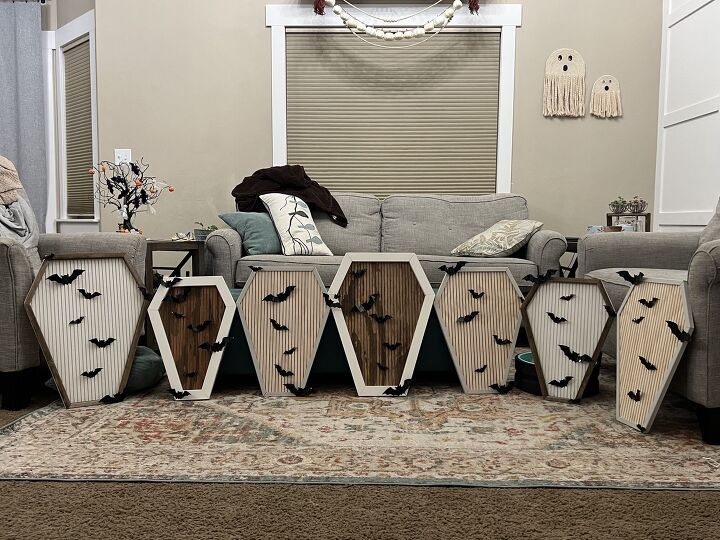
The best part is that you can make them in any size you'd like. For this tutorial I will just talk about the largest size (18" wide x 23" tall) I made. The angles all stay the same when scaling these down.
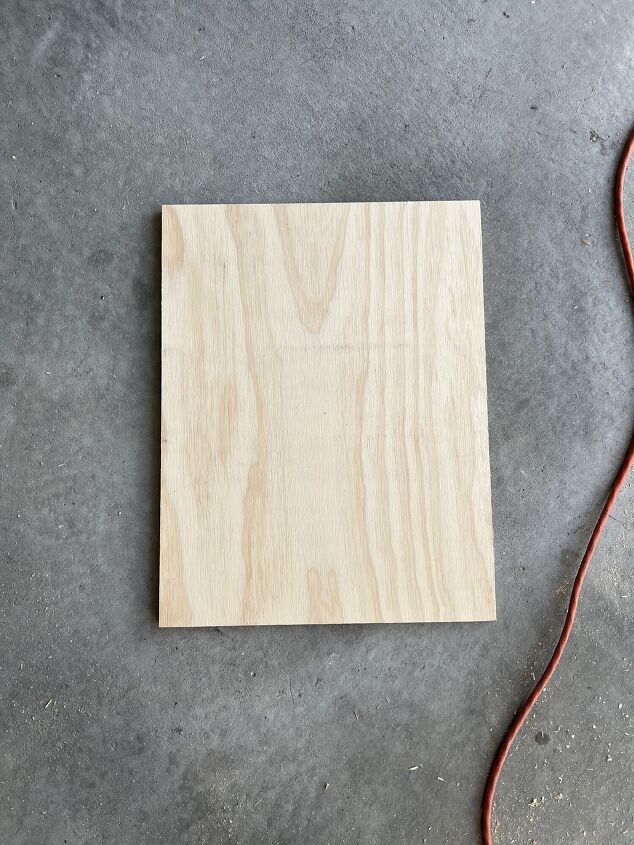
Start off with a sheet of plywood. I just used scraps laying around my garage from other projects. Most sheets were 3/4" thick, but a few were 1/2". You can use any thickness you'd like.
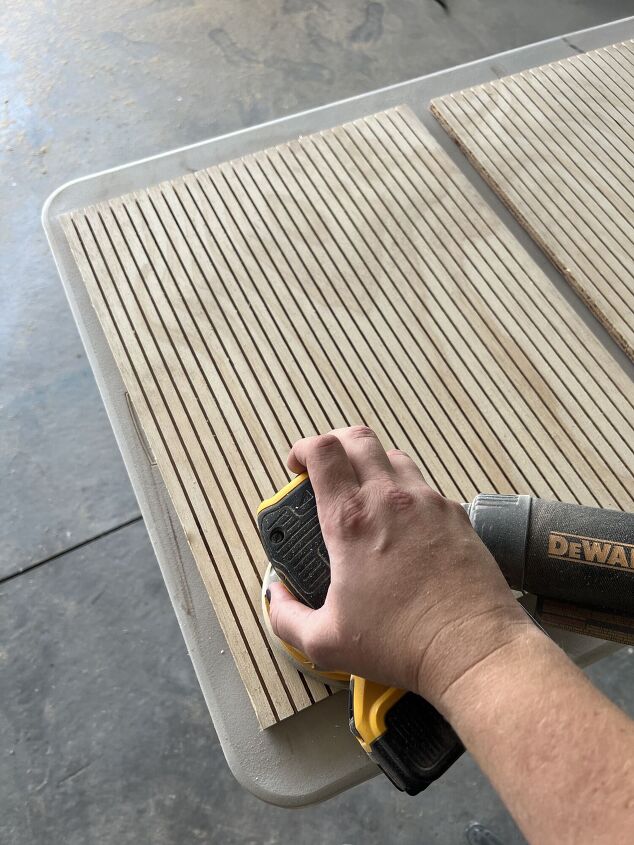
To add the fluted (vertical lines) to the backing of these coffins I set my saw blade to a depth that would only go 1/3 of the way through the material. For a more in-depth version of this tutorial and how I added this fluted detail visit my blog.
When you get all the grooves made its time to sand. Sanding is one of the most important steps in woodworking. I used 120 grit to do just a quick rough sanding. At this point I either stained the backing, added a clear coat to the natural wood or paint the backing white.
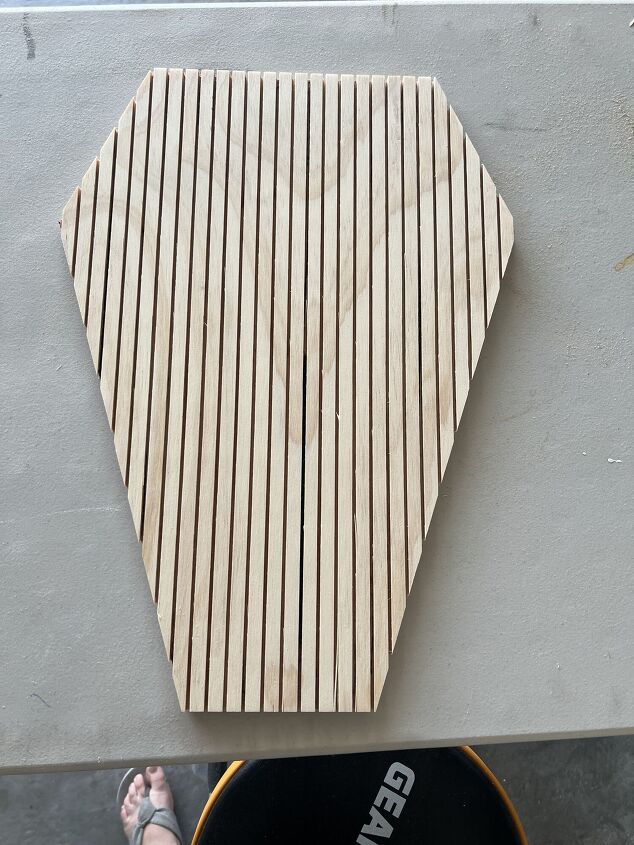
Next it was time to cut out the coffin shape. I traced a paper coffin onto my plywood then used my sliding miter saw to cut the sides.
Next was time to cut my side pieces. For most of my coffins I added the frame to the top of the plywood. But after making a few that way, I changed things up because I didn't like seeing the side of the plywood. These are the angles I set my miter saw to when cutting the edges.
For the frame on top of the coffin backing: I measured each side of my coffin and kept in mind that those lengths were the longer lengths on my mitered pieces.
Frame on the outside of the plywood: I took the measurements from each side of my coffin and cut my mitered frame pieces with those measurements being the shorter side of my frame pieces.
With all my frame pieces cut, it was again time to paint or stain. I only worried about painting 3 sides of my frame pieces as the backs will not be seen.
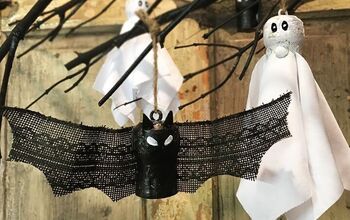
I attached my frame pieces with wood glue and an occasional brad nail here or there if a piece was warped. Then I clamped the pieces all down and left it to dry. All that was left after that was a quick sand to the back of each coffin, attaching these cute bats from Amazon. I attached a piece of twine to the back of the one I'm keeping to make it a door hanger.


Frequently asked questions
Have a question about this project?