


How to Make a DIY Giant Spider For Your Outdoor Halloween Decor

If you suffer from arachnophobia, look away now! Today, I'm going to show you how to make a DIY giant spider for Halloween. Using simple materials like pool noodles, an exercise ball, and some tape, you can craft a creepy crawler that's sure to grab attention.
The end result? An eye-catching (and, dare I say, cute?) giant spider that's perfect for Halloween decor. Get ready to transform your space with this frightfully fun DIY spider decoration!
This post was transcribed by a member of the Hometalk editorial team from the original HometalkTV episode.
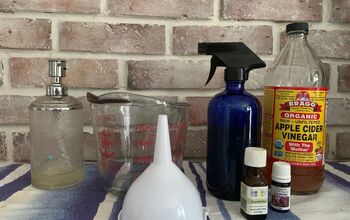
Tools and materials
- Pool noodles
- Black exercise ball
- Pump
- Black sports ball
- Gorilla tape
- Scissors
- Ruler
- Sharpie
- Knife
- Black spray paint
- White paint
Steps
1. Prep the materials
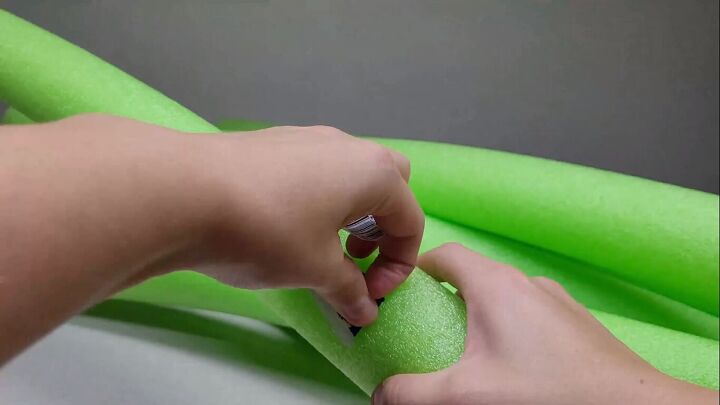
So these pool noodles have stickers on them and you need to take these stickers off. Just peel them very slowly and try not to remove too much of the pool noodle.
DIY Pool Noodle Halloween Decor
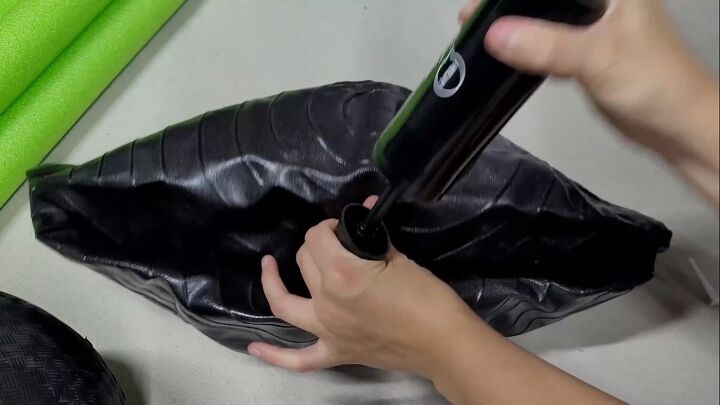
Now we're going to go and inflate our ball. So it did take a little bit of time to go and inflate this. Make sure you cap it or it's going to go and leak.

2. Tape the balls together
The Gorilla Tape is really strong and really sticky. Like so sticky to the point that it's going to leave residue. Take a piece of the tape, put it into a circle, and stick the two balls together. Use a bunch of pieces of tape and just continue to tape these two together and you're going to want to stack it as you go.
Make sure to secure both sides as well after you have taped the entire center together. Ensure it's fully and totally secure. Move it around, and bounce it a bit. I ended up just throwing this on the floor a couple of times and it stuck together really well.
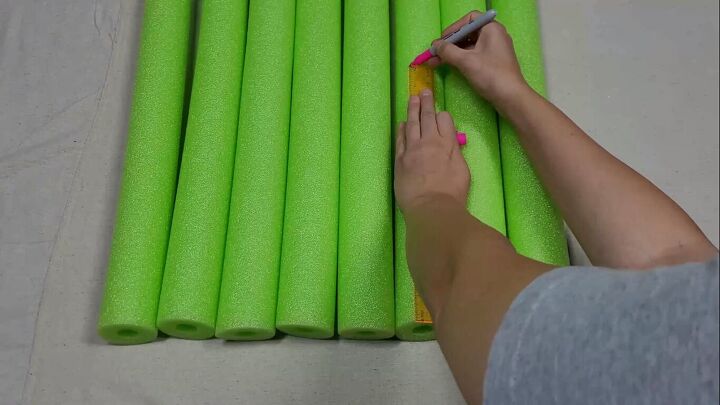
3. Make the spider legs
Now we're going to go and measure the pool noodles. Measure a foot up, use a sharpie or permanent marker to mark, and go and do this for all of the pool noodles.
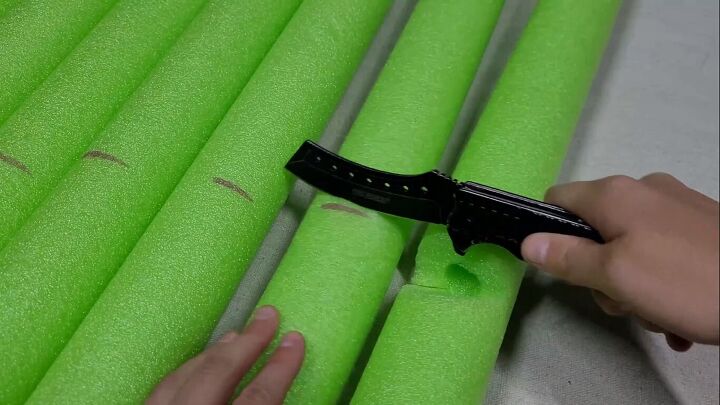
Use a knife to go and cut a triangle into the piece. You can also save the cut pieces for a different craft or maybe fangs for your spider if you want them.
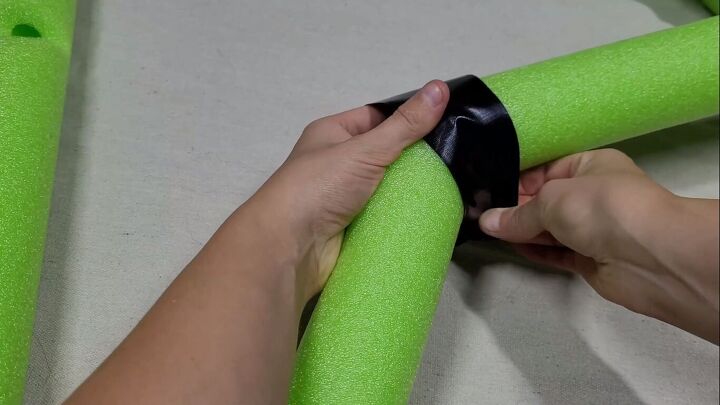
It should have a bend after you're done. Take some of the tape and tape the pool noodle down so it's secured and is bending. Do this with every one of the noodles that you went and cut.

Measure how big you need the legs by trying out different placements on the body.
You might need to move the legs around a little bit which is fine, but after you've figured out where this pool noodle is going to touch the ground, cut it and maybe leave yourself a couple of inches at each of them just so you can pretty much move these legs wherever you want to.
Now that you have one of your legs measured out, you can go and cut the rest to pretty much the same size.
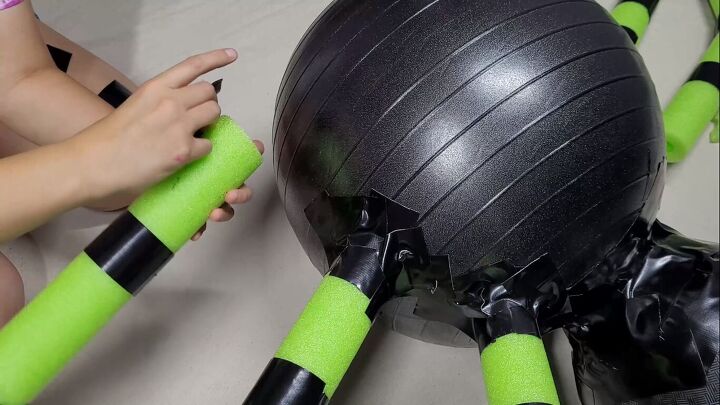
4. Attach the spider legs to the body
Now we're going to the legs onto the exercise ball. Use little tiny pieces of tape and tape the top, bottom, and all of the sides. Make sure they're secure and continue to go and do this.
After you check that all of the legs are fully secure, what you're going to go and clean up some of the tape that's around there.
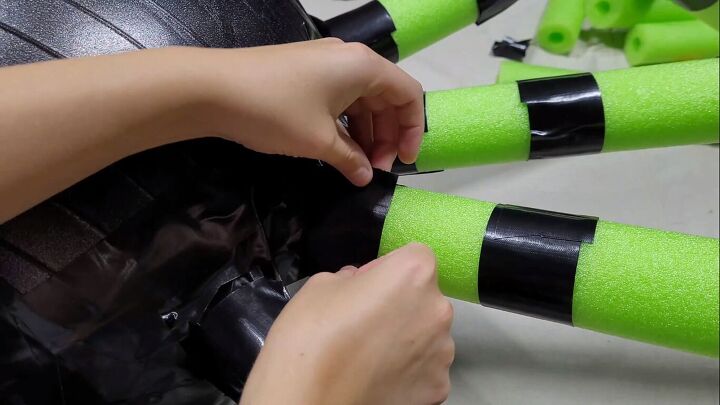
You can also add "stripes" to the legs with tape. For each of the legs I put four stripes, including the little piece that's in the middle at the bend, so it made five on each leg.
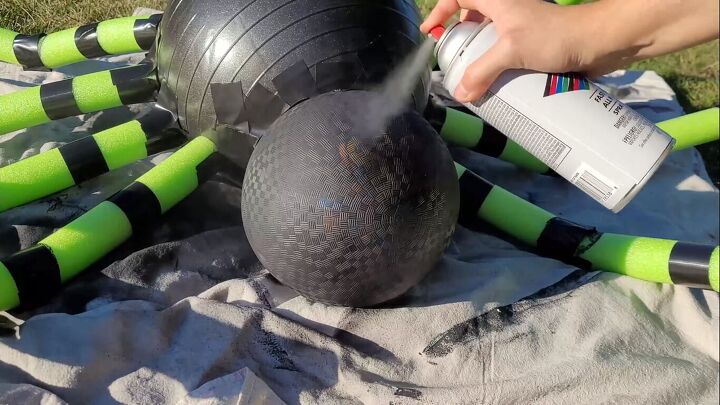
5. Paint the spider's head & eyes
I wanted to get this entire spider assembled before I went outside and spray-painted anything on it. You can spray-paint the balls beforehand or after, I just thought that it was going to be a lot easier. So I'm spray painting this black and trying to get all of the extra text off of the ball here.
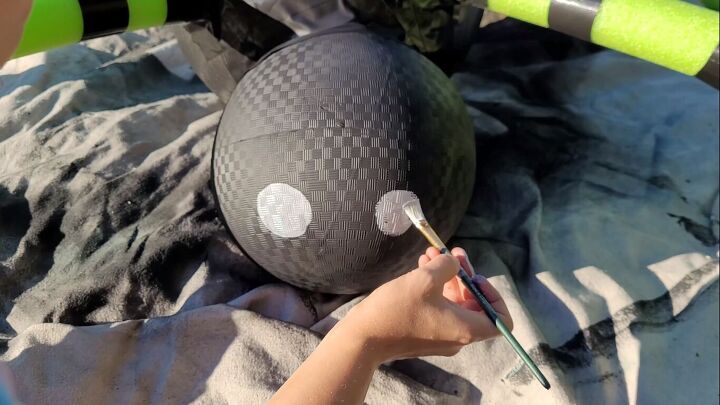
Now after this has dried, which it really didn't take too long because it was the summertime when I went and did this, it was still really really hot out, what you're going to do is you're going to go and paint on some eyes. You can actually use spray paint for this and keep in mind this is a spider so it should have eight eyes. You can give the spider some pupils as well.
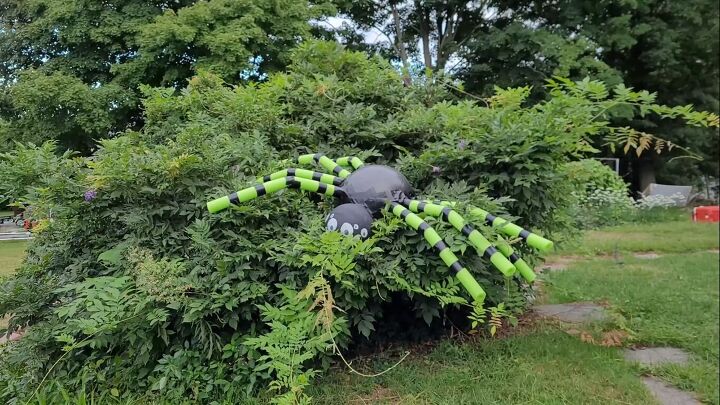
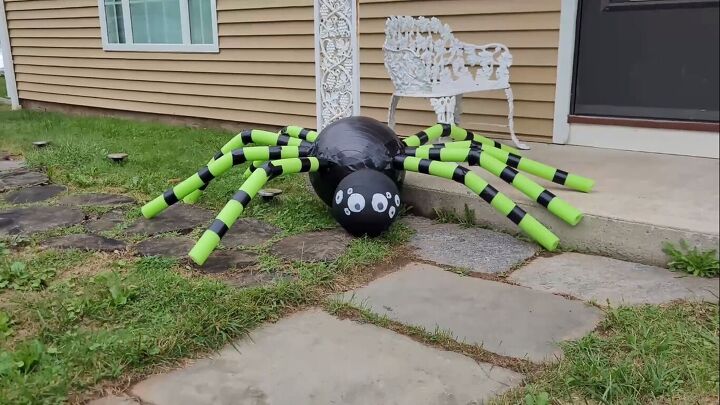
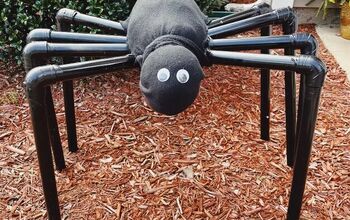
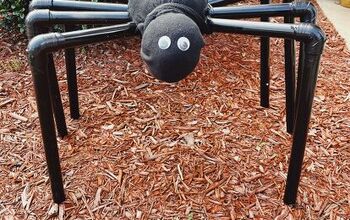
DIY giant spider
Here's the finished DIY giant spider! This spider's first location is going to be a bush, but the nice thing about this spider is that you can go and move this pretty much anywhere. So say you don't like the spider being in the bush here, though I think he looks adorable here, you can easily just pick him up and bring him to the next location.
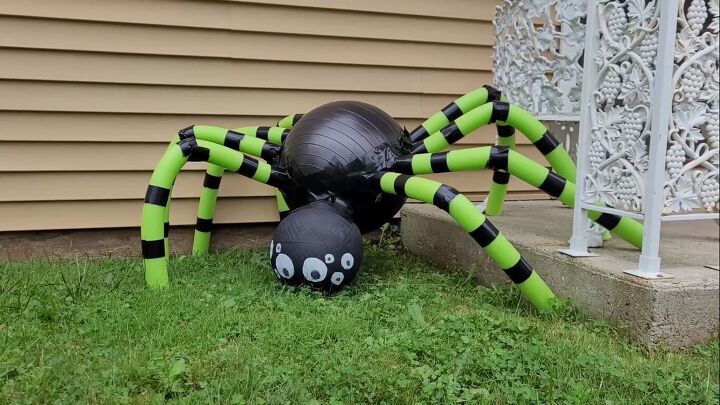
These pool noodles, as long as they're secured properly, can actually support a small amount of your spider's weight. So you can bend them, you can position them, and there you go.
I think he looks best here. This craft is a lot of fun to go and make. What do you think of this DIY giant spider? Let me know in the comments below.
Comments
Join the conversation
-
What a totally cool adorable idea. Great job Love it.
-
It's an interesting idea. You have a real holiday atmosphere


Frequently asked questions
Have a question about this project?