


DIY Floral Skull

I had the itch to do something creative the other day! Although, we are only a week away from Halloween, I ended up making another Halloween decoration 💀 It was super simple and I love how it turned out, so I figured I’d share it with you! It’s perfect for a last minute centerpiece OR save the post and try it next year!
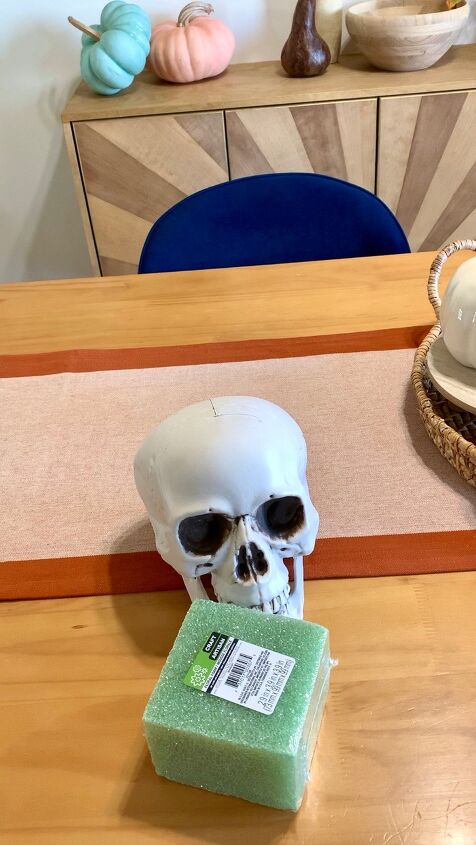
Here’s the skull I used. I bought mine at Joann Fabrics last winter for 90% off. The foam is from Dollar Tree.
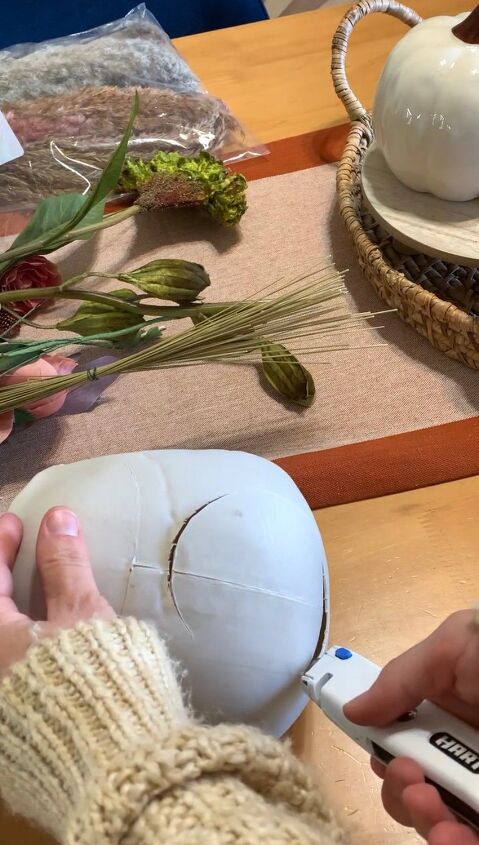
I started by cutting a circle out of the upper back part of the skull with a utility knife.
*Depending on the skull you use, you might want to add something in the bottom for weight. This skull is really lightweight, and after I put a bunch of flowers in the foam it started tipping toward the back. I ended up adding some rocks inside the front of the skull (I’ll show you when I get to that point).*
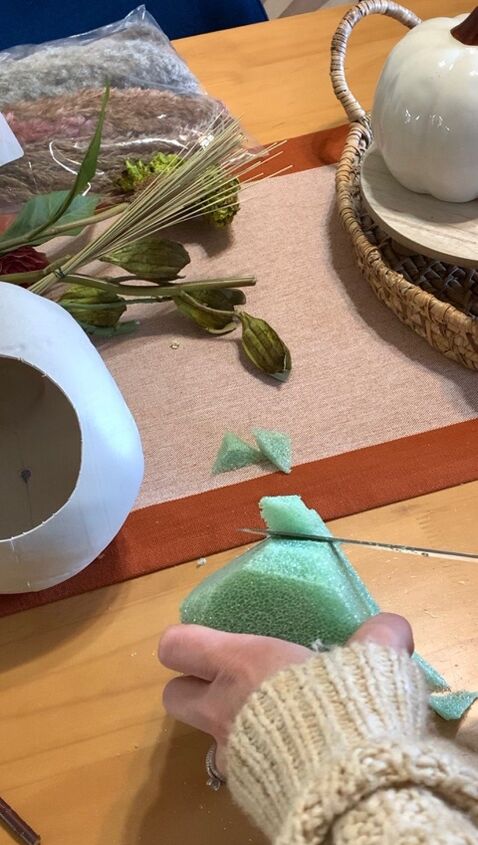
Once you’ve cut out the opening in the top, you may need to cut your floral foam to fit. I used a serrated knife to saw pieces of foam off until it fit through the opening in the skull. I then took E6000 glue and applied it to the bottom inside of the skull and glued my foam in place.
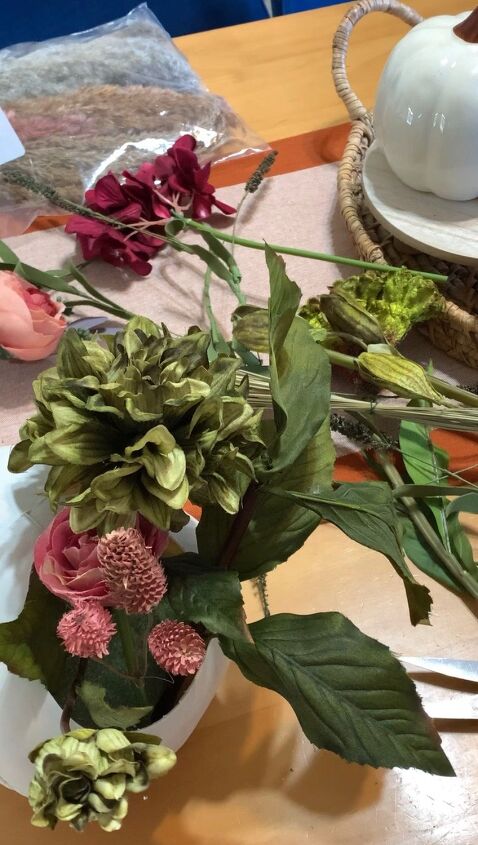
This is the fun part–adding the florals! I’ve slowly collected faux florals over the past 3 years. They’re a great way to add some visual “warmth” to a space and can be easily swapped as the seasons change. I’ve got a decent collection now, so I was able to just choose things from what I have. If you’re buying faux florals, Dollar Tree has them for $1.25 but they aren’t the most realistic looking. I typically get mine at Joan Fabrics or Hobby Lobby when they are 50% off (or up to 90% after each season!) However, the majority of the ones I used here are actually from an arrangement that I got from Goodwill for $3! When buying full price, the cost can really add up, but you can use as many or as few as you’d like to keep it affordable.
I started with 3 flowers and then added some leaves and fillers. I continued adding things in, taking out things that didn’t look right and arranging the things that did.
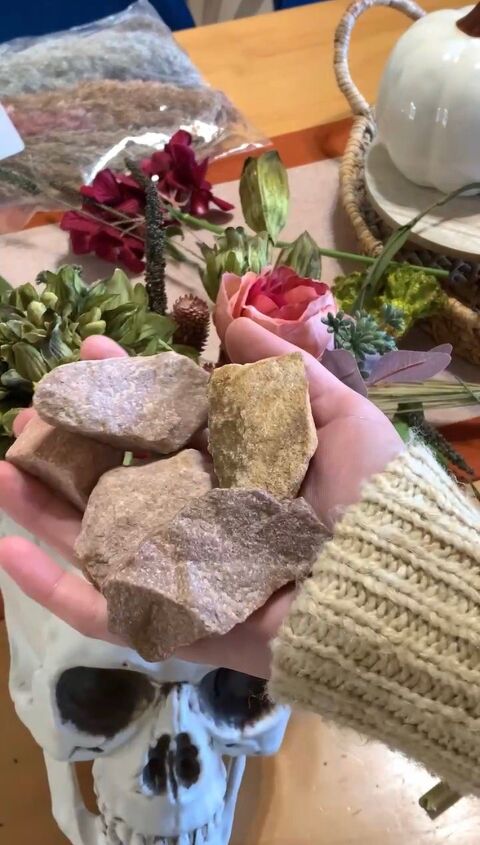
This is the point when I realized I needed some weight in the front. Here are the rocks I used that I picked up from underneath our deck 😂 They worked perfectly! I just squeezed them in, in front of the flowers and dropped them into the skull. I mentioned this above because, it’s doable after you add the flowers but, it would be much easier to just do it in the beginning!

Once I got the look I was going for, I took some dried moss and stuck it around the cut edges of the skull to hide the raw edge. For my florals, I tried to avoid cutting the stems if I could, and bent them to fit instead. That way if I ever want to take them out and use them for something else I can. I didn’t glue anything except the foam to the skull, so the florals are all reusable.
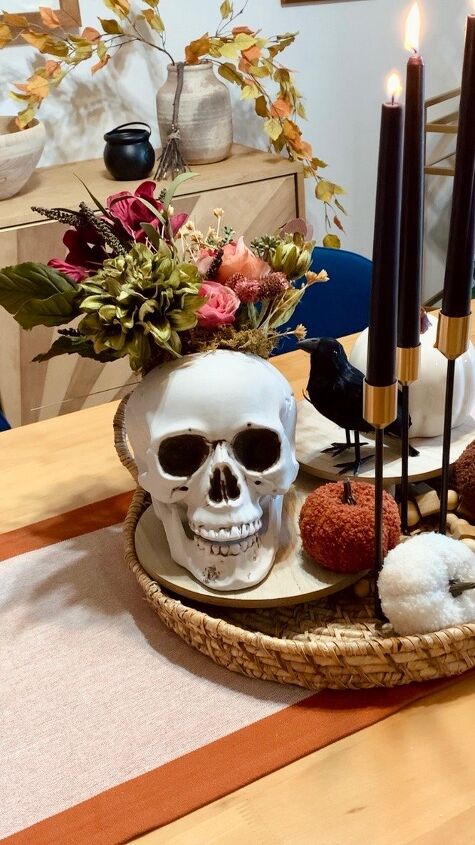
Here’s the final look!! Since I used it on the dining table, I paid a bit of attention to what the back looked like as I arranged it, but if you plan on placing this on a shelf that wouldn’t be necessary. If you prefer your tutorials in video form, here’s a link to the reel I made on Instagram!
https://www.instagram.com/reel/Cj6xJNisrM5/?igshid=YmMyMTA2M2Y=


Frequently asked questions
Have a question about this project?