


How to Make Creepy DIY Halloween Candle Holders

Get ready to add an eerie and enchanting touch to your Halloween decor with a DIY project that combines creativity and spookiness. In this guide, I'll show you how to transform simple Dollar Tree finds into chilling Halloween candle holders featuring skeletal hands.
These hauntingly beautiful candle holders will not only set the perfect ambiance for your Halloween celebrations but also showcase your crafty skills.
Whether you're decorating for a haunted house party or simply want to add a touch of macabre flair to your home, this DIY skeleton project is sure to impress and send shivers down your guests' spines.
Let's dive into the step-by-step process of creating these bone-chilling candle holders that will make a striking addition to your Halloween decorations.
This post was transcribed by a member of the Hometalk editorial team from the original HometalkTV episode.
Tools and materials:
- Skeleton hands
- Craft knife
- Cutting board
- Hot glue gun
- Fairy lights
- Plastic candles
- Red crayon
- Lighter
- Pallet
- Scrap wood
- Brad nails
- Nail gun
- Black spray paint
- Screws
- Drill
- Black scarf
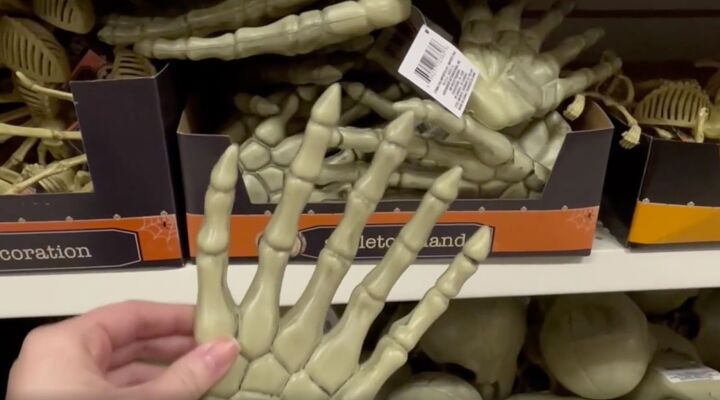
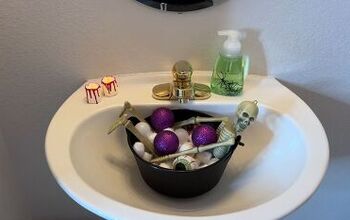
I picked up these hands, skeletal hands from Dollar Tree.
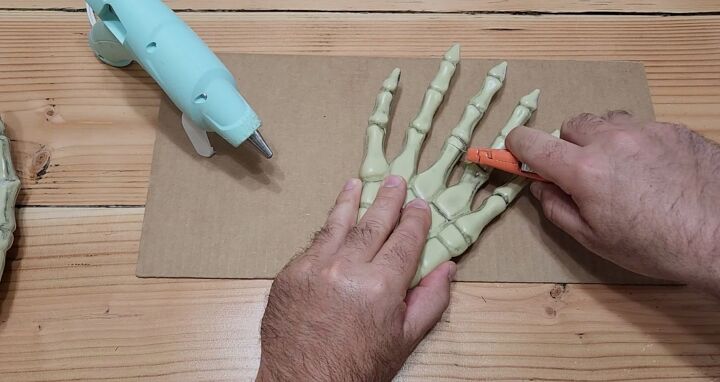
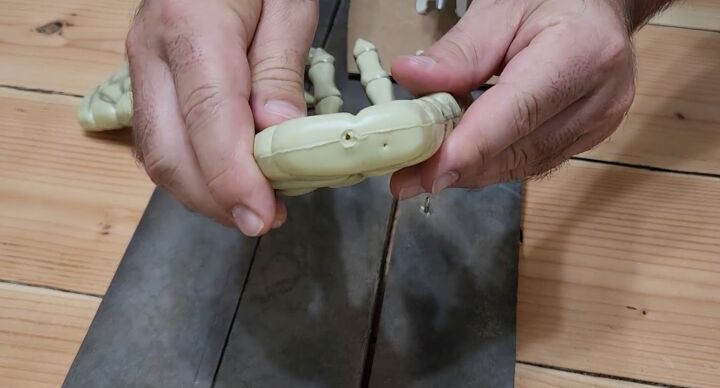
1. Reshape the skeleton fingers
To start this project, I went ahead and cut each finger at the knuckle. Be very careful when you're using a knife. The plastic is pretty thin, so it comes off pretty well.
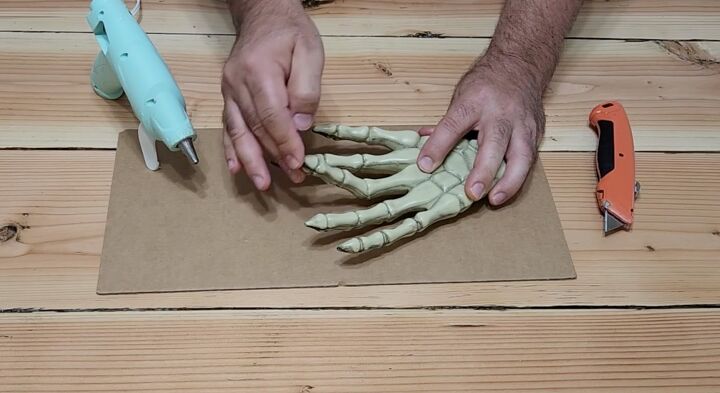
Once you cut out that knuckle, the finger will bend right up.
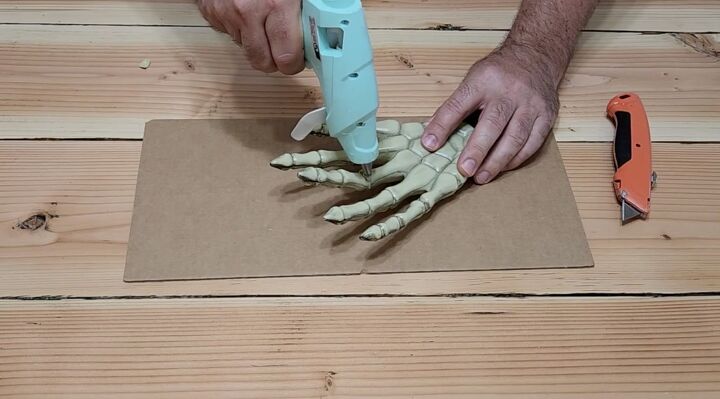
Just take some hot glue, put it in there, hold it in place for about 10 seconds, and it will stay right there. I did this with every finger on four sets of hands.
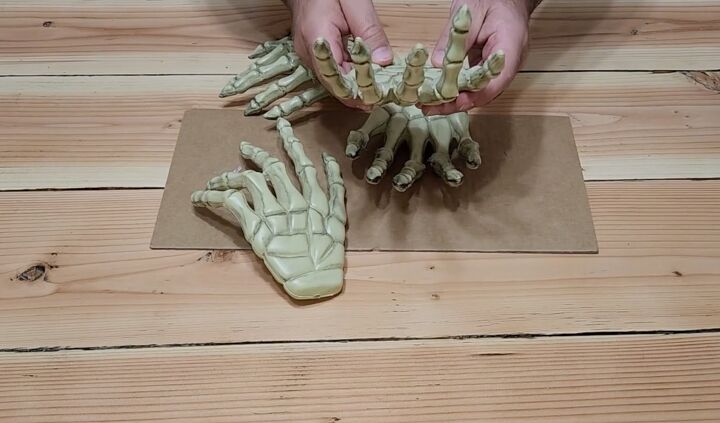
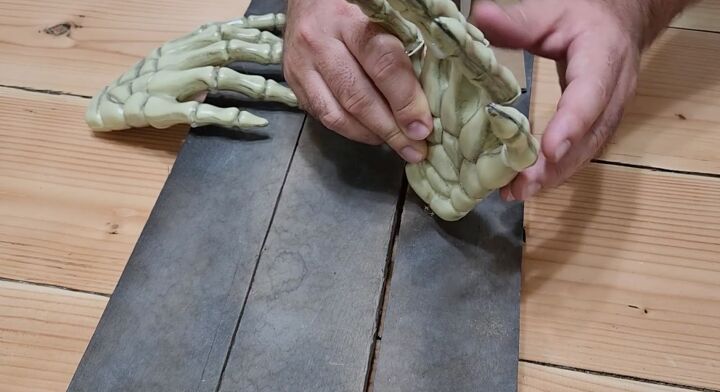
Some I pulled up higher than others. I wanted some randomness. It looks good that way.
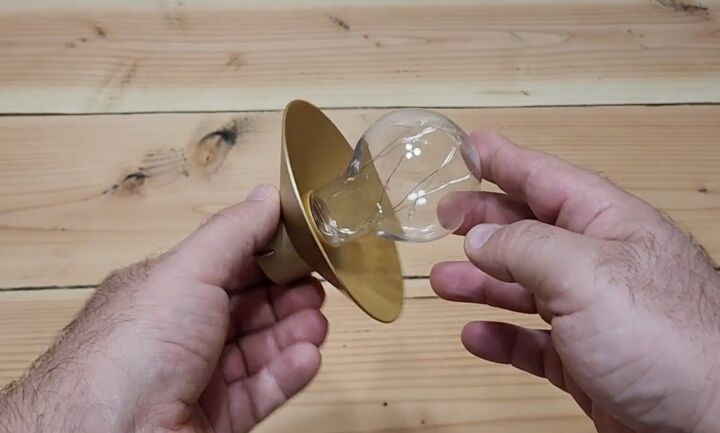
2. Disassemble the fairy lights
Next, I grabbed some of these fairy lights from Dollar Tree. I needed four lights but I only needed the battery pack and the lights themselves, not the other items.
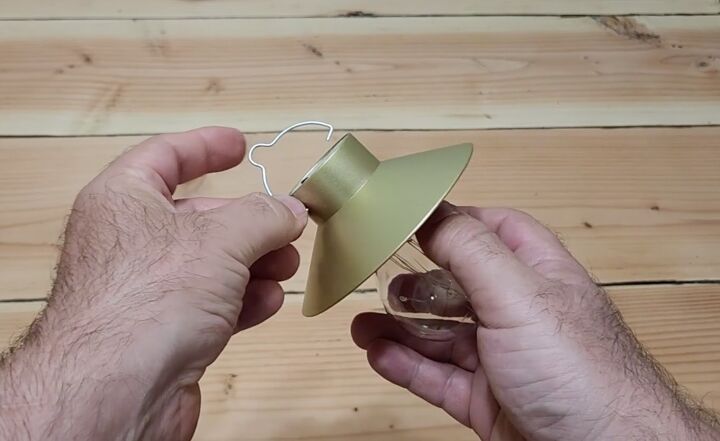
The first thing I did was remove the clip, bulb, and cover.
Then I pulled out the lights and the battery pack.
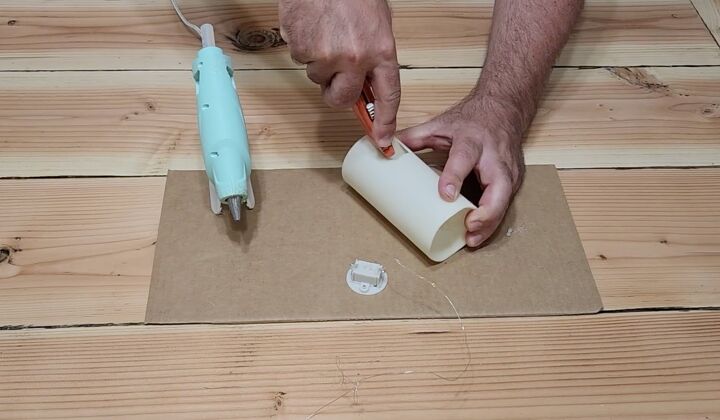
3. Put the fairy lights inside the candles
I also grabbed four of these candles when I was at Dollar Tree and I want to put the fairy lights inside. When they're glowing, you will see the lights through the plastic.
This plastic is easy to cut. I just need a little bit of a square. Again, be careful. Go ahead and cut that square out on all four sides. It's easy to do as long as you've got a sharp knife.
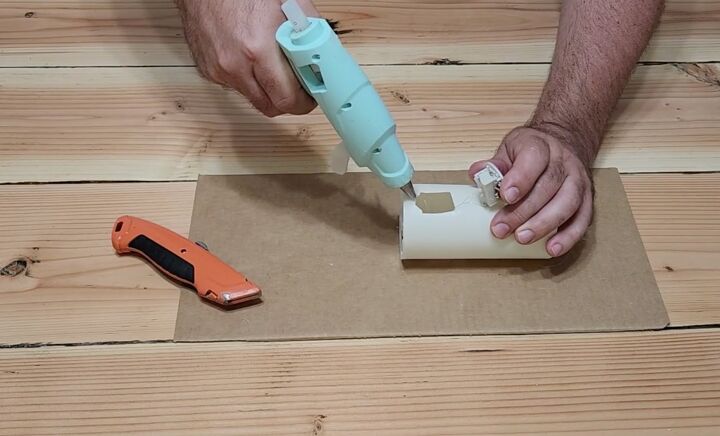
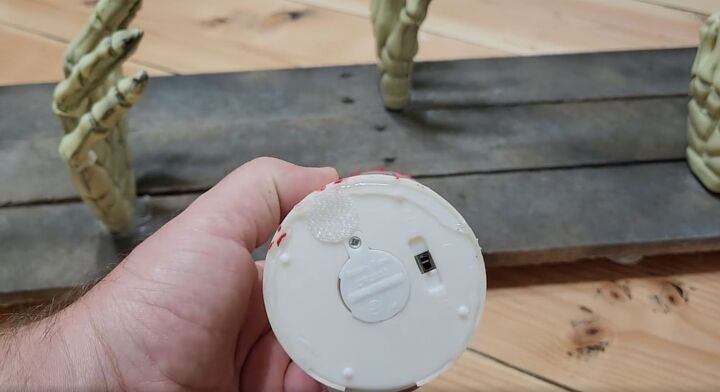
Then go ahead and put the fairy lights inside. A little dab of hot glue on the side will be perfect to hold the battery pack in place.
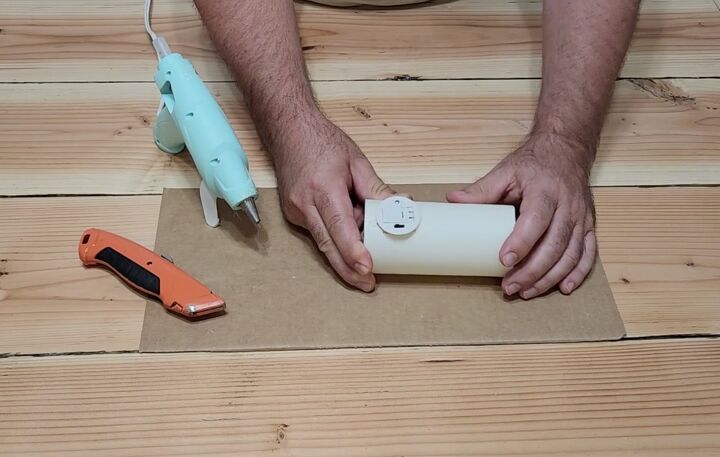
This, when we mount it with the battery pack, will go on the back side and you'll barely even see it.
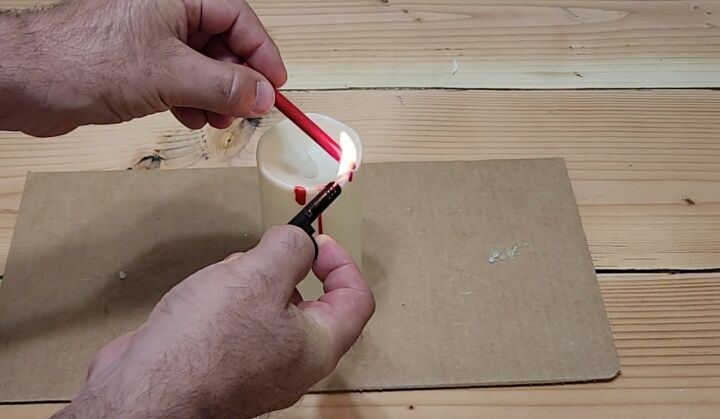
4. Melt a red crayon
Just when I can't think I can get spooky enough, I grab a red crayon and a little lighter and let that drip all along the candle. I think you know what look I'm going for on this.
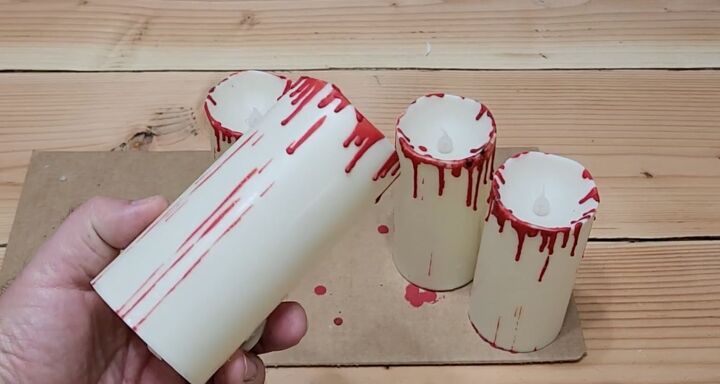
Look at that. It even comes with some blood clots on there. These are the four candles I'm going to use. Only one crayon was used to make all this.
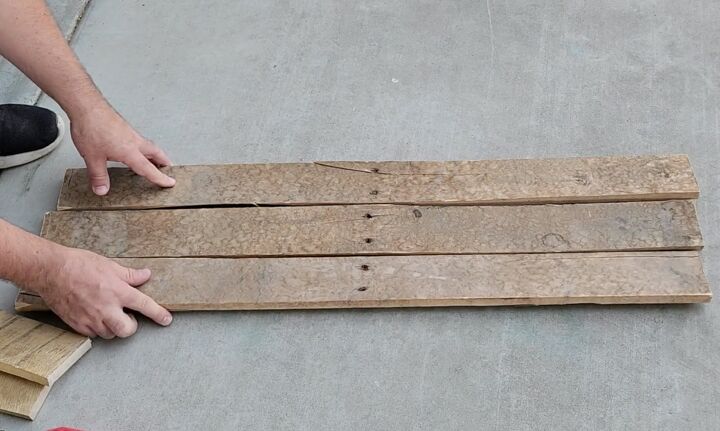
5. Make the mount
Now for the boards, I wanted to use some old pallet wood. It has an old antique look to it, and it's perfect for this Halloween project.
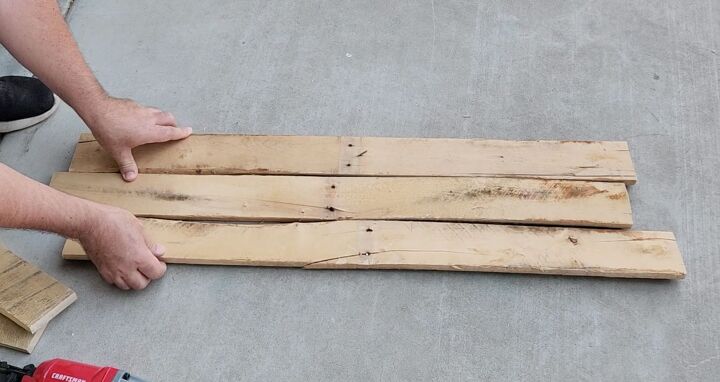
I didn't want the nail holes lined up next to each other, so I offset them a little bit.
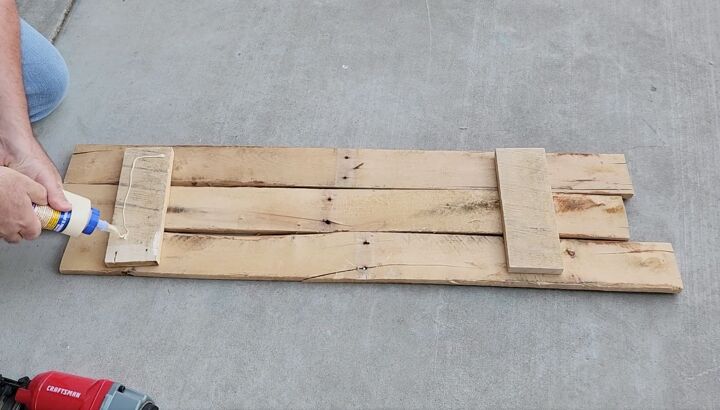
Attach scrap wood to the pallet boards
Then I took some other scrap wood, put some glue on the back, and used it to secure the boards.
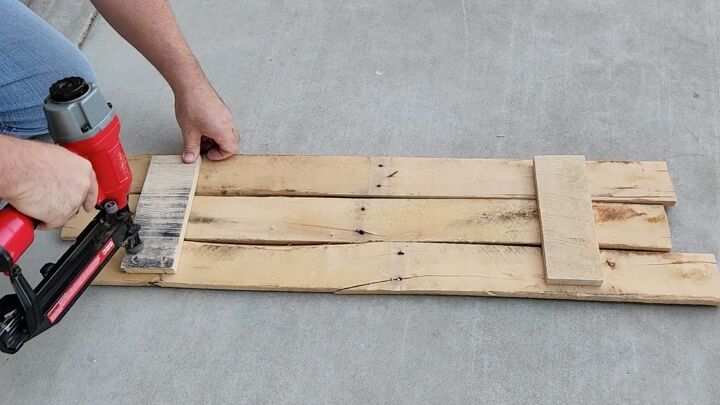
I also used some brad nails to put that together. This glue holds really well and once I got the brad nails in, it held the boards together. I'll cut off the ends just to make them square as well.
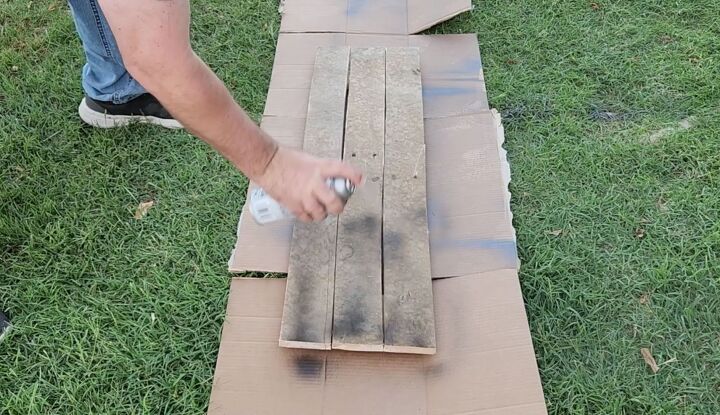
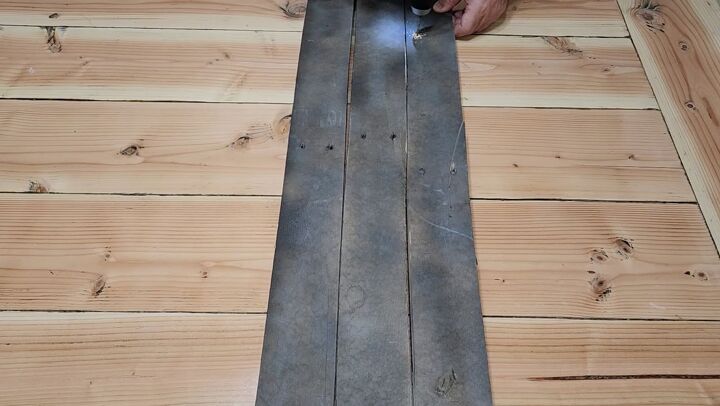
Spray paint the mount black
Next, it's time to paint it. I started with a little bit of black paint. I don't want this to be solid. I can just go random on it all over and anywhere. I want to make sure though that I do get the sides.

Then I'm going to add just a tiny bit of gray. It's going to give it kind of an old antique look.
Drill holes and add screws
I need to put some nails and screws through there once the paint was dry. They are going to hold the hands on. I'm going to drill four holes to predrill and allow the screws to go through.
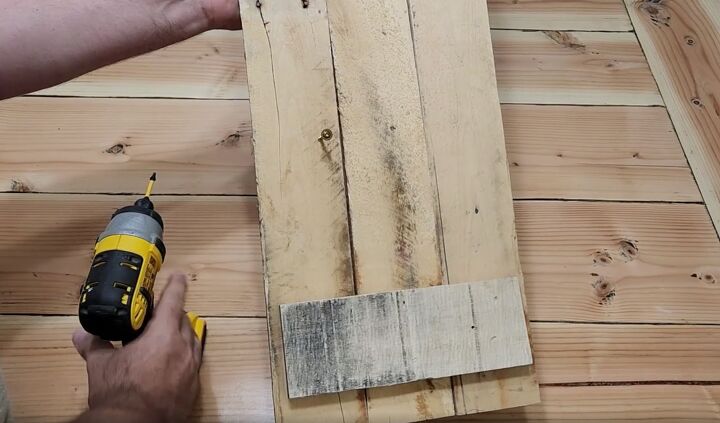
Once I get these holes drilled, what I want to do is start the screws on the back side. They will be poking out the front.
6. Attach the skeleton hands
After the screws are in place and sticking out on the front side it’s time to attach the hands. There is a little hole in the bottom of the hand and that will be where the screw goes.
Just place that on the screw and start twisting. The threads of the screw will eventually pull down on the hand. Just keep going around in a circle, and once you get to the base of the wood, it's going to stop.
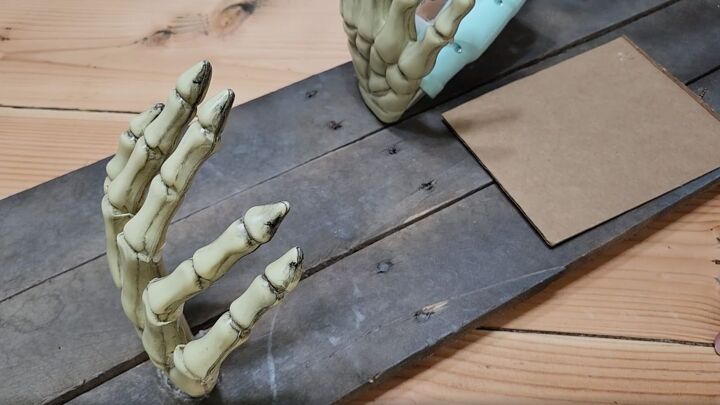
You want to make sure all the hands are facing the same way and then go ahead and grab some of that hot glue again and add a little to keep the hands in place.
To keep the candles securely in place, I add a little piece of velcro to the bottom of the candle and then to the palm of each hand.
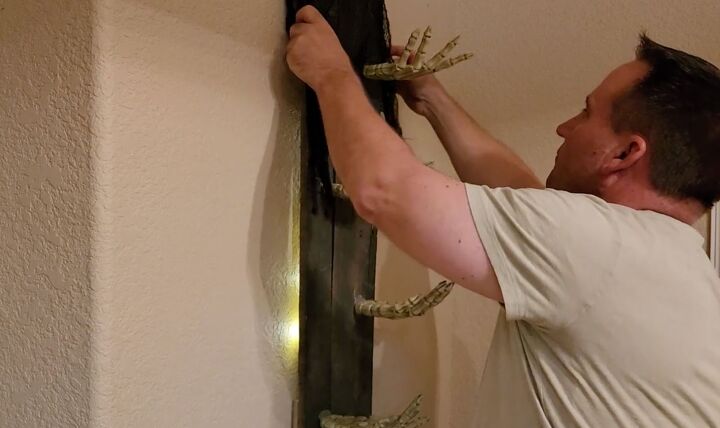
7. Attach the mount to the wall
After I got the wood mounted on the wall, I added a black scarf and some more lights to the top to make it look spooky.
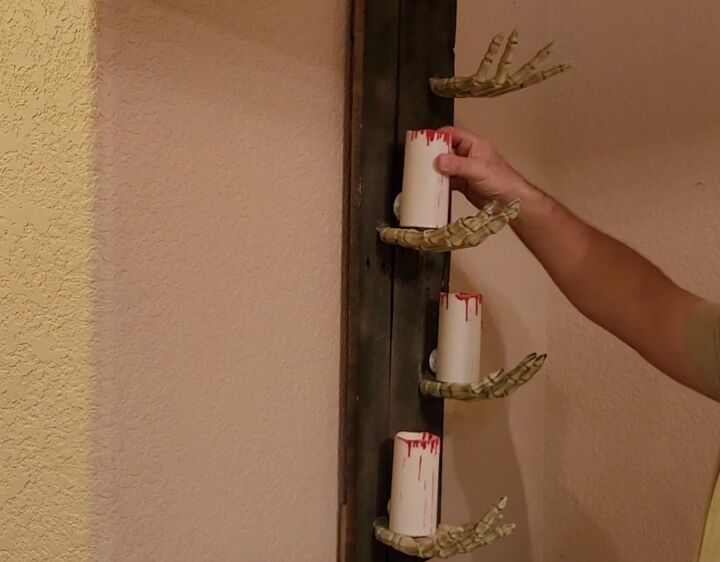
8. Add the candles
Finally, I added the candles to the hands and got ready to turn them on.
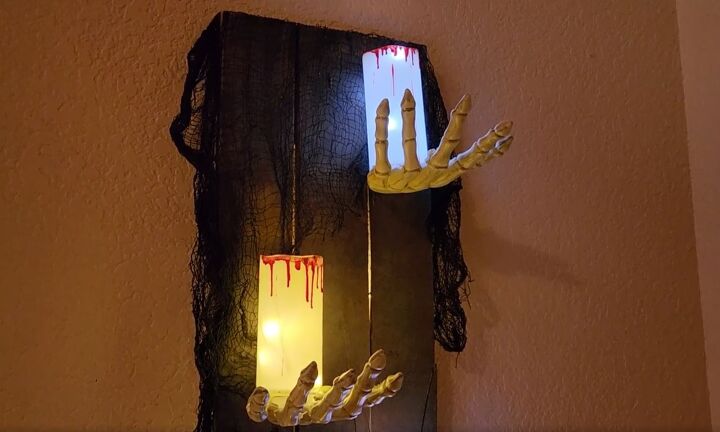
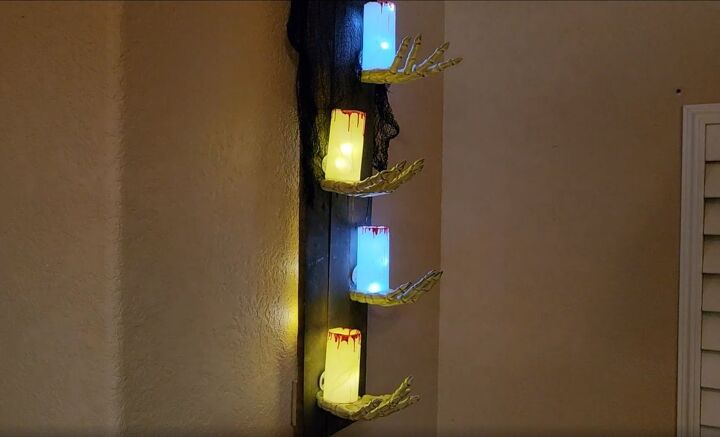
DIY Halloween candle holders
Look at that. It just glows in the dark. Our skeleton hands are holding up the candles with a little blood dripping from them.
More Haunting Halloween Decorating Ideas!
I hope you like this project. It's a spectacular project and I loved making it. What do you think of these skeletal Halloween candle holders? Let me know in the comments below.
Resources for this project:
See all materials


Comments
Join the conversation
-
I could see this awsome 'light fixture' hanging in a teen's room, or family games room all year round.
-
That's so cute! I'm going to try it next Halloween! Awesome job.


Frequently asked questions
Have a question about this project?
Mitchell, you always come up with the best projects! Did you choose the two kinds of fairy lights deliberately? I'm kinda partial to the yellow tinged lights. The blue-white lights, to me, hint at purity and Christmas, or other religious occasions. What do you think?