


Year-Round Beauty: How to Create a Timeless Mesh Blessed Wreath
Welcome to my wreath crafting tutorial, where I'll show you how to create a timeless and beautiful Blessed Wreath.
This comprehensive tutorial will walk you through the art of crafting a versatile mesh wreath that can grace your home's entrance throughout the year, regardless of the season or event.
Whether you're a wreath-making novice or a seasoned enthusiast, join me on this crafting adventure as we transform a roll of mesh into an enchanting decorative wreath.
This post was transcribed by a member of the Hometalk editorial team from the original HometalkTV episode.
Tools and Materials
- Self-healing mat
- Rotary cutter or sharp scissors
- 24-inch evergreen wreath form
- Deco mesh
- Glue skillet
- Berries (in off-cream and green)
- White sunflowers
- Neutral lace burlap ribbon
- Pipe cleaners
- Floral wire
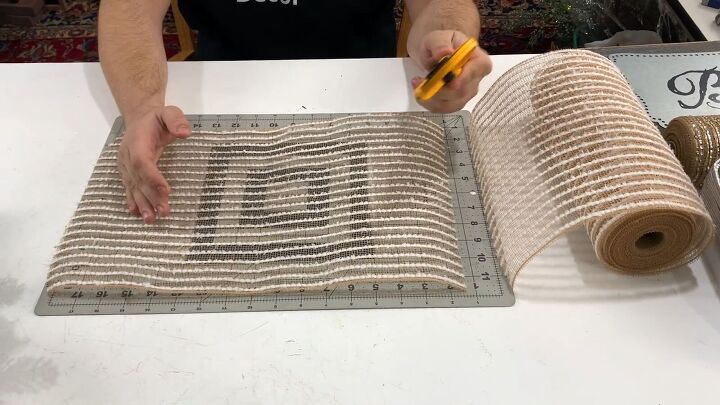
1. Prepare the Mesh
Start by laying out your roll of mesh on a self-healing mat.
To cut the mesh, use a rotary cutter for the cleanest edges, but sharp scissors will also work. Ensure that your cuts are precise and free from jagged edges.
We'll be cutting approximately 10 to 15 pieces, each measuring around 16 to 18 inches in length.
This same process applies to the champagne shimmery mesh; simply unroll it and trim it to a similar length of 16 to 18 inches (these pieces do not need to be precut as you will determine the amount needed as you attach them later on in the process).
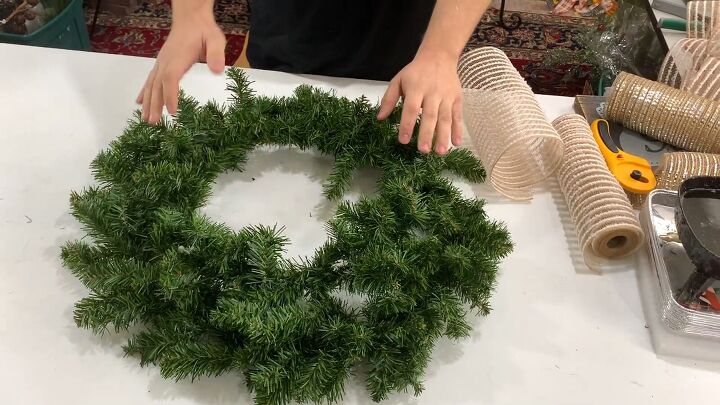
2. Setting Up the Base
For your wreath's foundation, you'll need a 24-inch evergreen wreath form. These are readily available and budget-friendly. These evergreen forms work beautifully year-round.
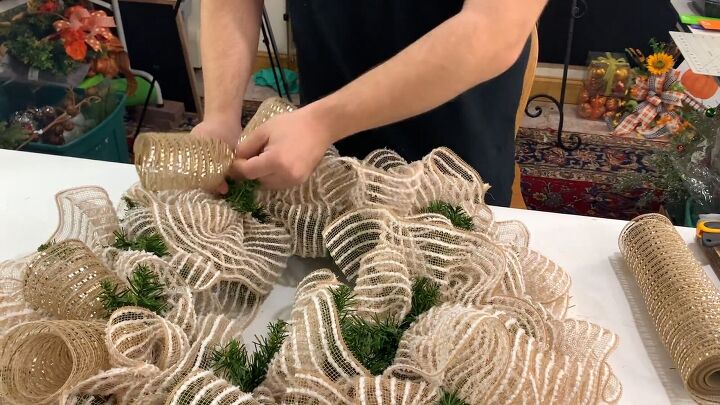
3. Crafting Mesh Ruffles
Take your cut mesh pieces, pinch them in the middle, and start gathering them towards you.
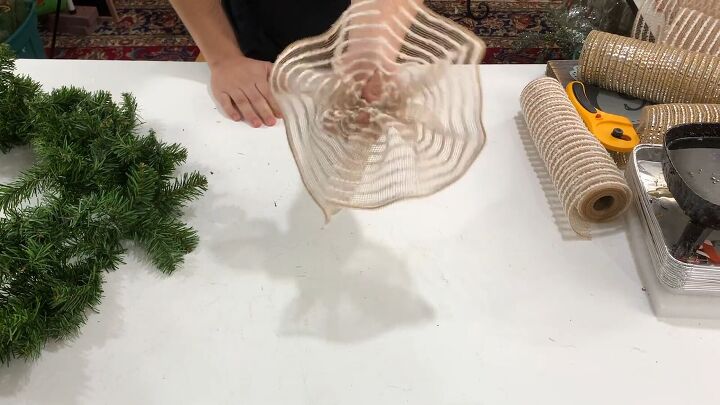
This technique creates ruffles, resembling bow ties.
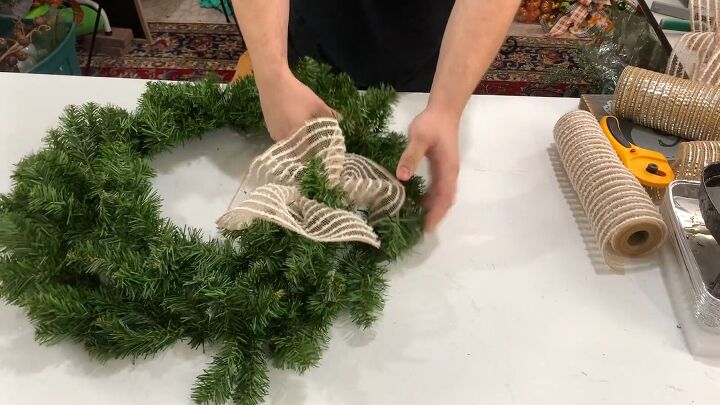
Begin placing these mesh ruffles onto your wreath frame.

Use the wreath's pine tips as twist ties to secure them on the frame.
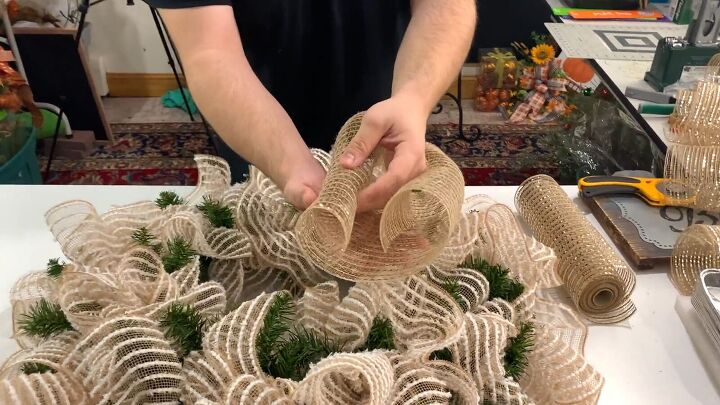
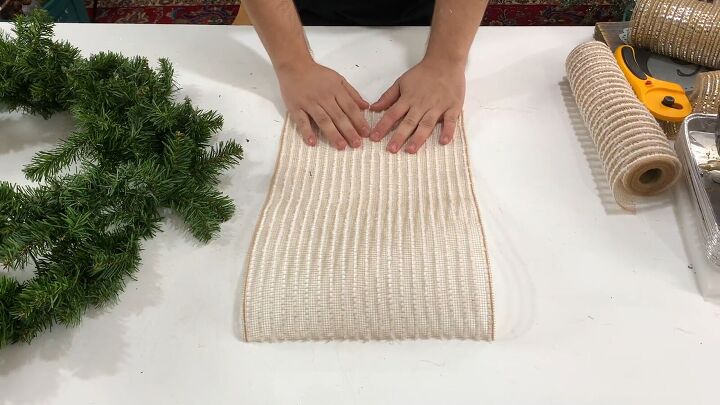
4. Adding Champagne Shimmery Mesh
Now, it's time to introduce the champagne shimmery mesh. This time, employ a different technique I like to call "the curl."
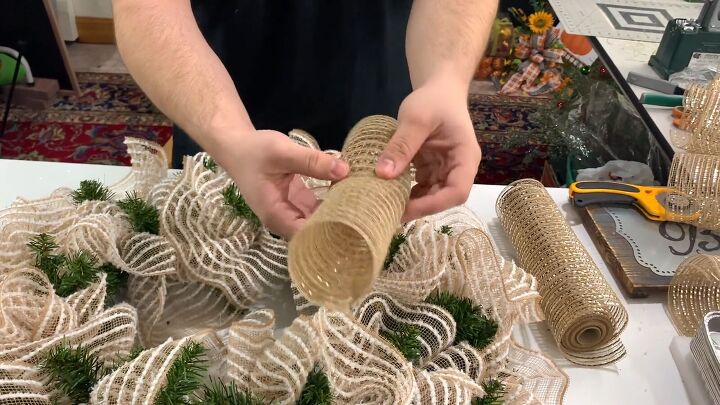
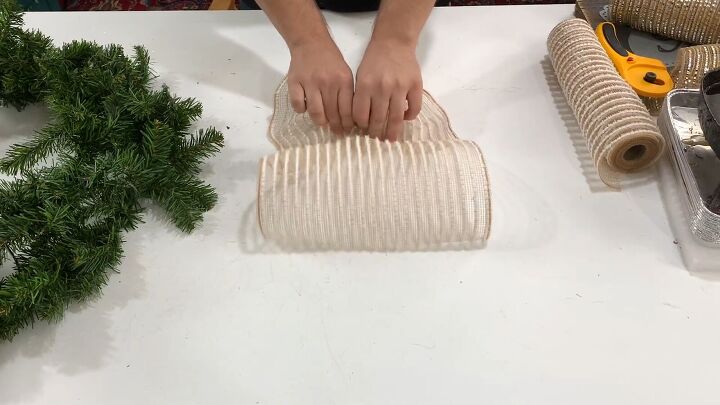
Roll the mesh over itself to form a tube-like piece.
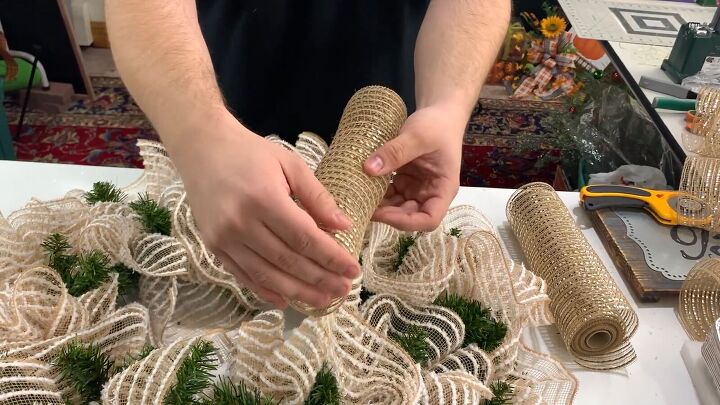
Make sure to flatten the top and bottom of the tube to keep the curl even and neat.
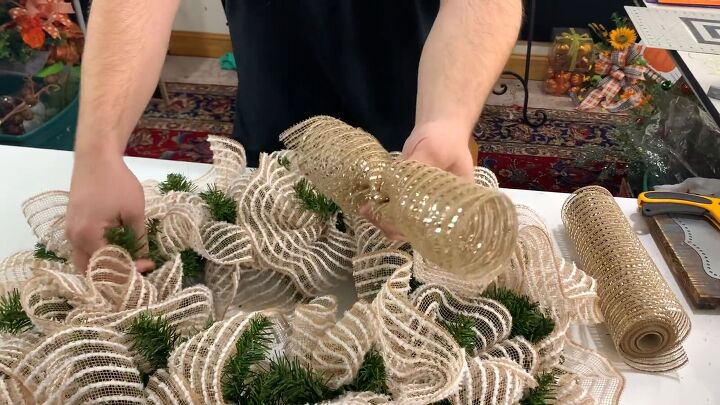
Pinch the middle of the tube and place the champagne mesh pieces sporadically throughout the wreath.
There's no need to cut an exact amount of these, so it’s a good idea to cut from the roll as you go.

Trust your creative instincts, placing as many curls as you feel are appropriate.
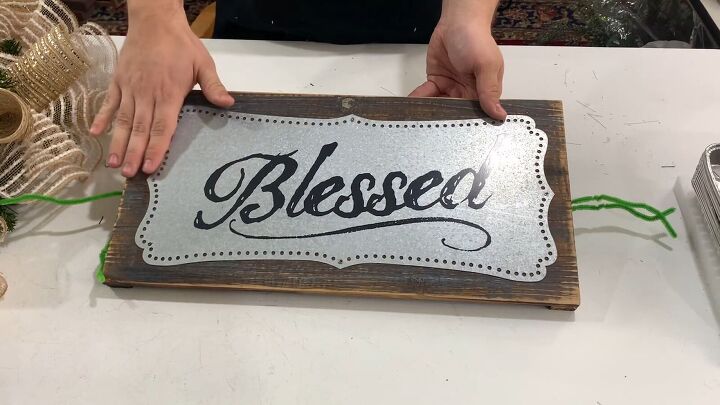
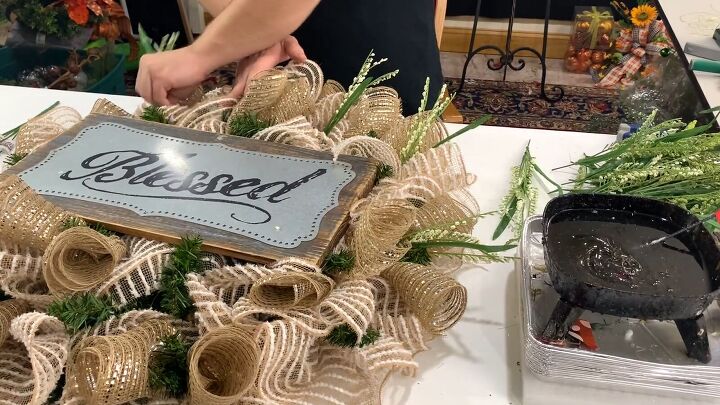
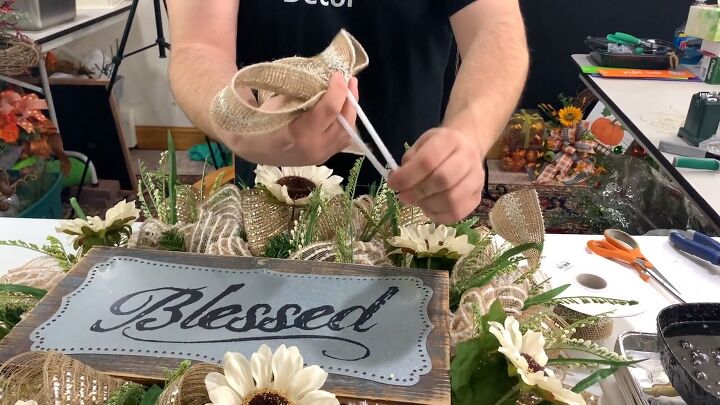
5. Incorporating Decorative Elements
Enhance your wreath design charm by adding decorative elements.
Secure a sign, such as one that says "blessed," which is perfect for holidays such as Thanksgiving.
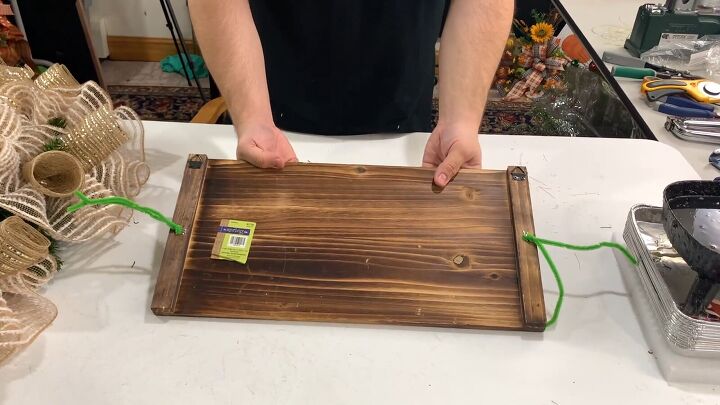
Thread pipe cleaners through the hooks at the back of the sign.
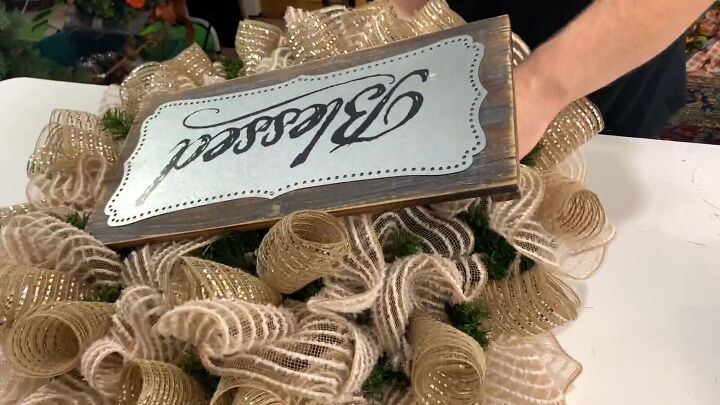
Next, you need to secure the sign to the metal part of the wreath form using the pipe cleaners. This step is crucial to prevent sagging over time.
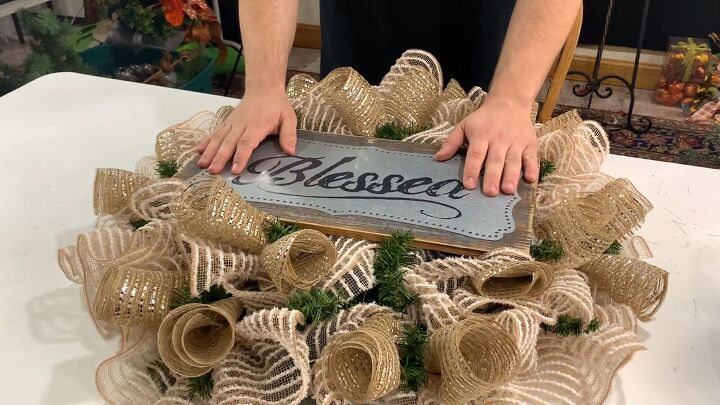
Always attach heavy items to the metal frame for the most robust reinforcement.
6. Decorating with Berries and Sunflowers
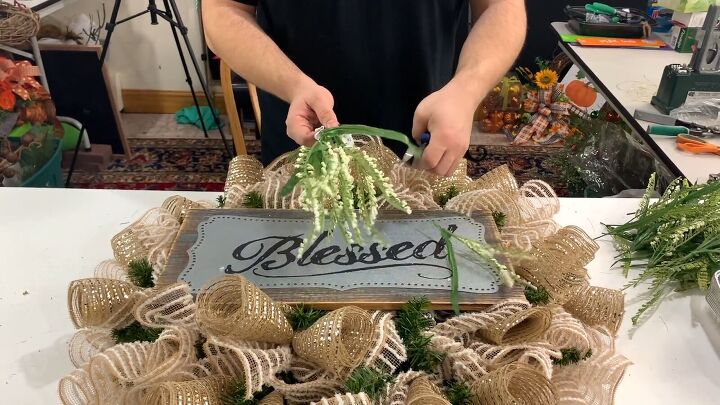
Now, it's time to infuse your wreath with the vibrancy of off-cream and green berries.
Use a glue skillet or gun to attach the berries securely.
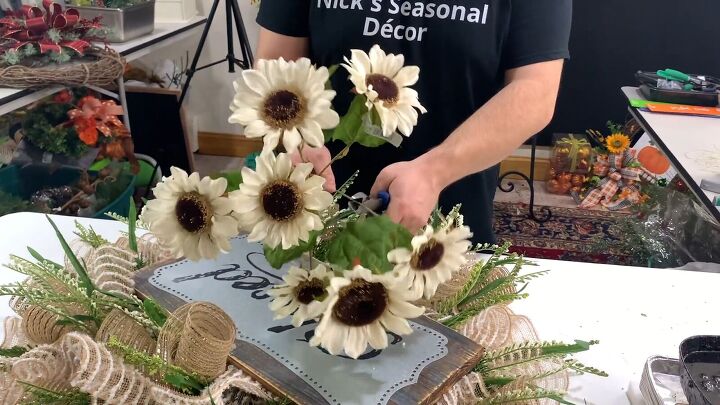
Add white sunflowers to the mix, but remember to cut their stems short.
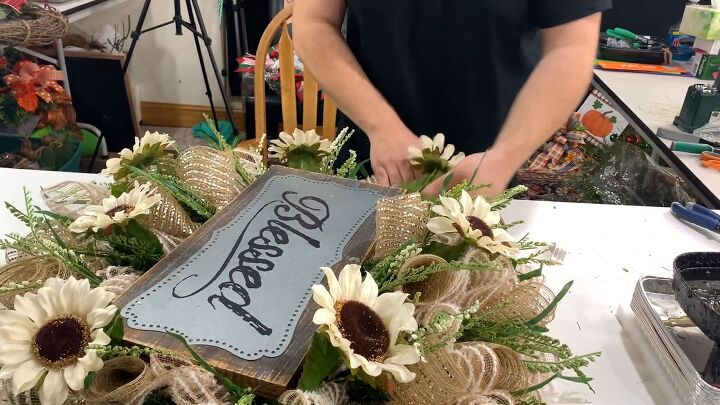
Glue them randomly throughout the wreath for a natural, unplanned appearance.
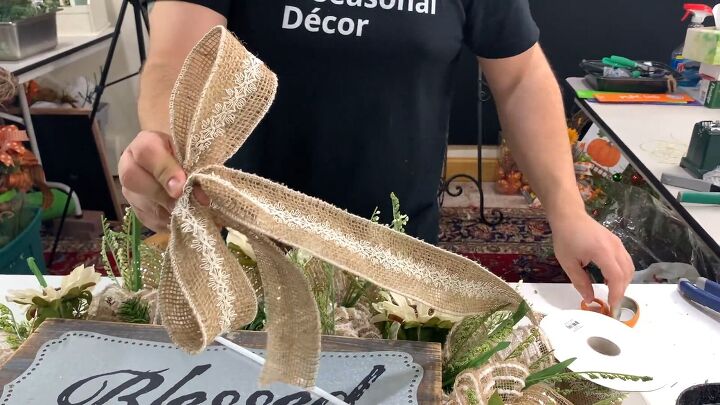
7. Final Touch with a Ribbon Bow
Complete your masterpiece by adding a charming ribbon bow. Opt for a neutral lace burlap ribbon. Create a bow with two loops and longer tails.
Twist a pipe cleaner around the middle of the ribbon to hold it together.
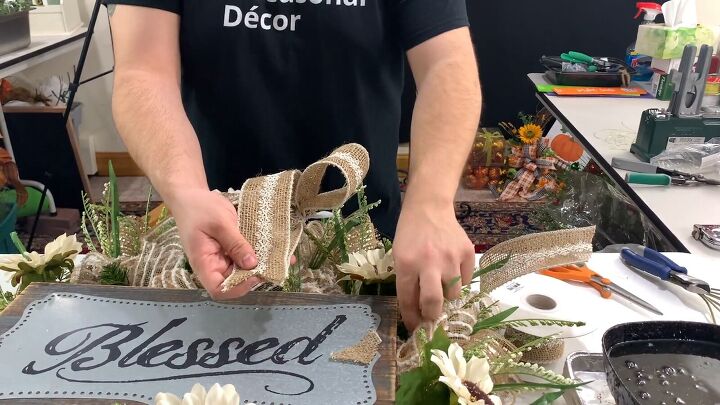
To give your wreath a professional finish, don't forget to dovetail the ribbon ends.

Secure it to the wreath with pipe cleaners.
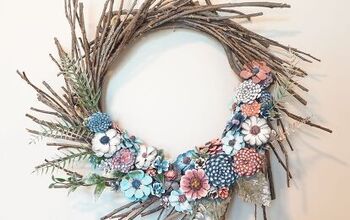
Looking for more Thanksgiving craft inspiration?
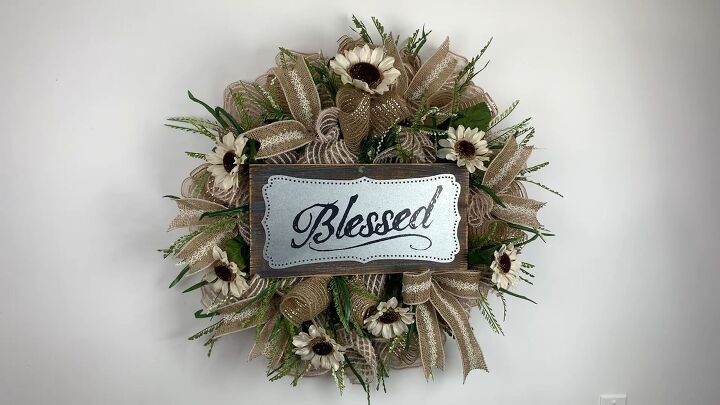
Seasonal Blessed Wreath Tutorial
And there you have it—your beautiful and versatile Blessed Wreath is ready to grace your front door. While it's perfect for fall, its neutral tones and timeless design make it suitable for year-round use.
Feel free to let your creativity shine by adding your personal touches and adapting it to match your unique style.
Feeling inspired? I'd love to hear from you! Share your thoughts and your own wreath creations in the comments below. Your creativity could be the inspiration someone else needs.


Frequently asked questions
Have a question about this project?