


How to Make a Pumpkin Tray: Chic DIY Cake Stand
Fall is here, and it's the perfect time to add a touch of rustic charm to your home. I want to show you a simple yet stylish Pumpkin Tray project that is fun to make and beautiful to display.
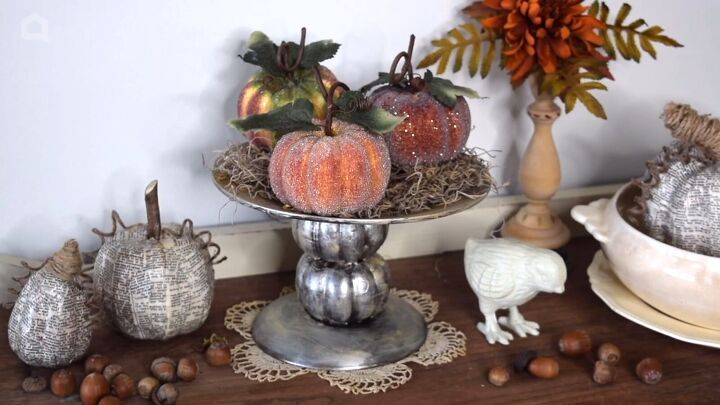
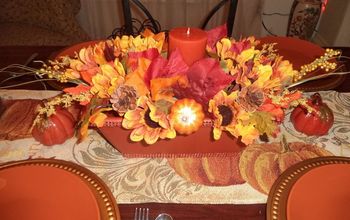
This chic DIY cake stand can be placed in your entrance, kitchen counter, or dining room table and is the perfect way to show off your beautiful fall decor collections.
This post was transcribed by a member of the Hometalk editorial team from the original HometalkTV episode.
Tools and Materials:
- Foam pumpkins
- Epoxy adhesive
- Thrift store plates (smaller and larger)
- Metallic paint
- Paintbrush
Hometalk may receive a small affiliate commission from purchases made via Amazon links in this article but at no cost to you.
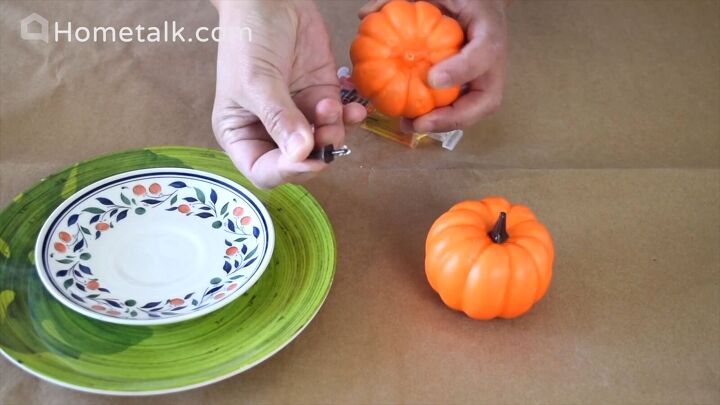
1. Prepare the Pumpkins
To begin our pumpkin cake stand, start by removing the stems from the foam pumpkins. These stems should pop right out, leaving you with a smooth surface.
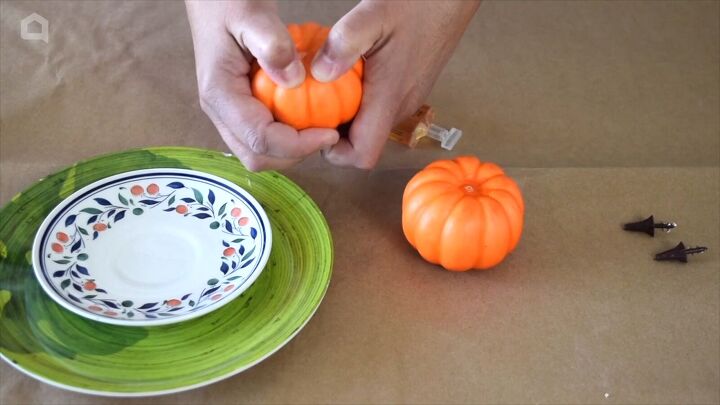
Next, gently press down on the foam to level the pumpkins. If any areas stick up, simply push them down until you achieve a flat surface.
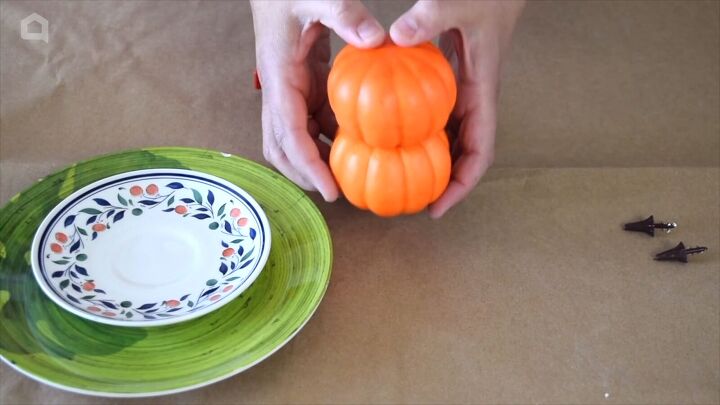
Stack the pumpkins on top of each other, ensuring they sit flush and flat. Do not glue them together, you just need to make sure they are nice and flat when stacked.
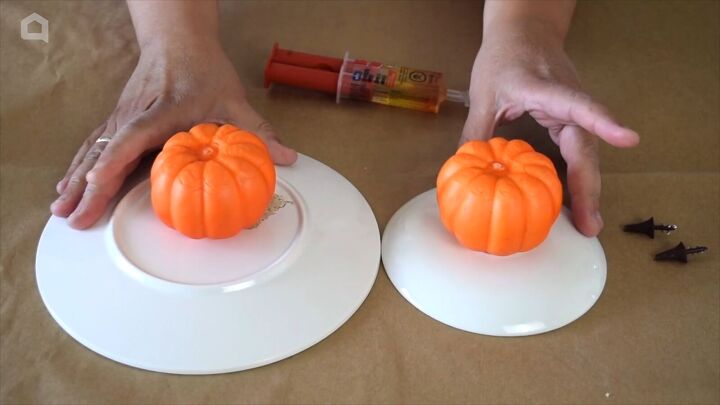
2. Create the Base
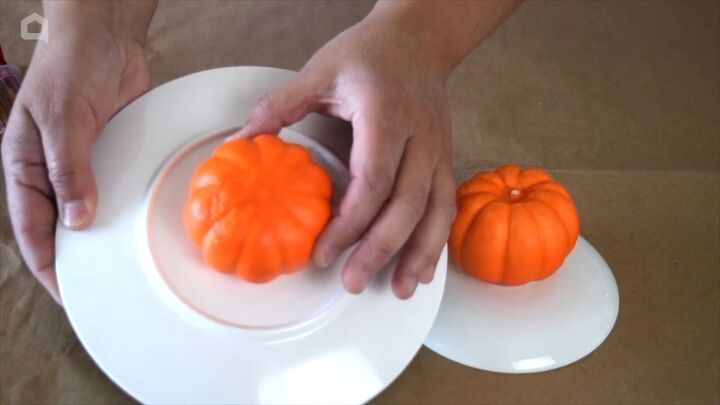
To create our DIY cake stand, we will attach each pumpkin to a plate.
You should have two plates and two pumpkins ready.
We'll use epoxy adhesive because it securely bonds to any surface.
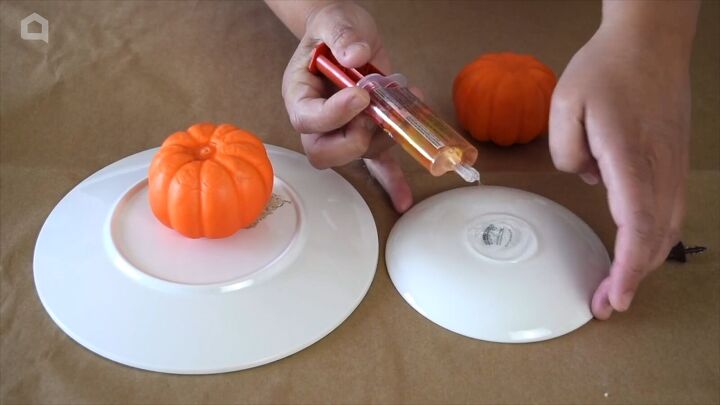
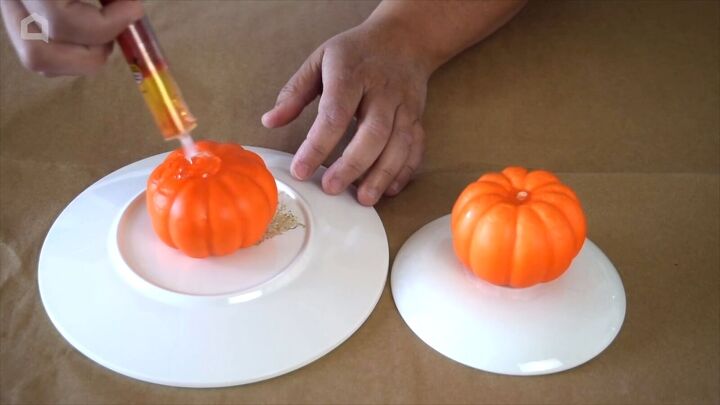
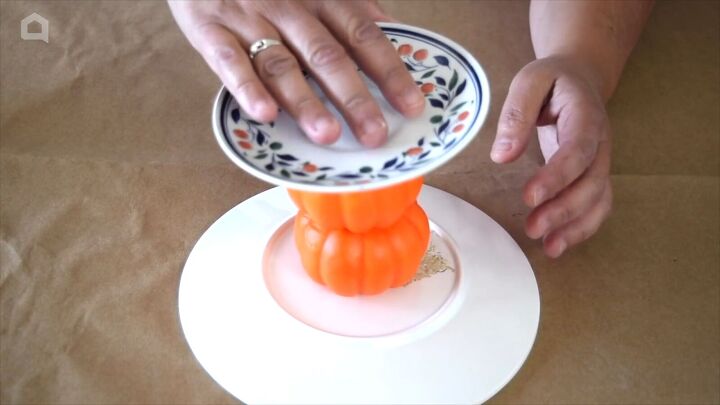
Flip the plates upside down. Apply a generous amount of epoxy to the bottom of the smaller plate.
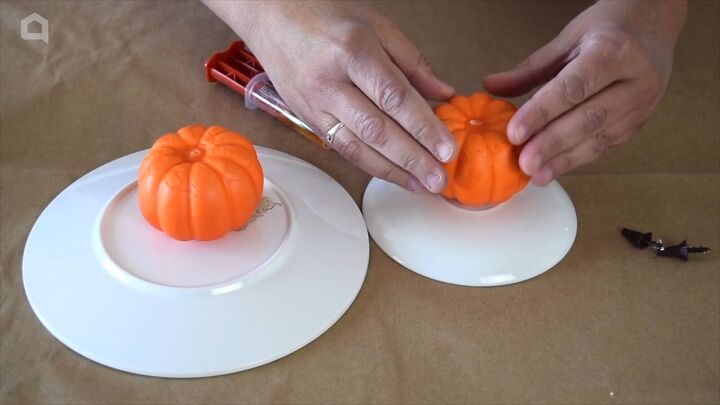
Take one of your leveled pumpkins and press it onto the epoxy-covered bottom of the smaller plate.
Repeat the process with the larger pumpkin and the second pumpkin.
Allow the glue to set.
3. Assemble the Cake Stand
Apply a generous amount of epoxy to the top of both the pumpkins.
Place the larger plate and pumpkin on top of the smaller plate and pumpkin.
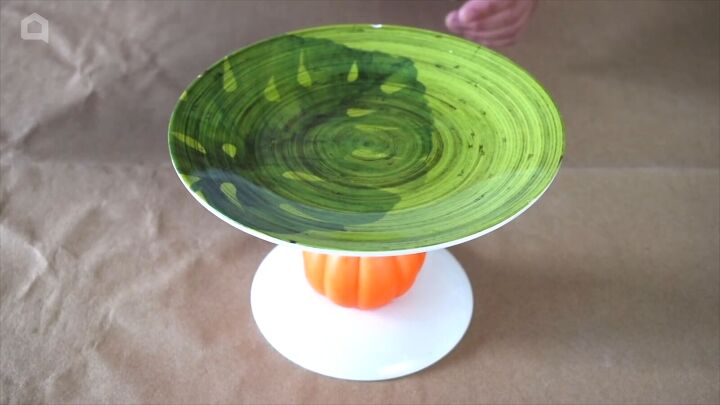
Let it dry thoroughly.
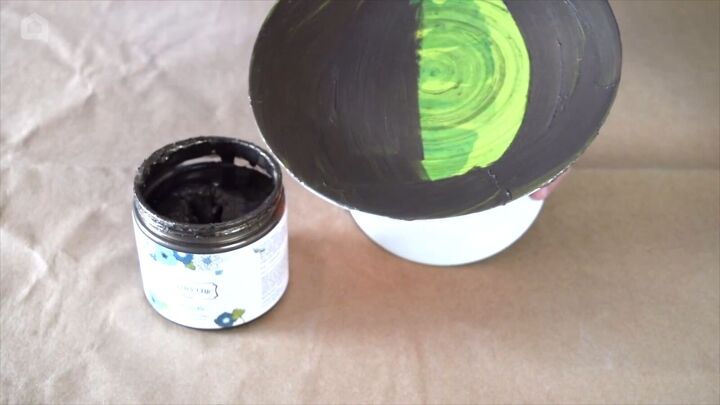
4. Add a Metallic Finish
For that extra touch of elegance, we're going to give our cake plate a beautiful metallic finish. Start with a gorgeous bronze paint that complements your fall decor theme.
Apply the bronze paint evenly over the entire cake plate, including the undersides.
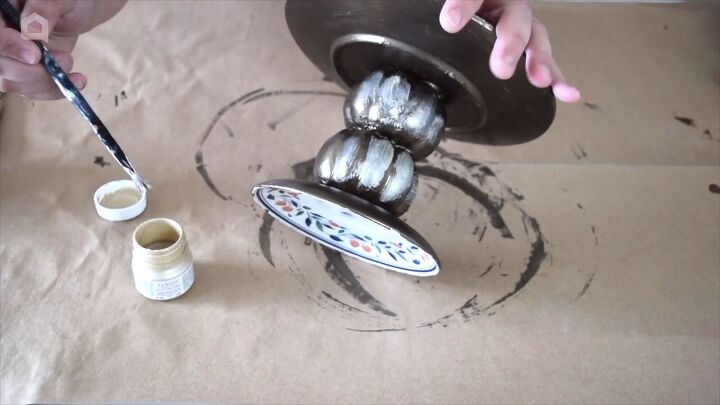
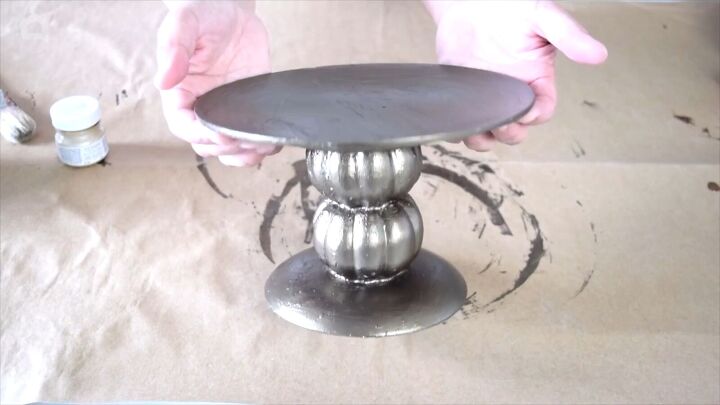
5. Highlight with Gold
To add some highlights, use a gold pearl metallic paint.
Lightly apply this paint to create accents and enhance the texture.
This step will make your crafted cake platter truly shine.
More Fall Projects
Pumpkin Tray Tutorial
And there you have it! Your exquisite fall pumpkin-inspired cake plate is ready to take center stage in your fall decor. It's a perfect blend of creativity and thriftiness.
I hope you enjoyed this project and feel inspired to craft your own unique pumpkin tray. If you have any questions or want to share your experience, please feel free to comment below.

Comments
Join the conversation
-
Love it! I may need to get to the thrift store.
-
This is clever, I like simple and results are usable and attractive. Hooray for you.


Frequently asked questions
Have a question about this project?