


Handyman Tips: 8 Home Improvement Hacks to Make Your Life Easier

Spring is right around the corner and it's a perfect time to spruce up your home. Whether you're a seasoned DIY enthusiast or a beginner, these home improvement hacks will help you tackle those home projects and paint jobs with ease.
This post was transcribed by a member of the Hometalk editorial team from the original HometalkTV episode.
From perfectly poured paint to fixing a leaky toilet, these 8 tips and tricks are easy to follow and will have your home looking and functioning at its best in no time.
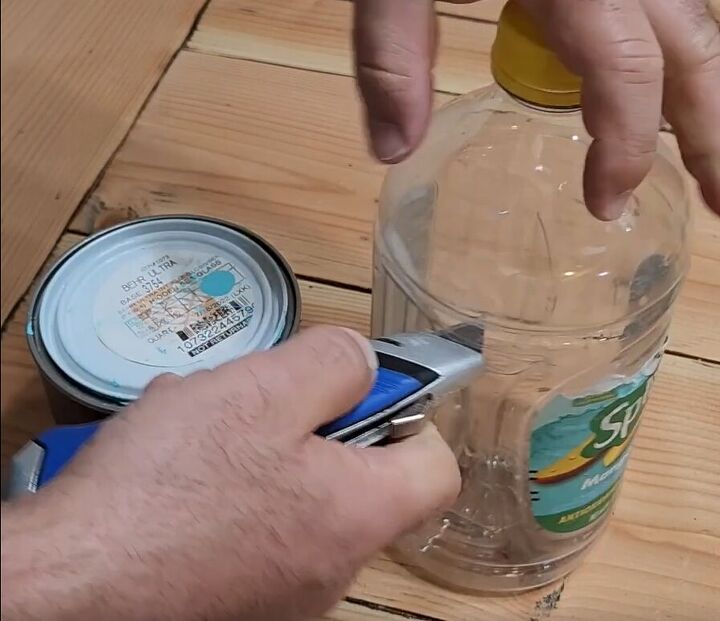
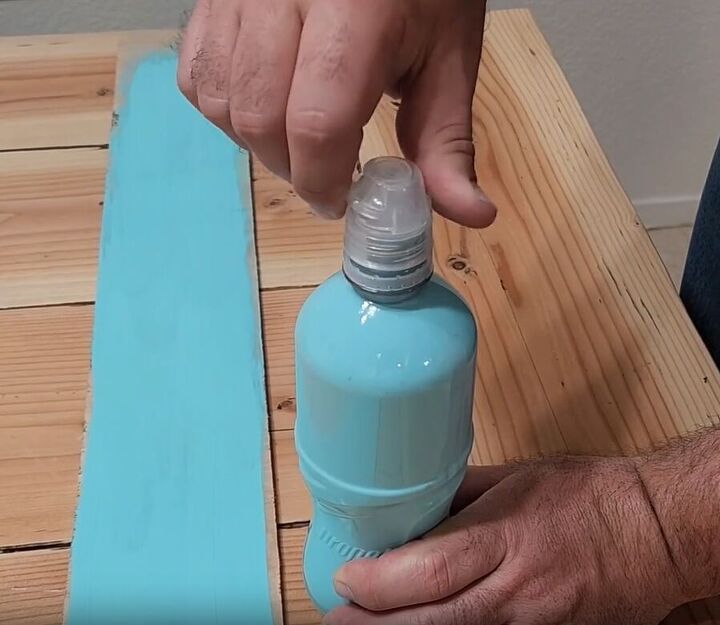
1. Pouring Paint Hack
When painting your home, it's important to avoid spilling paint all around the edge of the can. To prevent this, I have a clever painting tip to make your job easier. Grab a clear plastic bottle and cut off the top.
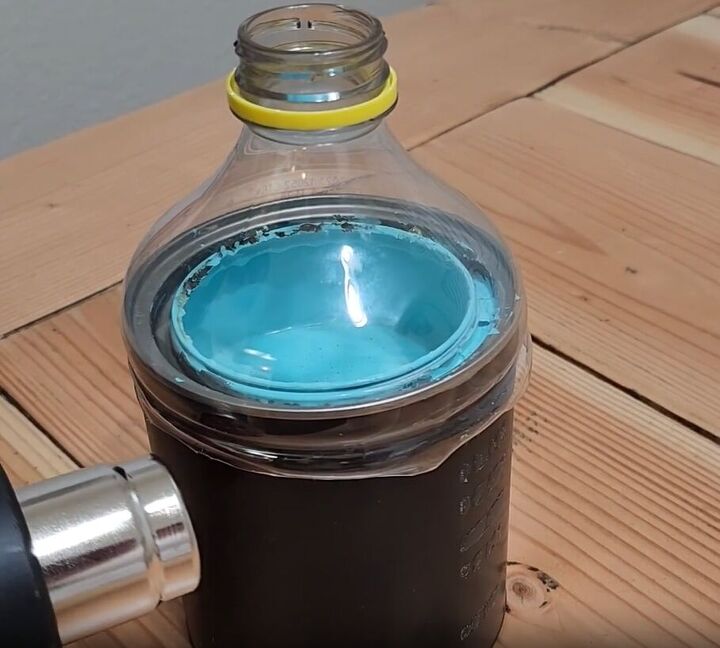
Slip the bottle over the paint can, and use a hairdryer or heat gun to heat it up all around the side.
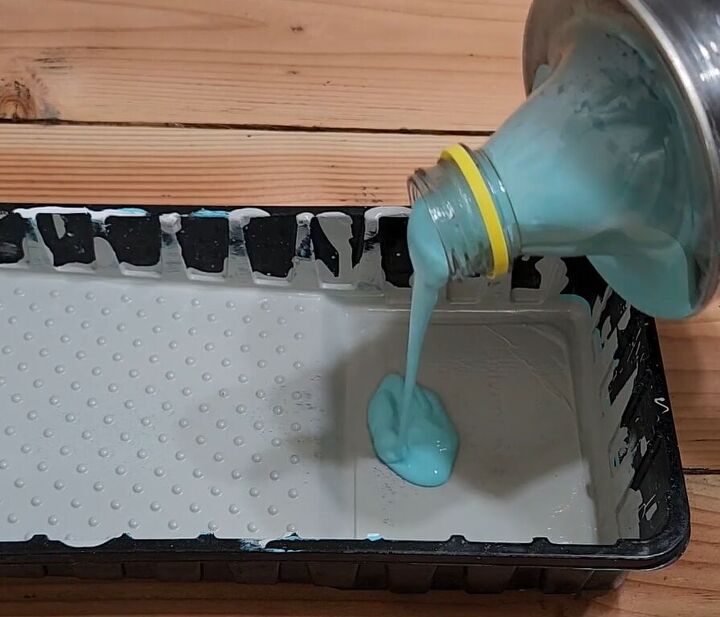
Once it's cooled down, the bottle will have sealed itself to the edge of the can, allowing for a perfect pour every time.
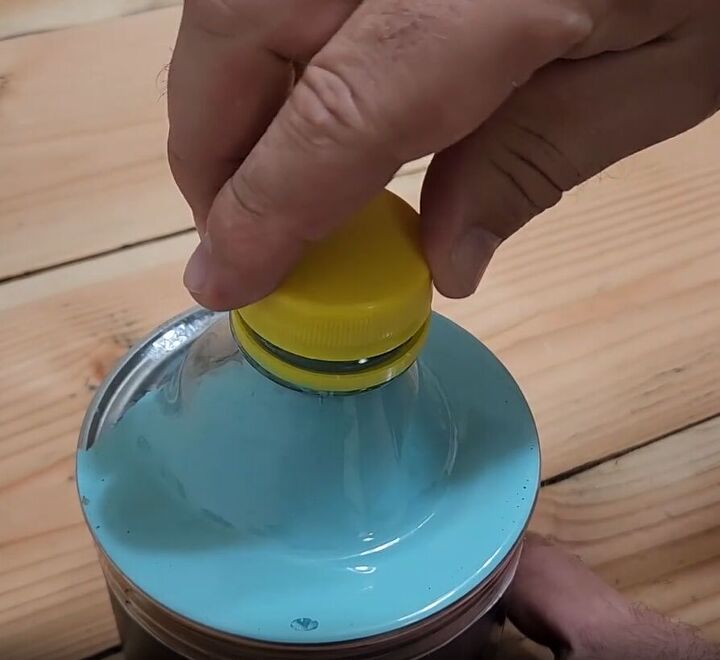
The lid can then be used to keep the paint fresh.
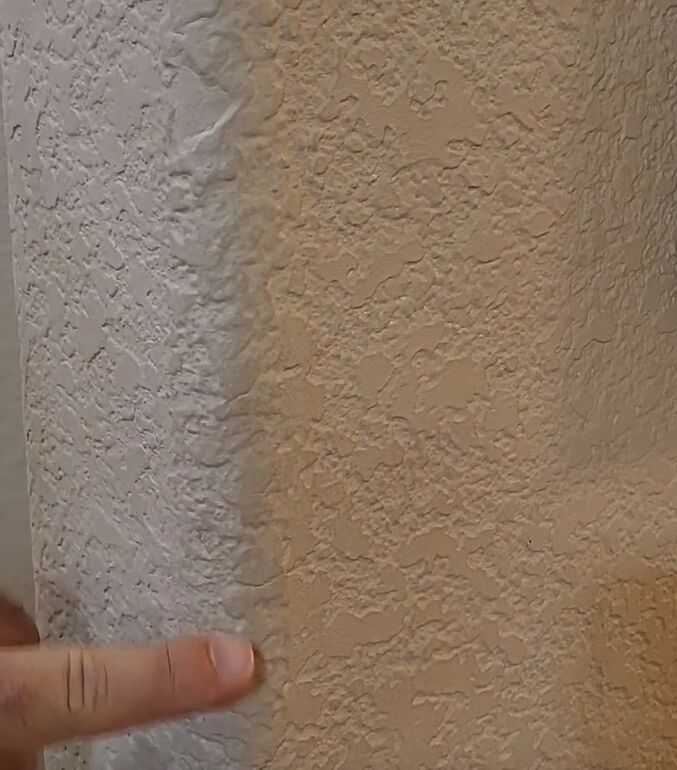
2. Crisp Paint Lines
Next, I am going to show you a hack for wall painting that will ensure you get that flawless, crisp line where two walls meet.
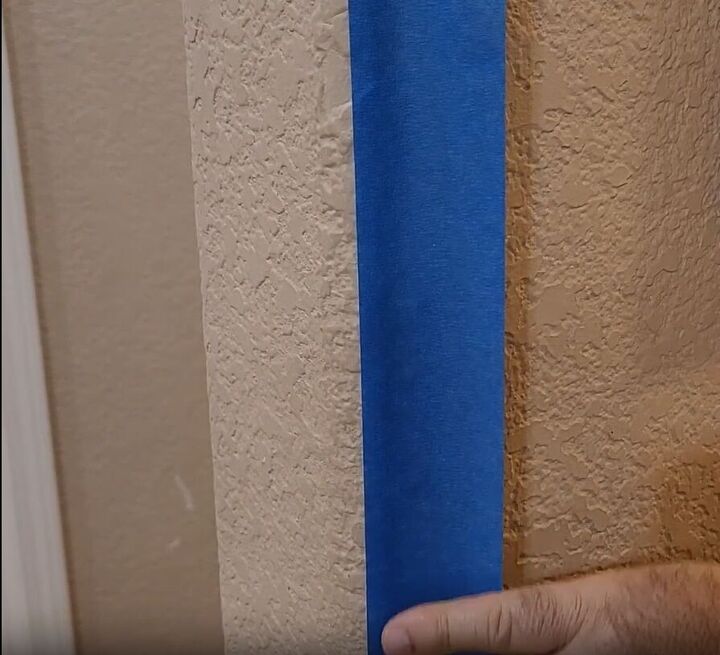
Grab some painter's tape and lay it down exactly where you want that line to be.
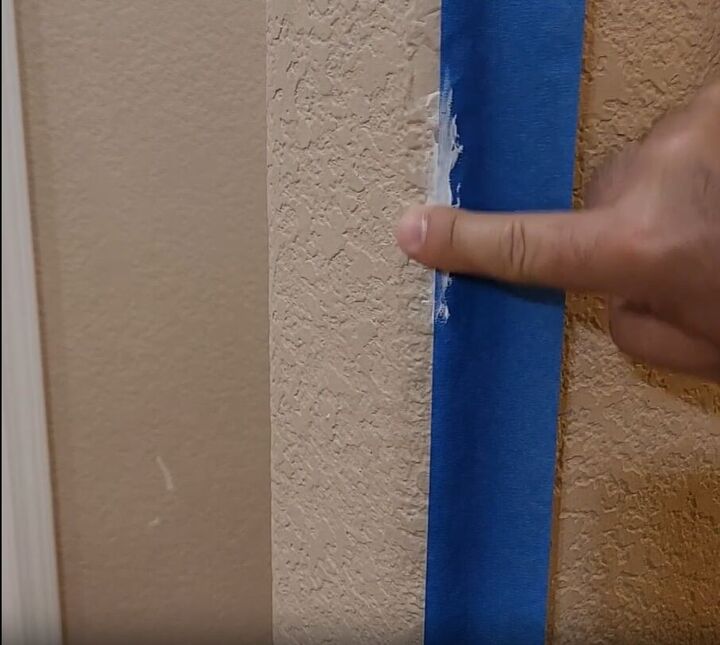
Now, here's the catch: whip out your caulk and apply a generous amount right along the edge of the tape using your finger. The caulk will fill in pesky gaps, even on textured walls.
Grab a damp cloth and gently wipe off the excess caulk.
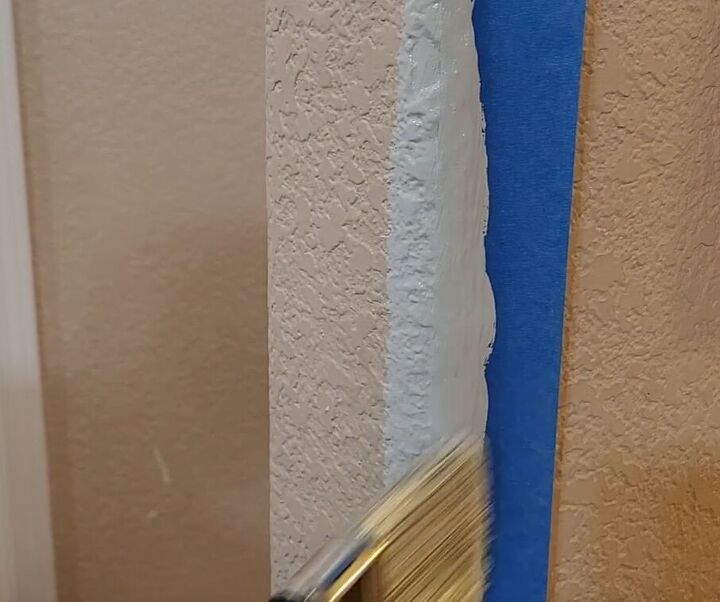
Now, it's time to paint. Remember, paint from the tape towards the wall, making sure to cover the caulk.
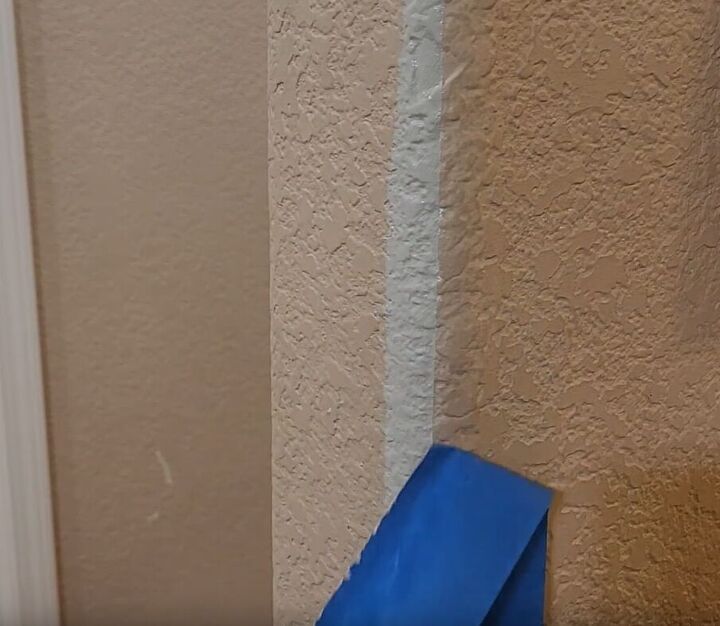
When you finally peel off that tape, there will be a straight, crisp edge with no bleed under. It's like a pro-level makeover for your room, and you did it yourself!
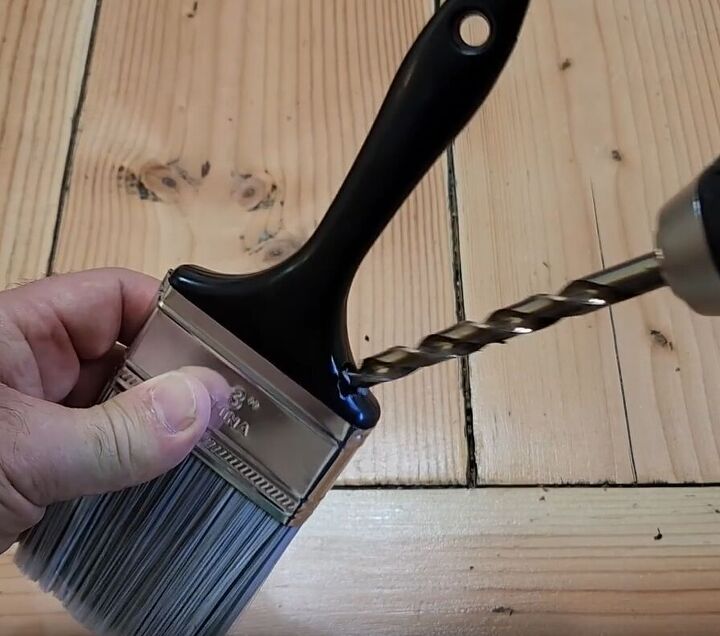
3. Drip-Free Painting
If you've ever tackled a big paint project that requires a ton of brushing, I've got a game-changing painting technique for you. Grab a paintbrush and your drill and make a hole at the top of the brush at an angle, big enough to fit a cap inside.
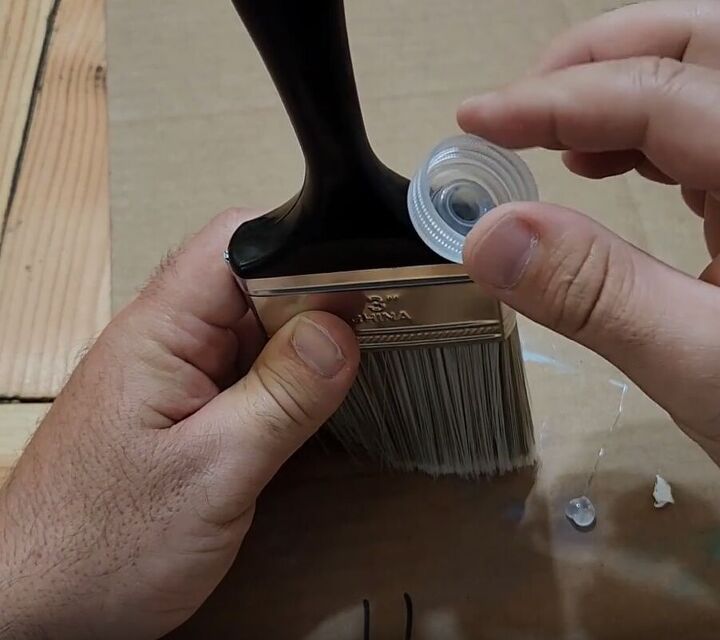
Find a plastic water bottle with a squeeze lid. Now apply hot glue around the edge of your drilled hole and secure the cap in place. Let it dry.
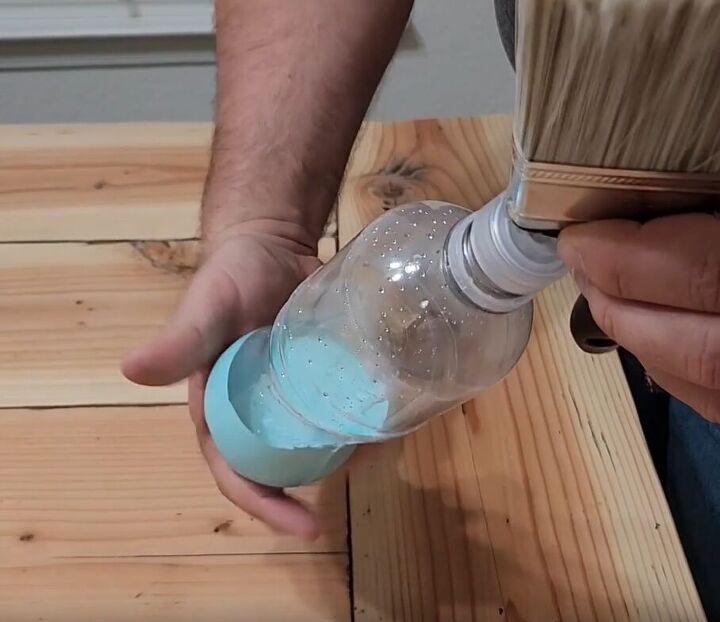
Then fill the water bottle with your paint and screw it onto the cap.
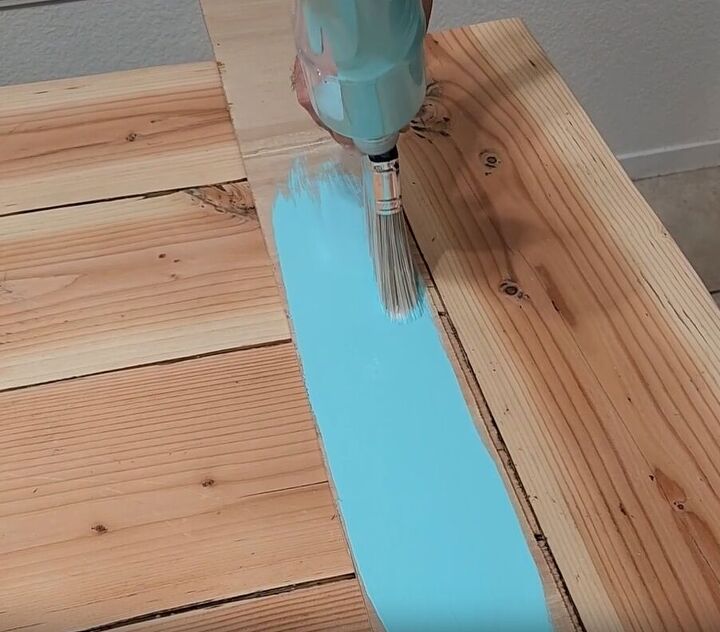
Now, when you flip the brush over, you'll notice that the paint drips out slowly, just enough to keep you painting without constantly dipping the brush. It's a game-changer for those long projects, trust me!
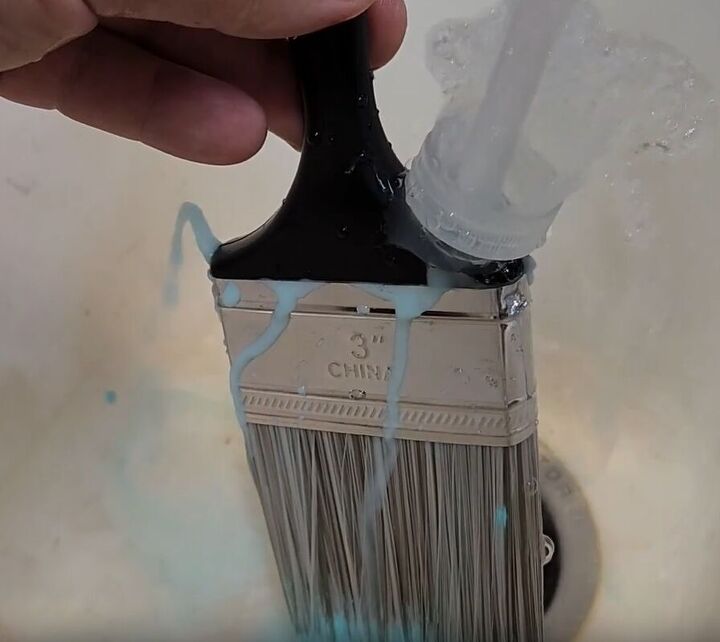
When you're done, it's a breeze to clean. Just run some water through the cap edge that stays on the brush, and it cleans up like a dream, inside and out.
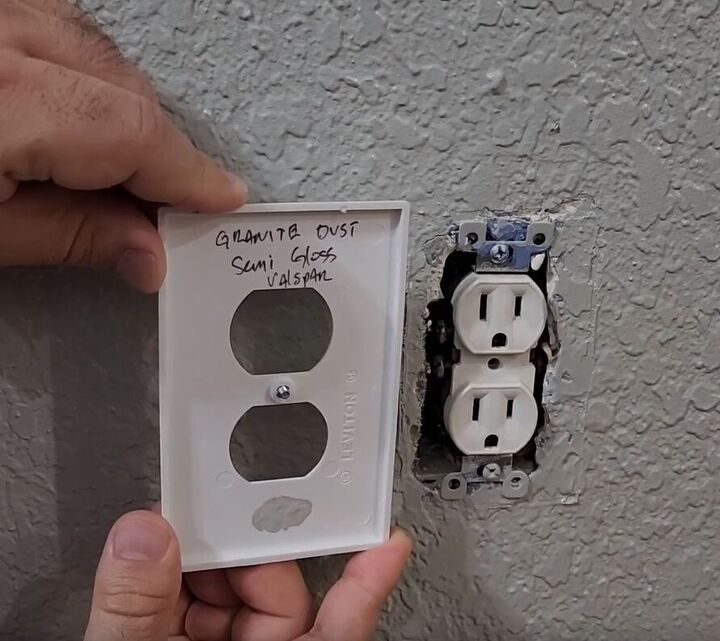
4. Never Forget a Paint Color
Have you ever painted a wall, only to forget the color, brand, or type of paint you used? Well, fear not, because I've got the perfect solution for you.
When you're pulling off the covers of your outlets or switches to repaint your walls, take a moment to grab a marker and write down the color, brand, and type of gloss on the inside. Then, dab a little sample paint with your finger right there on the inside of the outlet too.
Now, you've got an instant reference point for touch-up painting anytime you need it. It's a simple and effective way to keep track of your paint choices and make future touch-ups easy.
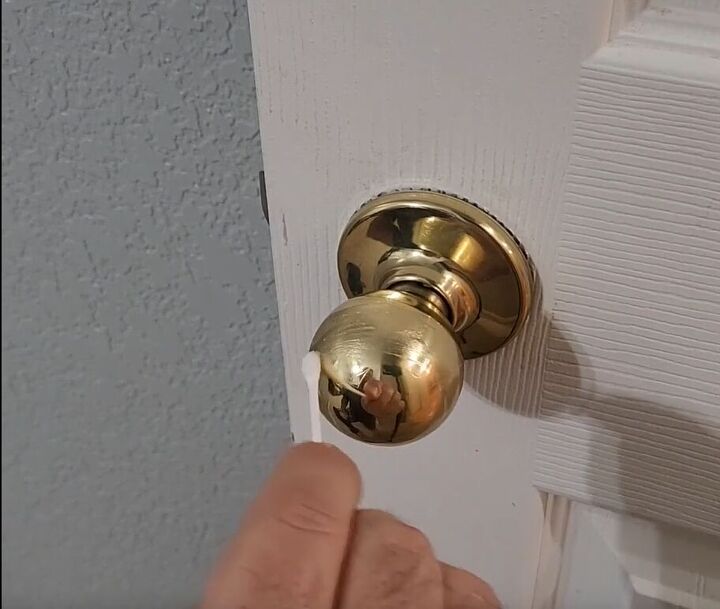
5. Vaseline for No Drip Marks
Another annoying challenge when painting is those pesky drip marks that end up on door knobs and hinges. I have a clever handyman hack for this issue . . . Vaseline.
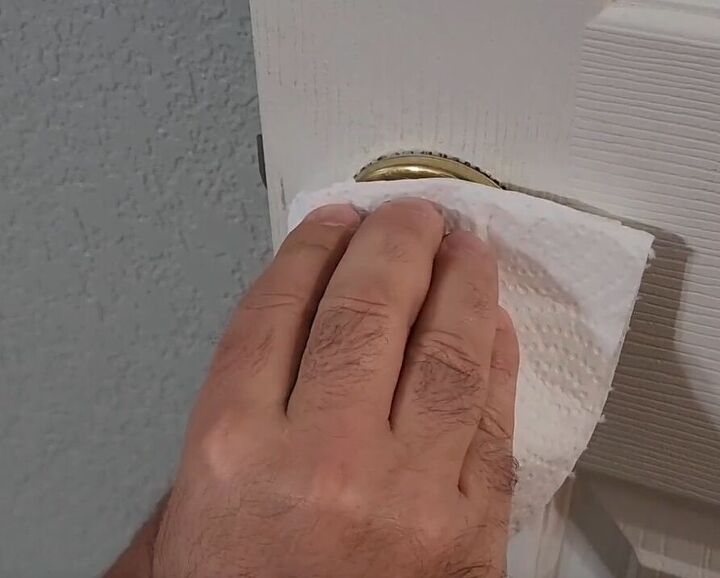
All you need to do is apply a small amount of Vaseline onto the door knob or hinge and if there are any accidental drips, you just wipe it off with a paper towel. No need to spend time applying painter’s tape!
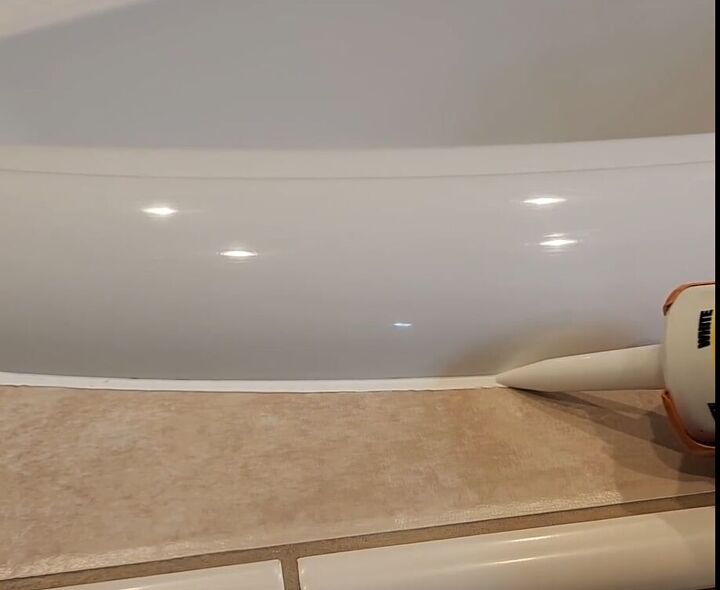
6. Perfect Caulk Lines
Now, a home hack for caulking!
For perfect caulk lines, especially around a tub, first, apply the caulk with your caulk gun.
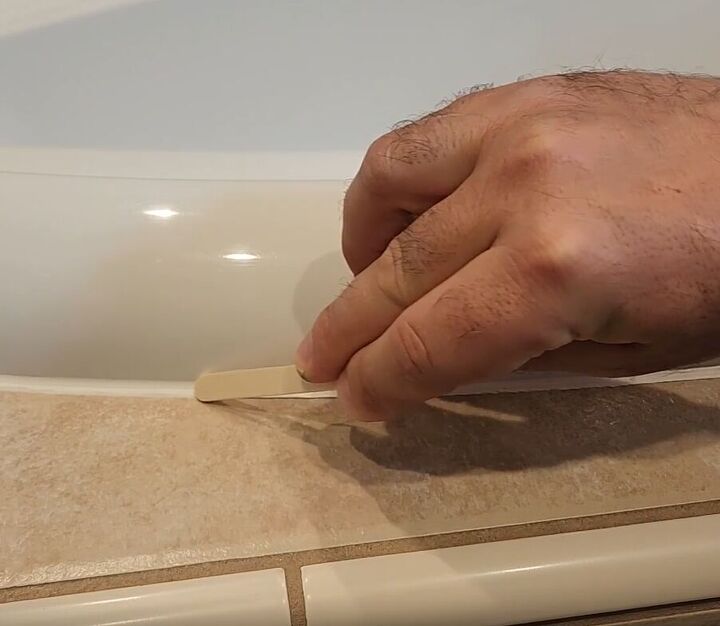
Then run a Popsicle stick at an angle along the caulk line to create a curve.
You’ll get a perfect caulk line every time!
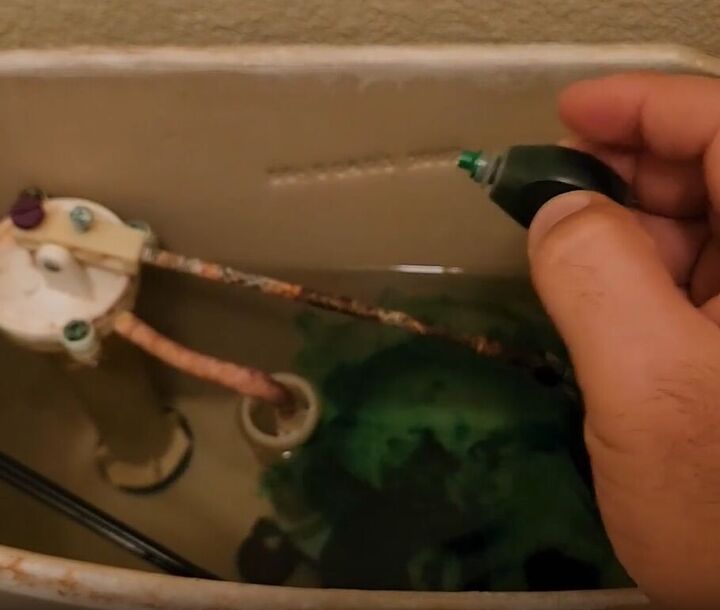
7. Fix a Leaky Toilet
If you are the family handyman, here's a handy trick to prevent water wastage from a leaky toilet. First, remove the lid from the tank and add a few drops of food dye.
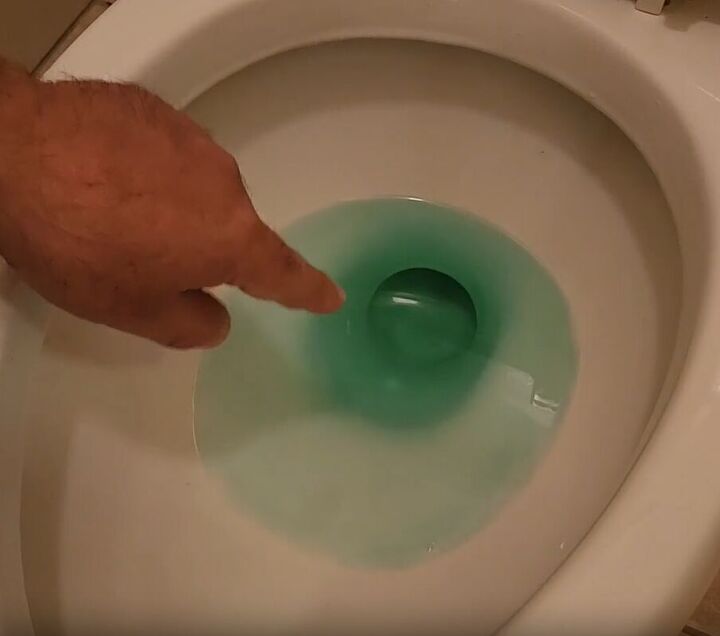
Then, open up the lid and observe the water in the bowl. If you notice the water in the bowl changing color, it's a sign of a leak, most likely from the flapper inside.
Go ahead and replace the flapper, and you'll not only fix the leak but also save water, which will eventually offset the cost of the new flapper.
It's a win-win solution for both your wallet and the environment!
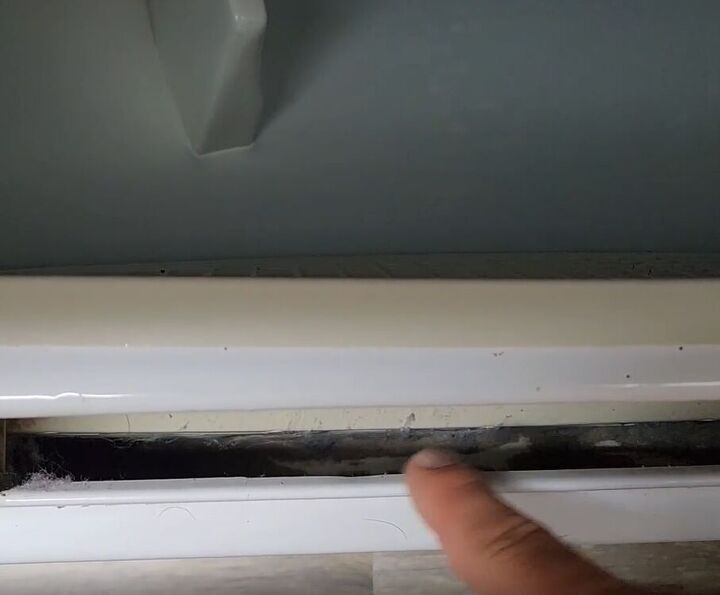
8. Clean Your Dryer
Last but not least, is your dryer not performing up to par? It might be due to a buildup of lint. Don't worry, this tip will help you get rid of that lint easily.
There's an area in your dryer that's hard to reach and even a vacuum can't quite get to those tight grooves.
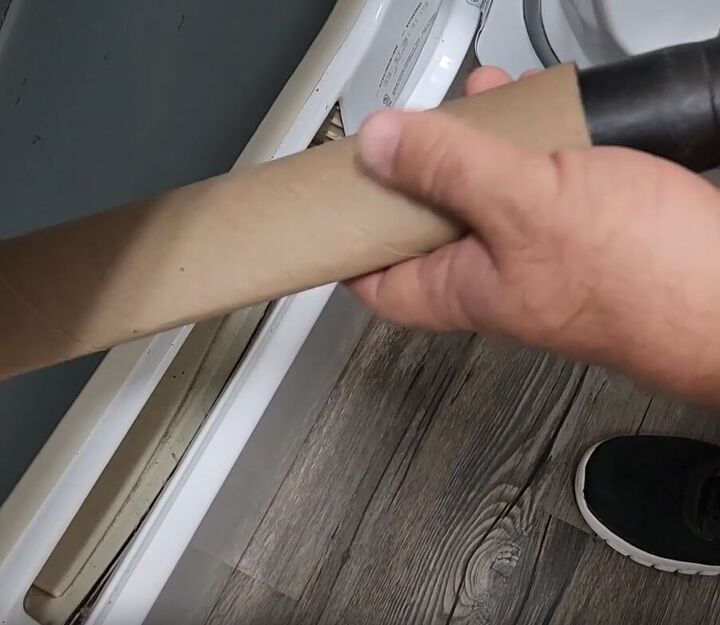
All you need to do is grab a cardboard tube from a paper towel roll and gently squeeze along its edges to create a narrow slot. Not too tight, just enough to fit through. Attach your vacuum to one end, and turn it on.
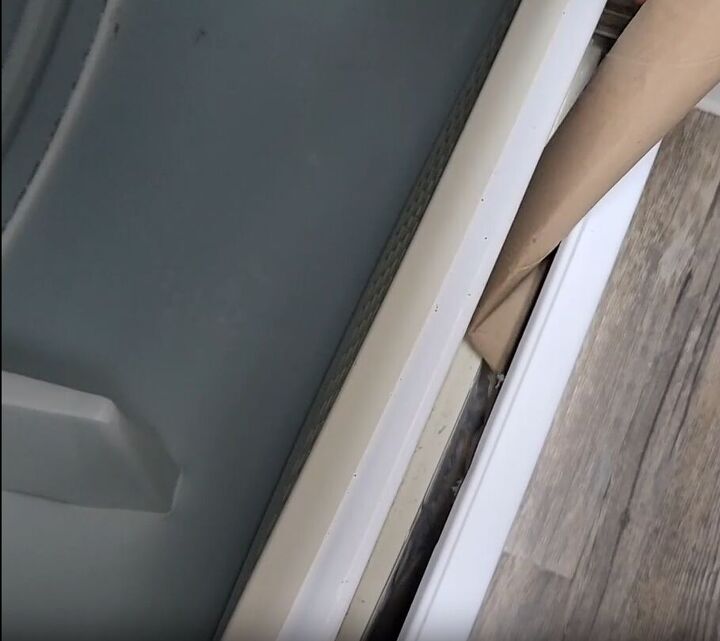
Use it to reach in and extract all that lint that has likely been trapped there for years. It's a simple yet effective trick that will keep your dryer running smoothly and efficiently.
More Brilliant Hacks
Handyman Tips: 8 Home Improvement Hacks to Make Your Life Easier
There you have it, eight painting tips and tricks and clever hacks to make your home improvement projects easier, more efficient, and cost-effective.
Now you don't have to let a leaky faucet or dingy walls ruin your spring season. With these handyman tips, you'll be able to tackle any home improvement project that comes your way.
So go ahead and give them a try and let me know in the comments if you have any of your own home improvement hacks to share!
Resources for this project:
See all materials


Comments
Join the conversation
-
The tip about noting your wall color on the inside of the outlet cover was genius, but what made me chuckle was that I just finished a painting project and used "Granite Dust". What are the odds? LOL
-
GREAT ideas!!! Thank you


Frequently asked questions
Have a question about this project?
What area of the dryer is shown in the picture? Not sure where the lint may be "hiding." Thanks
So excited to try these tips. Especially because I have a lot of painting to do. I buy my paint from the Home Depot; they started using plastic paint lids with a removable spout a couple of years ago, but the self-loading brush will hopefully help tremendously, though! And Vaseline on the door knobs and hinges! Why didn't I think of that?! Would the Vaseline (or maybe mineral oil?) do the same thing on stained/painted wood baseboards? I could clean and oil my baseboards to make them shine, and at the same time protect them from paint!?!? I'm going to try it in an inconspicuous spot.
what type of plastic bottle would be big enough to fit over the paint can. Thanks. Love all the tips too.