


How to Easily Make a DIY Floating Shelf From Scratch

Making a DIY floating shelf is easier than it looks. I'm going to guide you through how to build a floating shelf from scratch. All I did was use 1x2 pieces of wood and attach them directly to the studs, then used ½ inch plywood for the top and bottom. Let’s get started.
Tools and materials:
- 1x2 lumber (length will depend on your desired shelf size)
- 1/2” plywood
- Thin panel or shiplap panel
- 1x3 trim board
- Stud finder
- Measuring tape
- Saw (circular saw or miter saw)
- Drill
- Screws
- Wood glue
- Sandpaper
- Stain or paint of your choice
- Paintbrush or rag
- Safety glasses and gloves
Steps
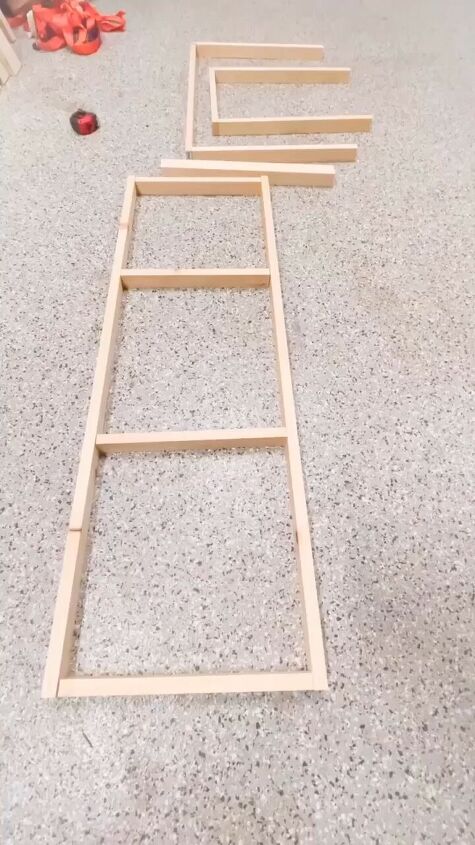
Step 1: Creating the frame
Measure and mark the desired length and height of your shelf on the wall.
Cut the 1x2 lumber into four pieces, two for the vertical sides and two for the horizontal top and bottom. Ensure they match the length and height of your marked measurements.
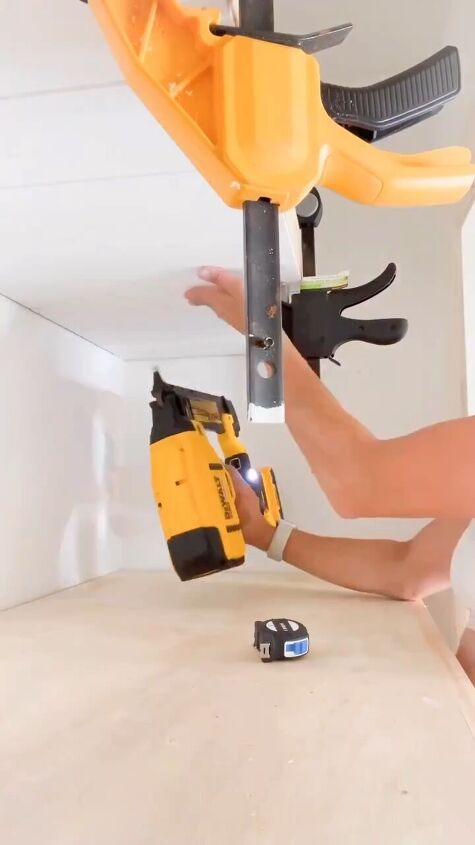
Apply wood glue to the ends of the horizontal pieces and attach them to the vertical pieces to form a rectangular frame. Use clamps to hold the pieces in place while the glue dries.
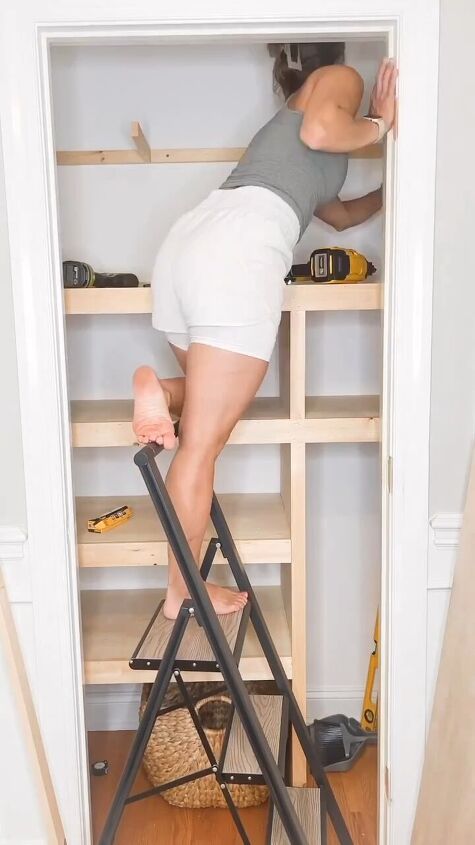
Step 2: Attaching the frame to the studs
Use a stud finder to locate the wall studs within the marked area. Position the frame against the wall, making sure it's level. Drill pilot holes through the frame and into the studs.
Secure the frame to the wall by driving screws through the pilot holes. This will ensure a strong and stable support for your shelf.
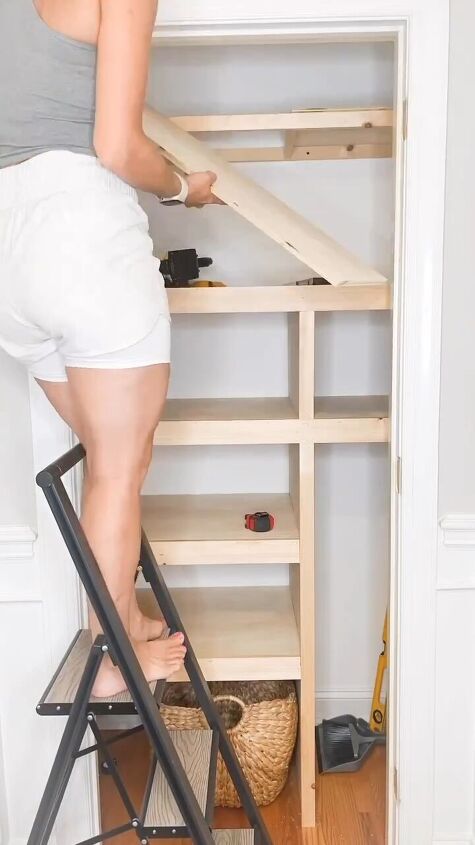
Step 3: Adding the top plywood
Measure and cut the 1/2” plywood to match the dimensions of the frame. Place the plywood on top of the frame. It should fit snugly within the frame's edges.
Attach the plywood to the frame using screws, driving them through the plywood and into the frame below.
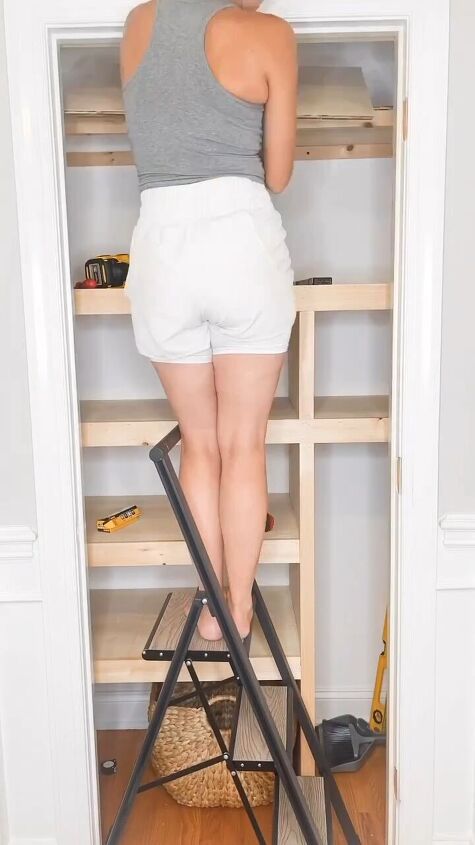
Step 4: Covering the underside
Measure and cut a thin panel or shiplap panel to fit the underside of the frame. Position the panel underneath the frame and attach it using screws or nails. This will create a neat and finished appearance.
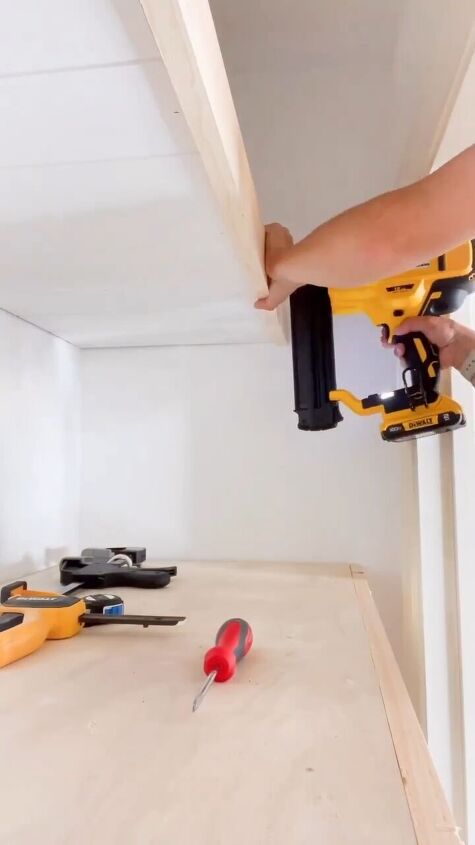
Step 5: Adding front trim
Use a 1x3 for the trim on the front. Measure and cut the 1x3 trim board to the length of the front edge of the frame.
Apply wood glue to the back of the trim board and position it over the front edge of the frame, covering the exposed frame and plywood edges.
Secure the trim board in place with screws driven through the back of the frame into the trim board.
Step 6: Sand and stain or paint
Sand down any rough edges, corners, or surfaces to create a smooth finish. Wipe away any dust with a clean, damp cloth.
Apply your chosen stain or paint to the shelf, following the manufacturer's instructions. You can use a paintbrush or a rag, depending on the look you want to achieve.
Allow the stain or paint to dry completely before handling or mounting the shelf.
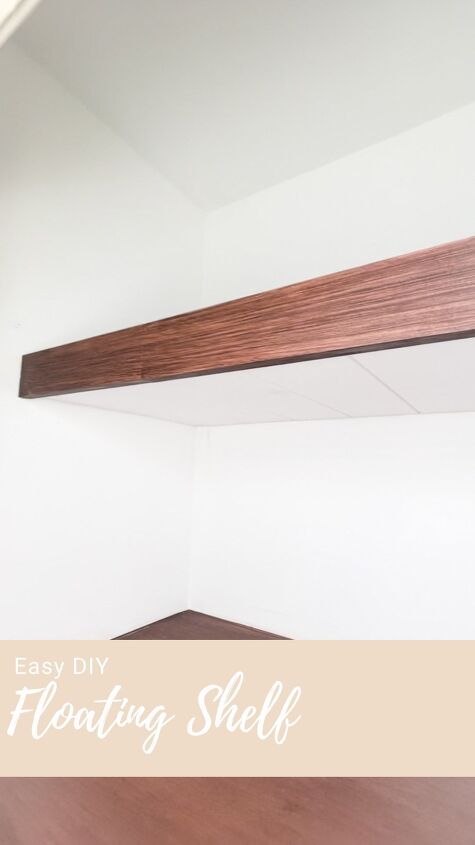
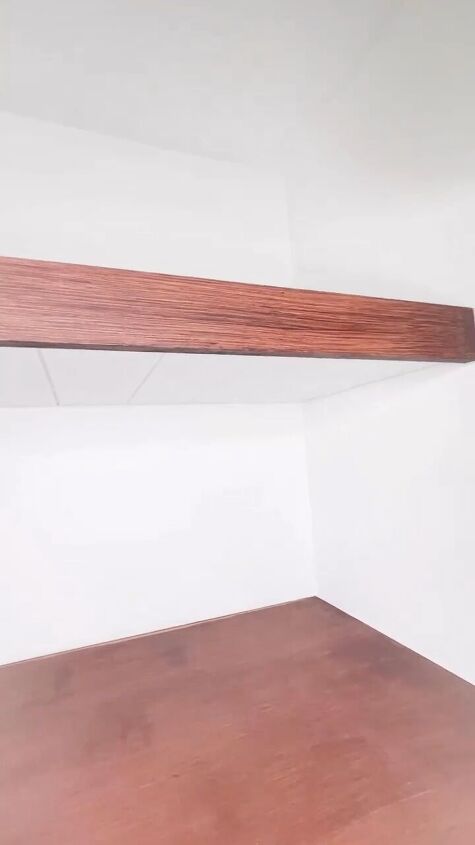
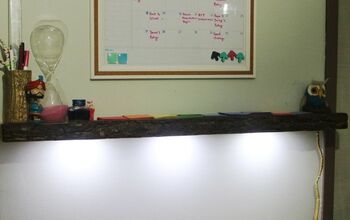
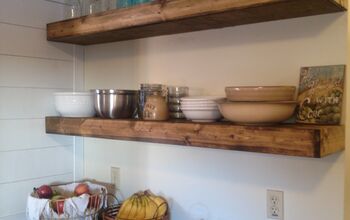
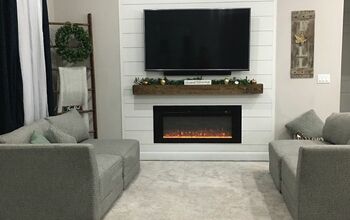
DIY floating shelf
That’s how you make a custom wall-mounted shelf. This DIY floating shelf project is a perfect combination of functionality and aesthetics. Let me know in the comments if you have built your own shelves from scratch in your closet!
Follow @well_shetried on Instagram for more DIY ideas.


Frequently asked questions
Have a question about this project?