


How a Simple Toothpaste Hack Helps With Building Furniture
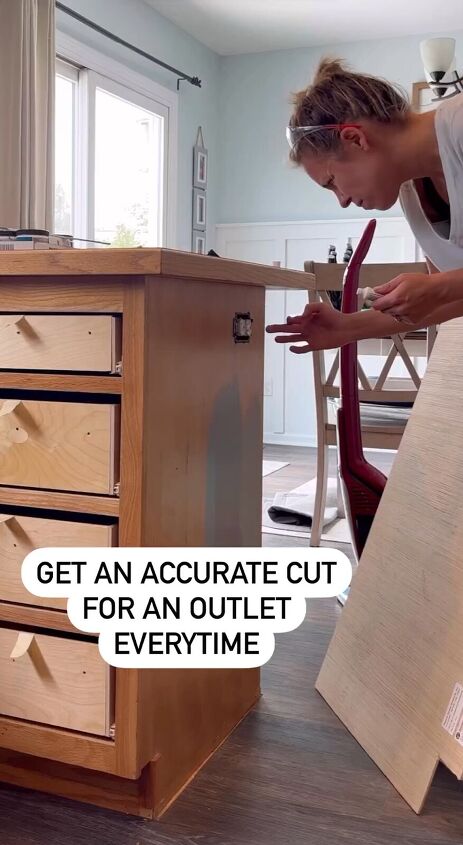
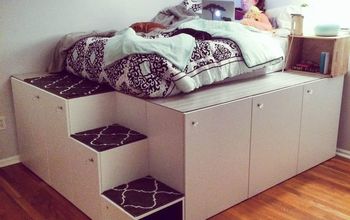
You guys have to check out this amazing toothpaste hack. Building custom furniture is a creative and fulfilling endeavor, but when it comes to cutting precise openings for electrical outlets, it can be a tricky task.
Luckily, this simple and effective hack will ensure your outlet cut is accurate every time. In this step-by-step tutorial, I'll guide you through the process of achieving a precise outlet cut, helping you seamlessly incorporate electrical outlets into your custom furniture projects.
With a few supplies and the toothpaste trick, you'll be on your way to professional-quality results in no time.
Tools and materials
- Toothpaste
- Outlet cover
- Wood or panel for your custom furniture
- Pencil or pen
- Drill with a large bit
- Jigsaw or a suitable cutting tool
- Safety goggles and gloves (for safety)
Steps
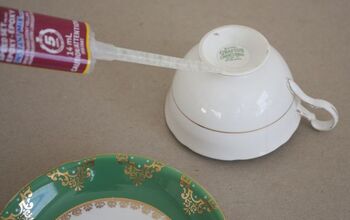
Step 1: Apply Toothpaste for Marking
Begin by applying a small amount of toothpaste along the edge of the outlet cover. The toothpaste will serve as a temporary transfer medium, helping you mark the exact position of the outlet on the wood.

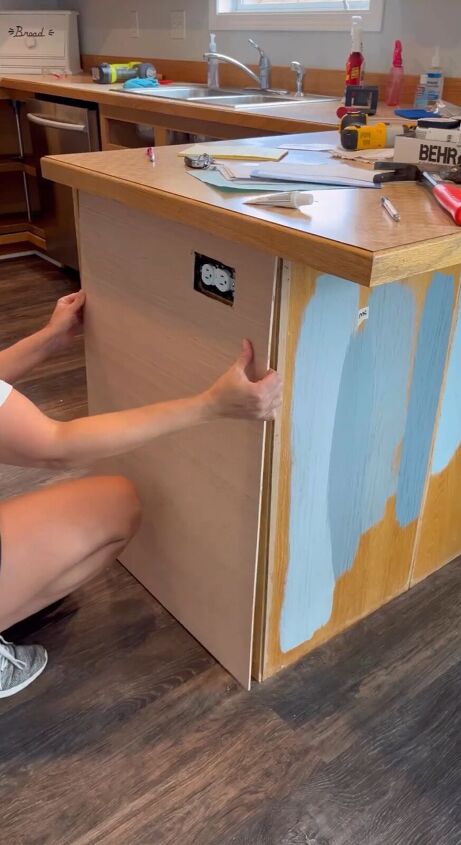
Step 2: Align the Wood Panel
Take the wood panel and carefully align it over the toothpaste. Ensure it is positioned precisely where you want the panel to be.
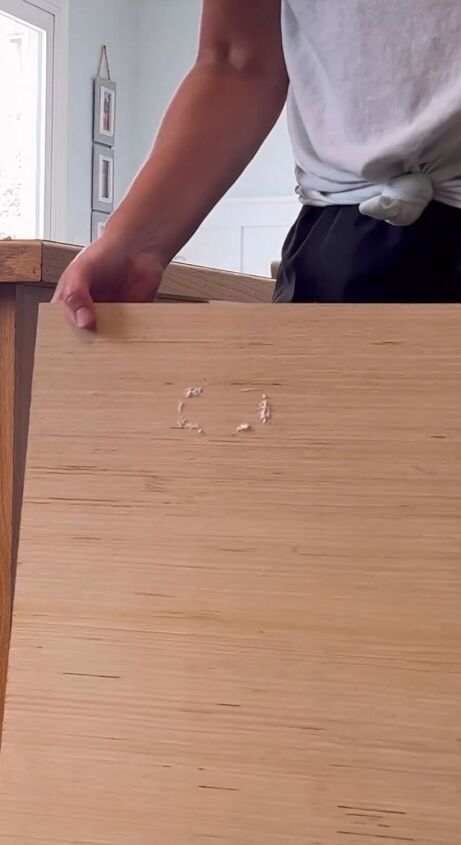
Step 3: Create the Marking
When you take the wood panel off you will see toothpaste markings in the exact spot where the outlet will be. Press an outlet cover firmly against the wood over the toothpaste marking.
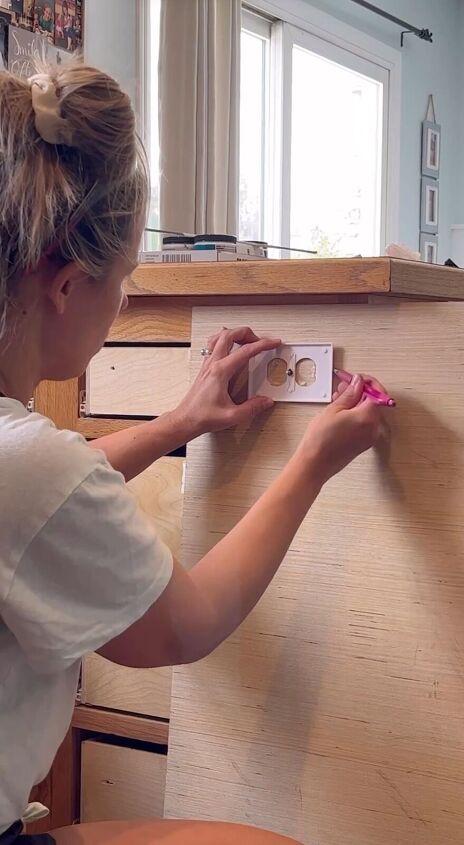
Trace the outlet cover so you have markings for precisely where to cut.
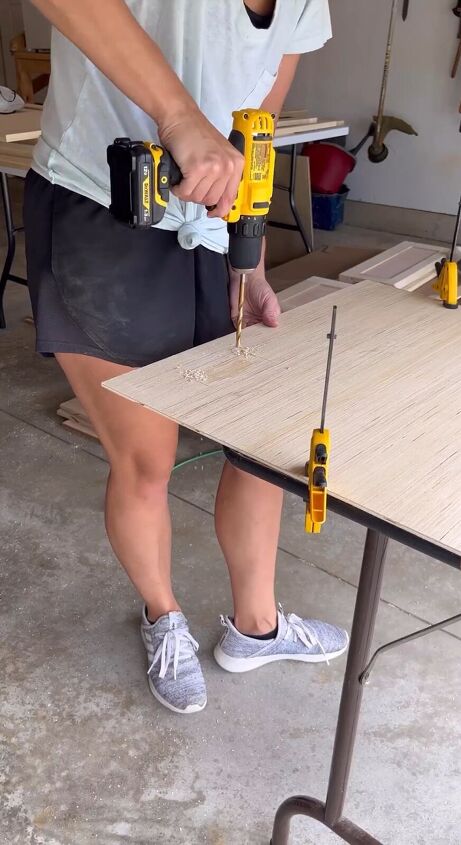
Step 4: Prepare Starting Holes
To facilitate cutting the outlet hole, use a drill equipped with a large bit to create holes in each corner of the traced rectangle. These holes will serve as starting points and turning spots for your cutting tool.

Step 5: Cut Out the Outlet Opening
With safety goggles and gloves on, carefully use a jigsaw or an appropriate cutting tool to follow the traced lines and cut out the rectangular outlet opening. Precision is key to achieving a clean and accurate cut.
Step 6: Test Fit and Finalize
After cutting out the outlet hole, test-fit the electrical outlet to ensure it fits snugly. Make any necessary adjustments if required.
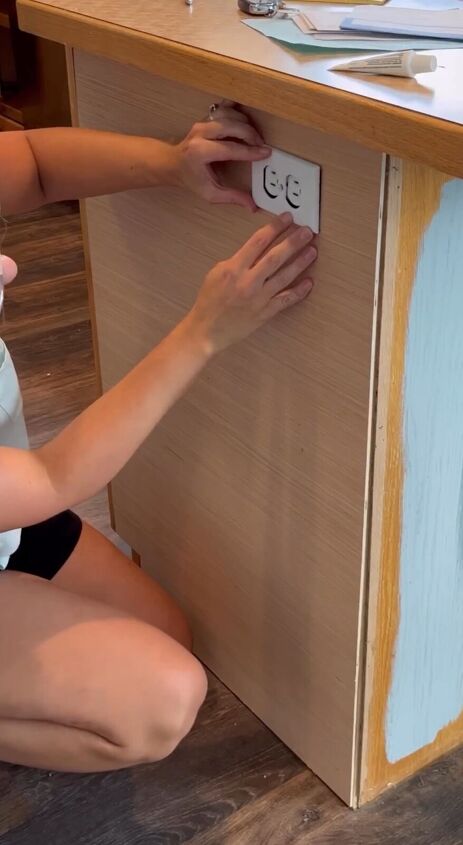
Once satisfied with the fit, attach the wood and then screw on the outlet cover.
DIY toothpaste hack
Thanks to this toothpaste hack, achieving an accurate outlet cut for your custom furniture projects is no longer a daunting task.
By following these step-by-step instructions and using the toothpaste transfer method, you can effortlessly create professional-quality outlet cuts that seamlessly blend into your custom furniture designs. Enjoy your DIY furniture projects with functional and neatly integrated electrical outlets.
What do you think of this hack? Let me know in the comments below.
Follow @midmimomdiy on Instagram for more DIY ideas.
Comments
Join the conversation
-
That is so simple--I am embarrassed I never thought about it! But you bet I'll be using this soon--thank you so much for sharing!!
-
Cool idea. Lipstick also works.


Frequently asked questions
Have a question about this project?