


How to Make a Chic Boho-Style End Table With Baskets From IKEA

Are you looking for a lazy furniture hack? Then today's DIY is for you! Today, I want to teach you how to make an end table with baskets from IKEA. This DIY round end table is super easy to make and costs less than $100, which for a boho-style rattan end table is a steal. Let’s get started!
Tools and materials:
- Behr Stain & Poly in One (Antique Walnut)
- 2 IKEA SNIDAD baskets
- 1 24-inch pine round (from the hardware store)
- 220 Sandpaper
- Varathane Ultimate Polyurethane (water-based)
- Scissors
- Pliers
- Hot glue
- Zip ties
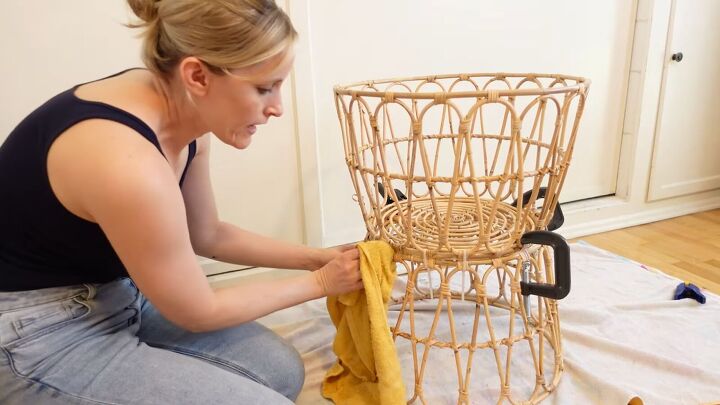
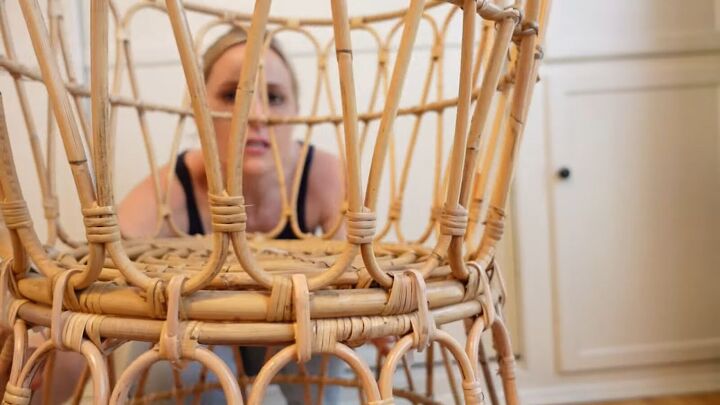
1. Prep the baskets
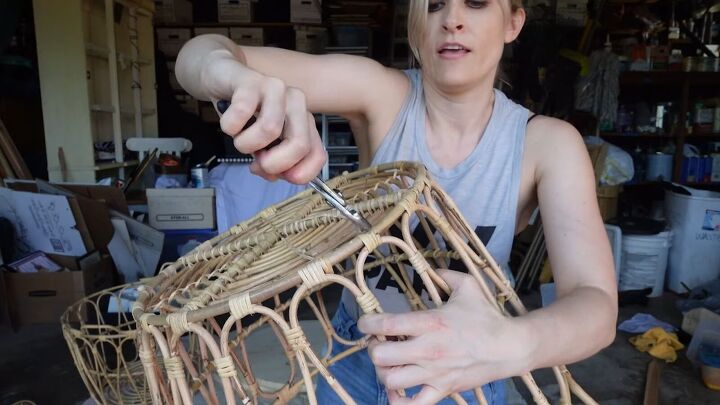
Pull off the little tabs on the bottom of the baskets, using pliers.
You will see little screws underneath the tabs - get those out as well.
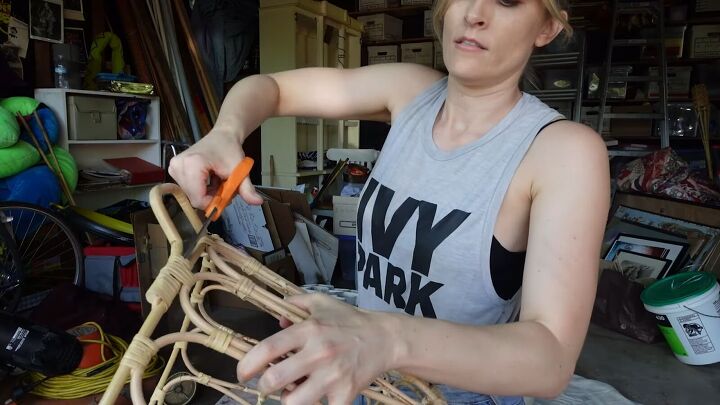
Get the handles off the baskets by clipping through the wood strips that keep them together. Keep the wood strips, they will come in handy later on in the process to camouflage zip ties.
Underneath, the handles are nailed into the basket. Grab your pliers and pull them out until they break off.
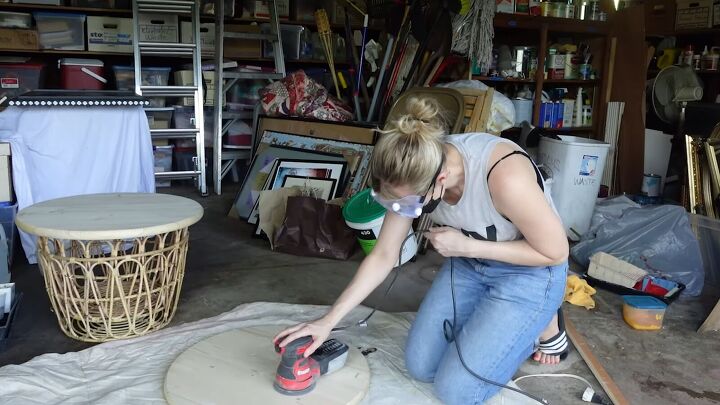
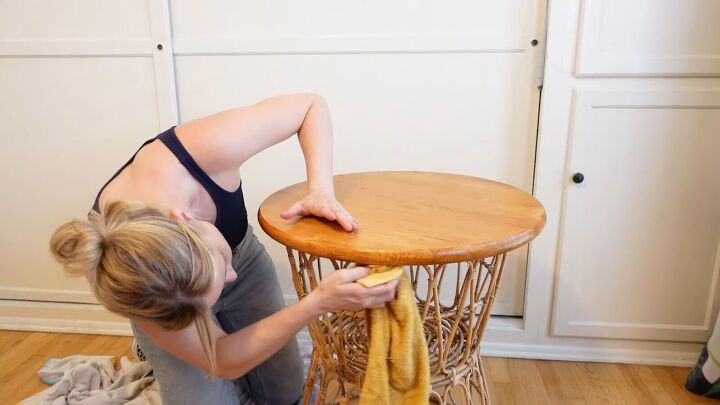
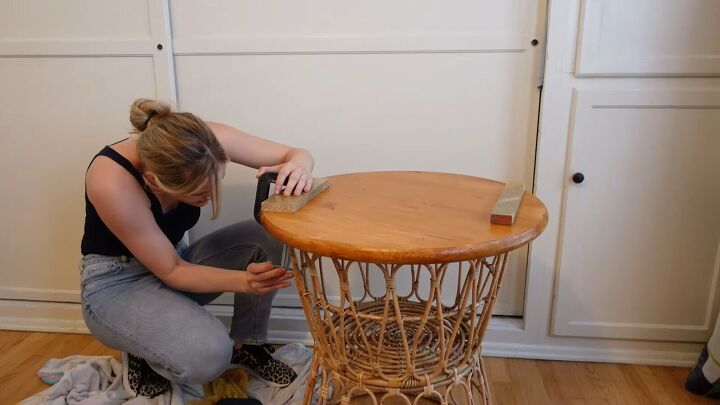
2. Prep the pine round for staining
I am going to stain my tabletop. Staining is generally not essential for the DIY end table and can be skipped if you wish, but I think staining it gives it a much nicer look.
Unfortunately, pine is soft and weak and can absorb a lot of the stain pretty unevenly, which just means that we will need to do some prep before we get to the actual staining.
Start by sanding the tabletop with the 220. This will help fill in a lot of the grain, but not so much that it cannot absorb anything. Then, wipe it down with a wet cloth.
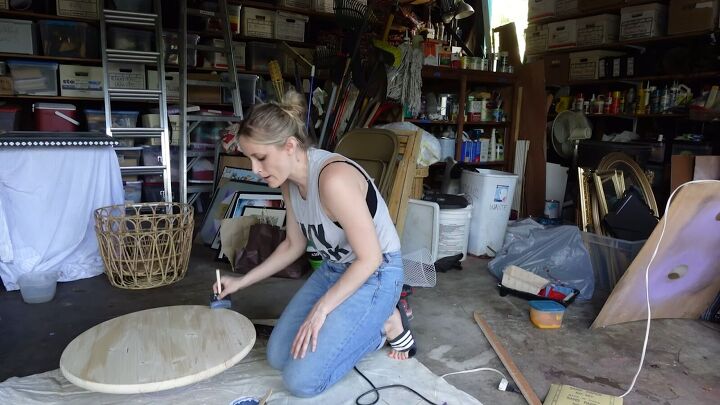
Seal it with Varathane Ultimate Polyurethane. We are sealing before staining because this is a very porous wood, so otherwise, it would absorb the stain very deep down and be very inconsistent.
This is why we want to fill it in and create a flatter surface so that the stain sits on top evenly.
Make sure that all your products are either oil-based or water-based: you cannot mix and match when working with wood. The products I am using are water-based. Wipe it in straight over, and be careful because it absorbs and dries pretty quickly.
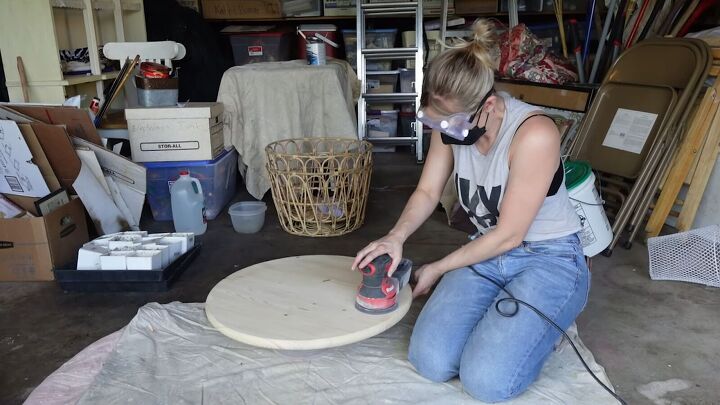
Once the first coat has dried, sand it again. Anytime you use a water-based product, it re-raises the grain, which is why sanding in between each coat is so important.
Wipe and seal again. The whole prep process is sand, wipe, seal, sand, wipe, seal.
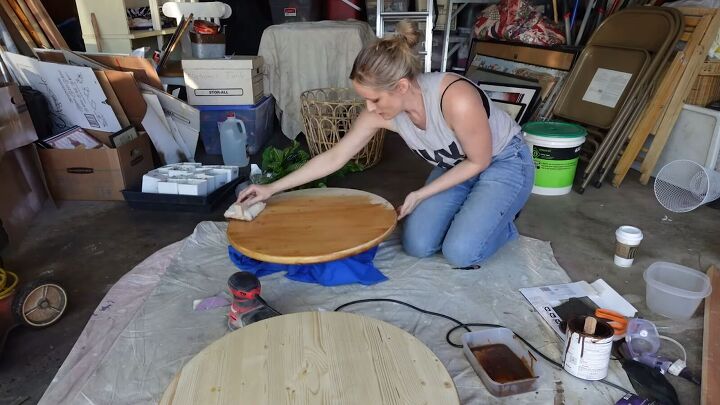
3. Stain the tabletop
We are ready to stain! You can use a brush, a cloth or a stain pad to apply Behr Stain & Poly in One on the tabletop. Then let it dry.
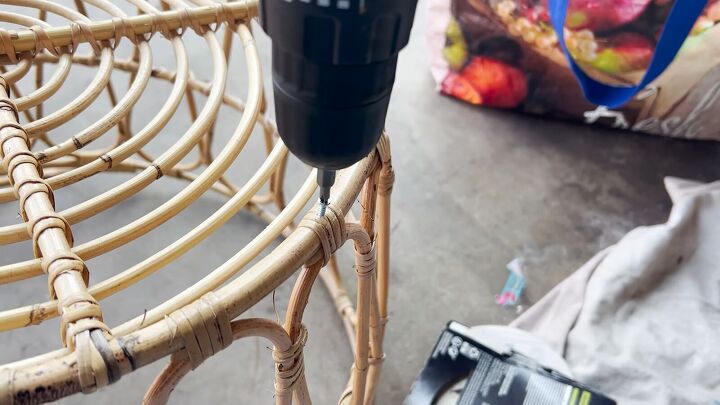
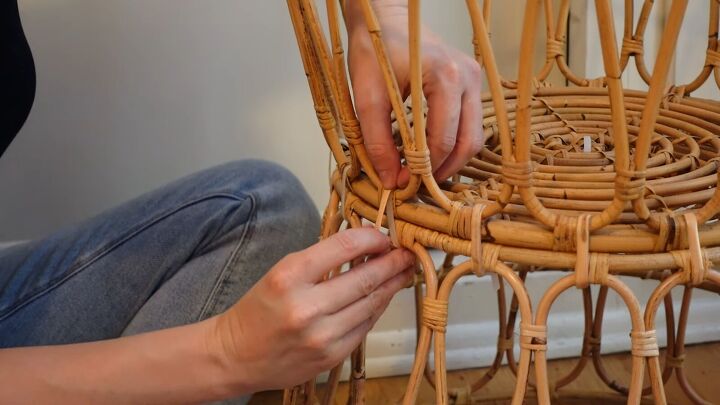
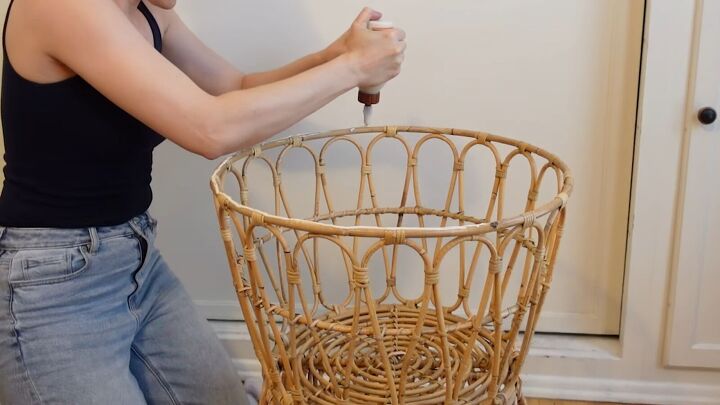
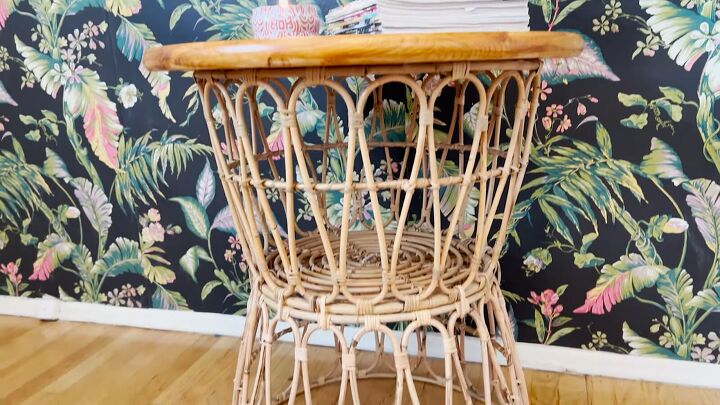
4. Create the pedestal base
Let’s get back to our baskets. The baskets are pretty identical, but obviously not perfect. In order to put them together, put wood glue all around the base of the lower basket.
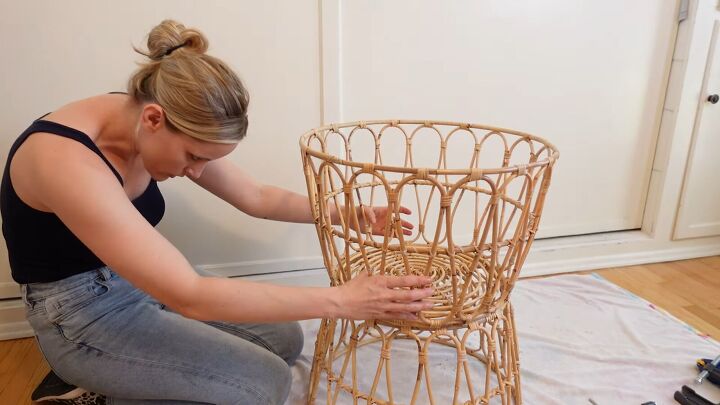
Stack the second basket with its base on top of the base of the lower basket. Make sure that the pattern of the two baskets lines up.
Clamp it on opposite sides.
Run a zip tie through each of the loops to secure the two baskets together. Make sure the zip ties are really tight and turn them on the inside, so that the ends are not sticking out. I recommend also getting a zip tie in the middle.
With a damp rag, clean off the glue spills that might remain on the sides.
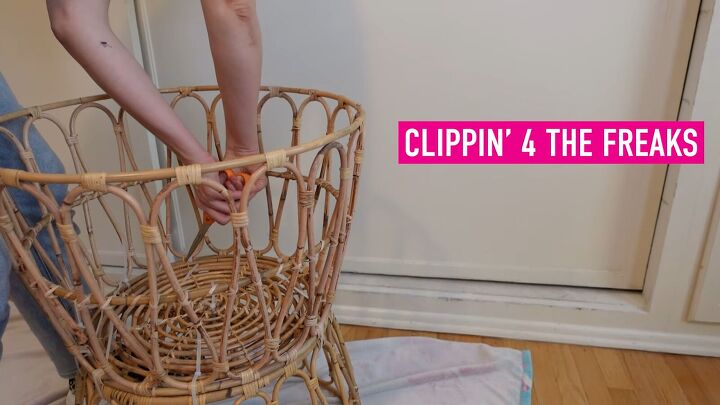
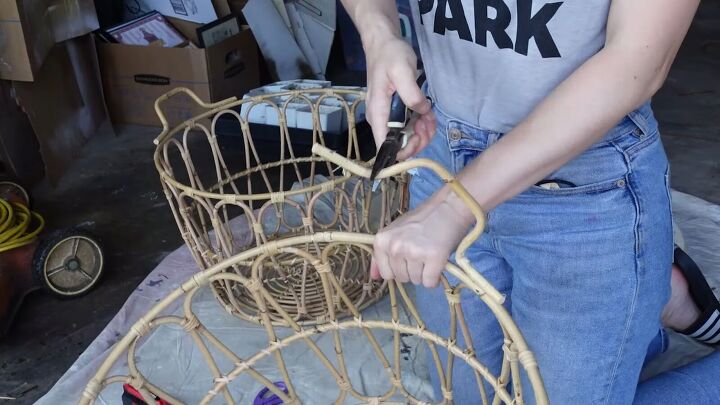
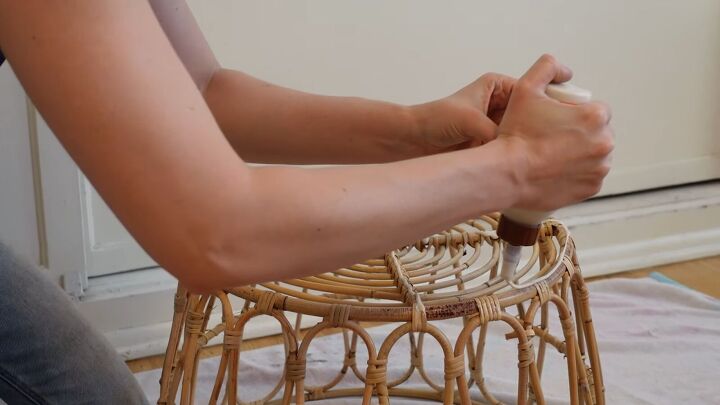
5. Camouflage the zip ties
Clip the ends of the zip ties, and get out the wood strips that we have put aside during step 1.
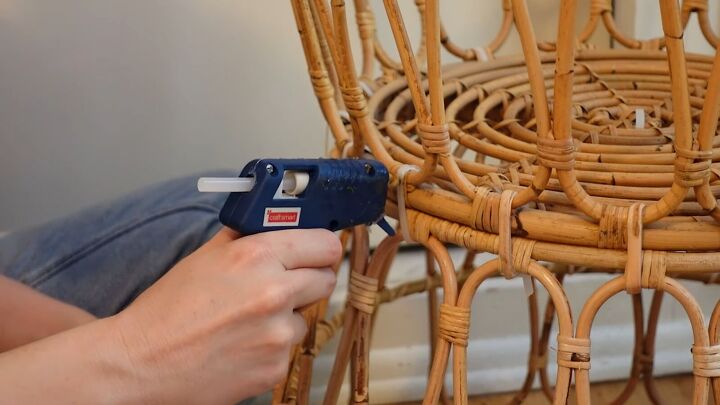
Run a strip of hot glue all along the zip tie.
Put the wood strip just over it, and press it on until the glue dries.
This is what it should look like in the end.
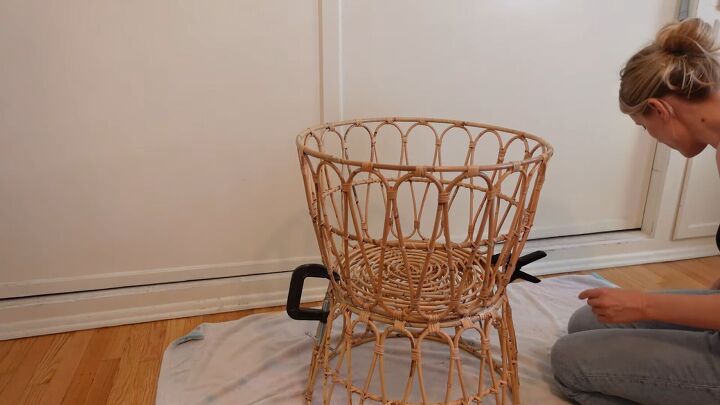
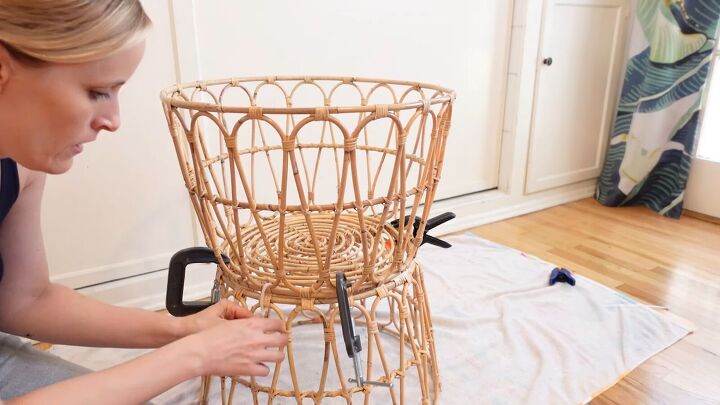
6. Get the tabletop on the pedestal
Start by putting glue all around the sides of the upper basket.
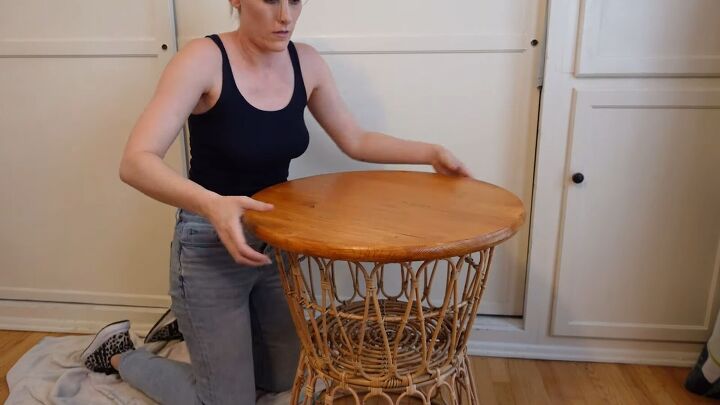
Secure the tabletop.
Wipe off any leftover glue.
Clamp the tabletop. I suggest using wood decks in order to not dent the tabletop itself. You can also add more heavy things on top just to be sure.
How to make a DIY end table with baskets
And here is the result! This DIY boho end table will be a perfect decorative addition to your room, it looks great with some flowers on top. Hope you found this DIY useful and had fun making it. Let me know in the comments how it went!
Comments
Join the conversation
-
Absolutely stunning!
-
That's amazing!


Frequently asked questions
Have a question about this project?
Where can I find the dramatic dark wall paper???