


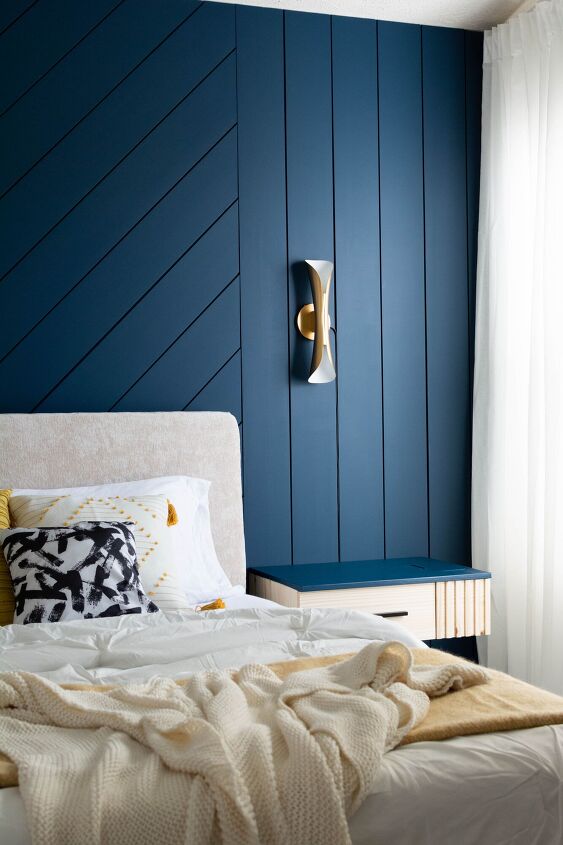
DIY UPHOLSTERED HEADBOARD & BEDFRAME
My master bedroom remodel is finally over and as a part of that DIY, I updated my metal bedframe into a fancy looking $$$ bed. This tutorial is about DIY Upholstered Headboard with angled design and how I converted that metal frame.
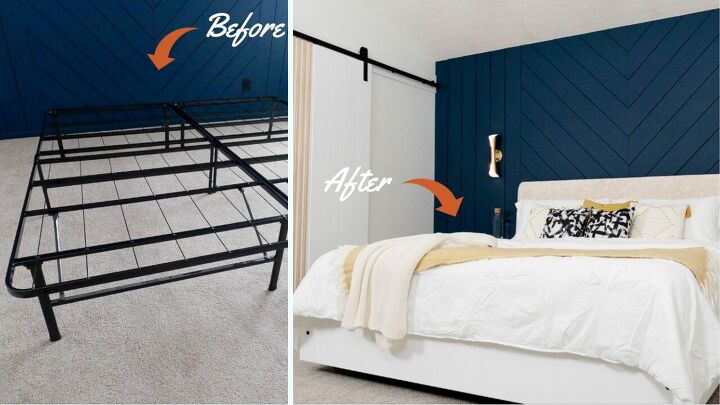
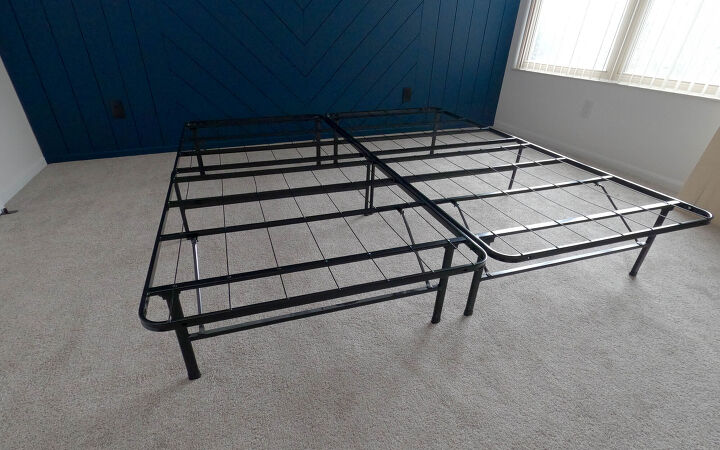
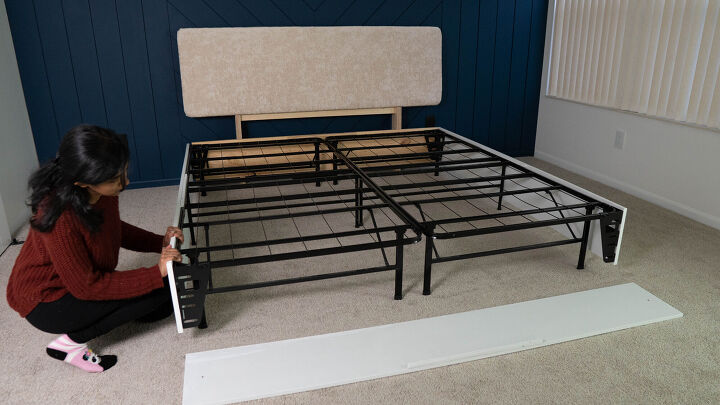
For years, we have had this king metal frame from zinus. It’s a very good bed frame for renters and people who move quite often like us. It’s even very easy to assemble and dismantle. Also it has lots of space underneath to store your things if you do not have space in your home.
Watch the video for better understanding of the build!
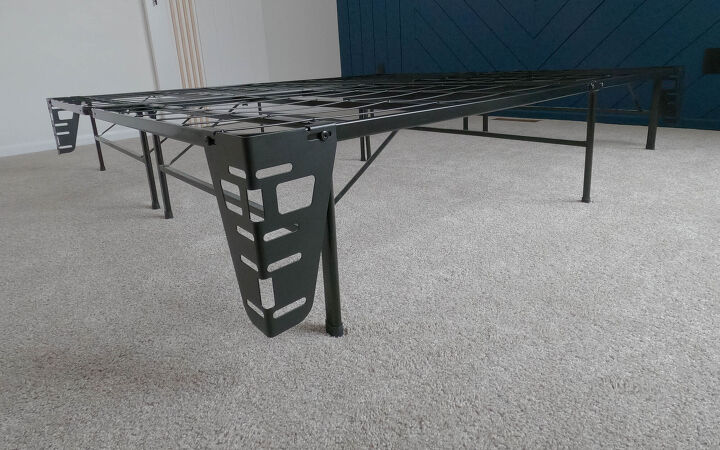
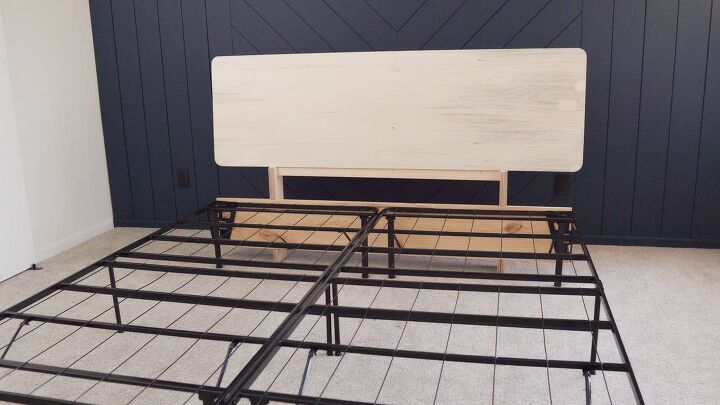
Anyway, We thought it’s time to give an uplift for this frame. So, I bought these metal brackets from the same brand that are meant for mounting headboard and side panels. It comes with bolts and fly nuts for easy installation. After installing the brackets, I took the measurements. Based on that, I made the headboard frame.

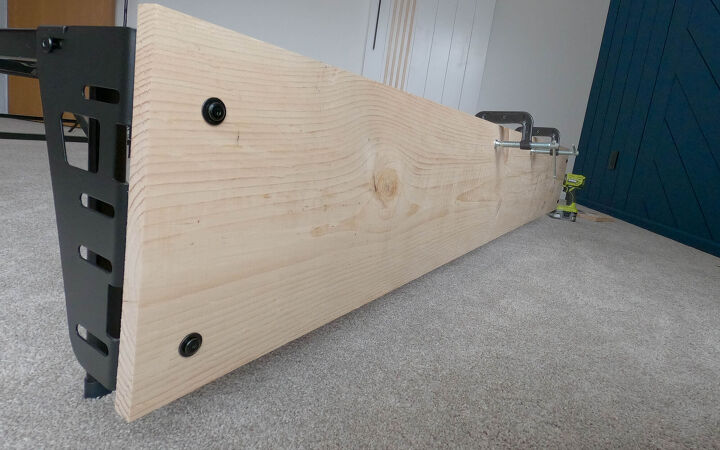
HEADBOARD FRAMING
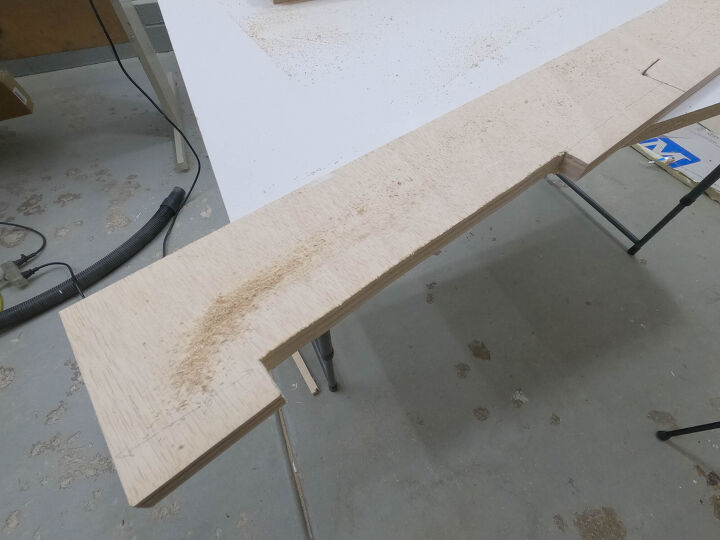
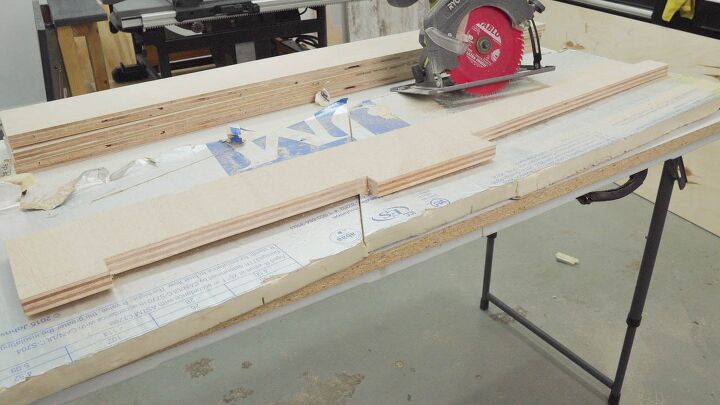
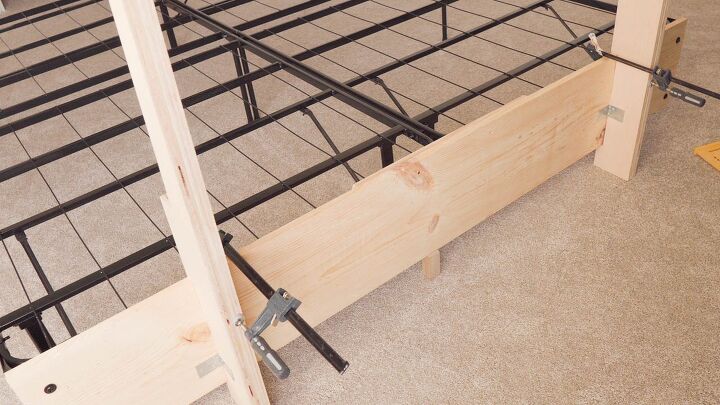
As a first step, I bought a 1×12 pine board and cut it to length. In my case, 76 inches. Then temporarily clamped it to the frame and marked the location, where I need to drill holes for the bolts. Once it was secure, I planned my cuts for the headboard frame.
Basically, I had three requirements for this headboard design:
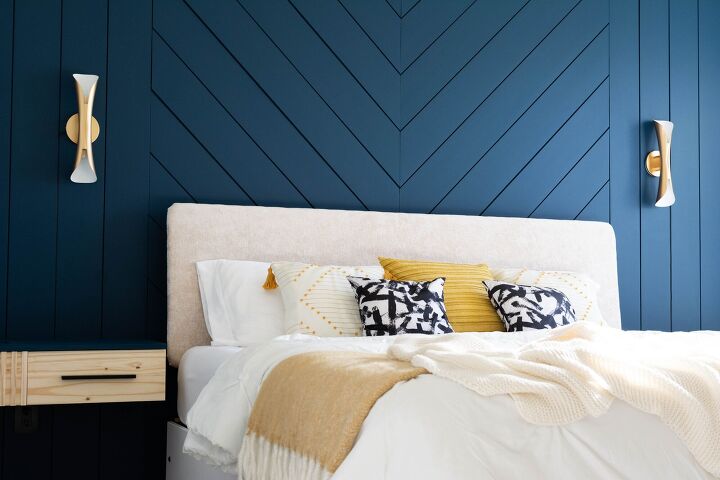
- Should have a slant angle in the headboard. Angle on headboard will be comfortable to lean on while sitting.
- It should be upholstered with fabric.
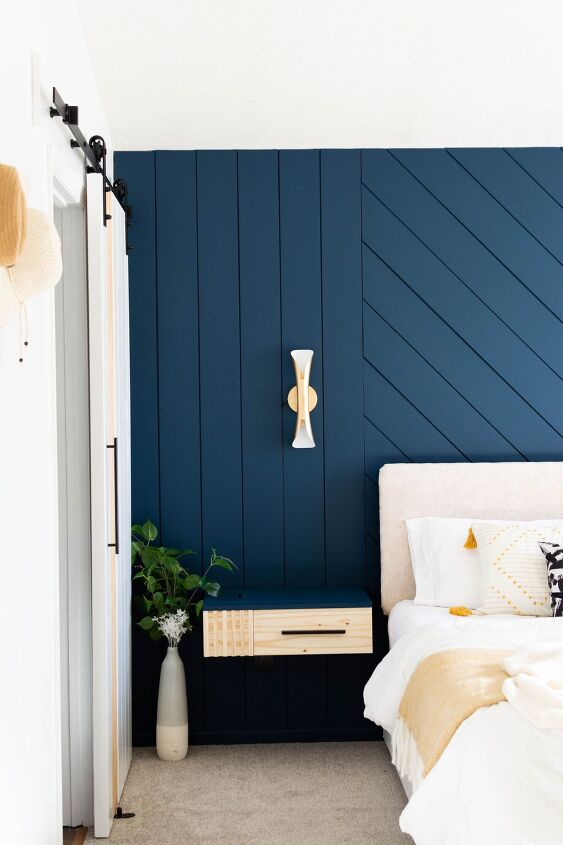
- I don’t wanna drill any holes on the shiplap accent wall, so I preferred the headboard to be connected to the bed frame rather than wall mounted.
You can find the build materials, plan & dimensions in my blog here. https://www.thenomadstudio.com/diy-upholstered-headboard-bedframe/
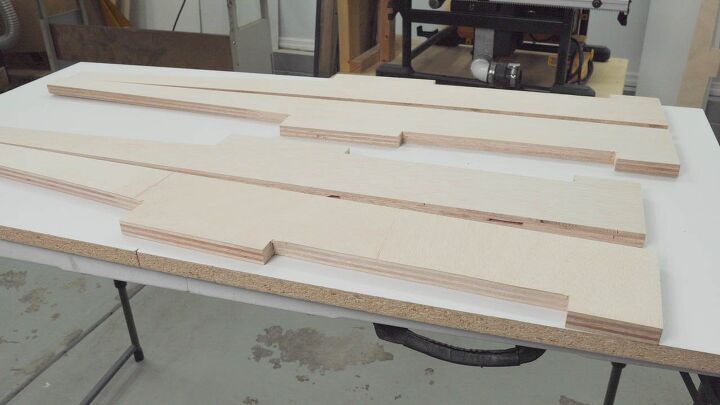
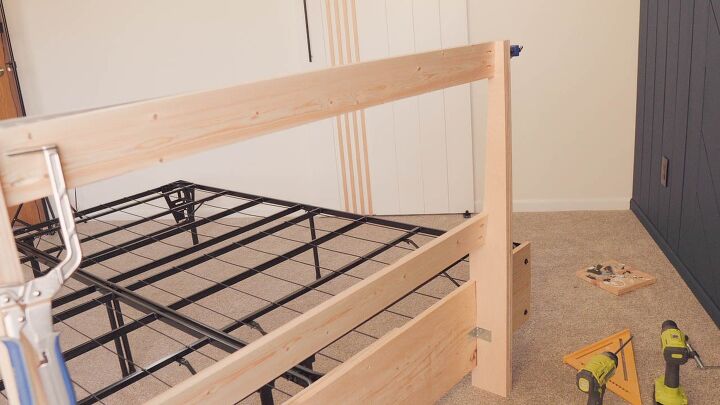
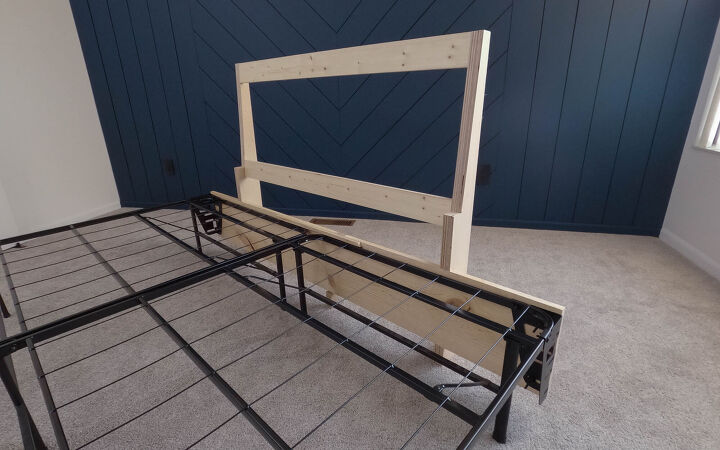
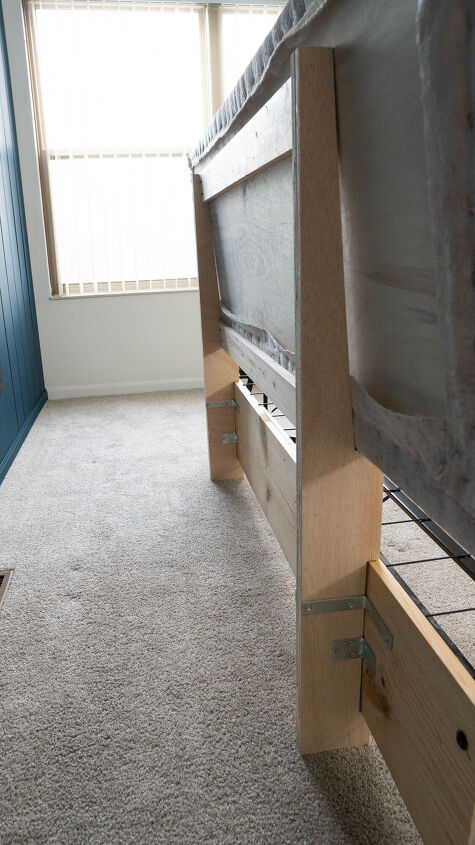
Based on the requirements, I made the vertical framing with 5 degree angle on the upper half and has a notch on the bottom to sit on the horizontal stretcher that I already installed to the bed frame. I made four of these verticals and glued two of them together to make it thicker and stronger.
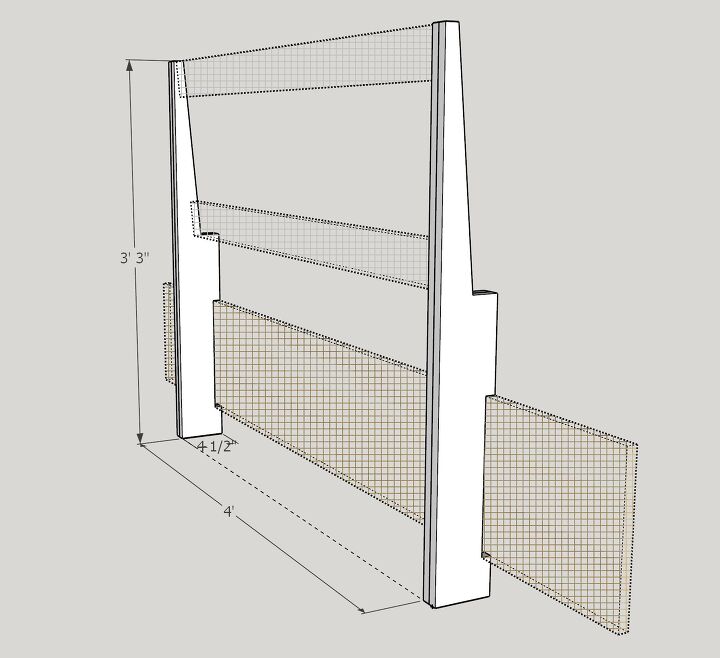
Then installed them using L angle brackets. They are positioned about 14 inches inside from the edge of the bed frame. So that the span is not too wide. Then, I measured the span between the verticals and connected with two 1×4 horizontal stretchers using pocket screws. This will tie them together and distribute the load of the headboard. I also added additional brackets later for stability. I suggest having an additional vertical at the center for better support. Since, there is a supply vent on the floor I couldn’t have the center support.

HEADBOARD DESIGN & UPHOLSTERY
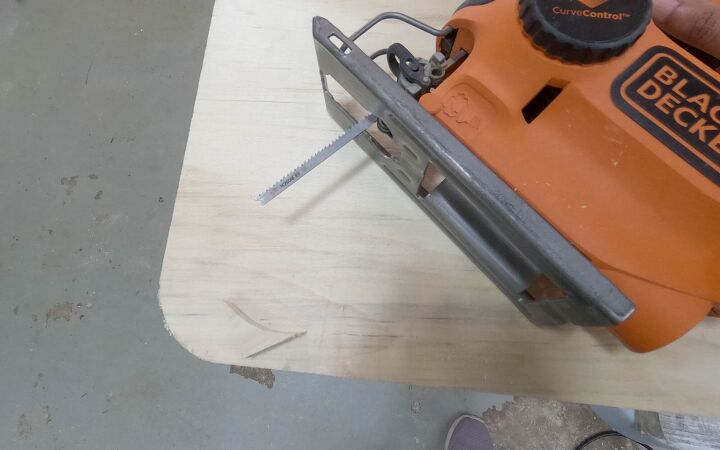
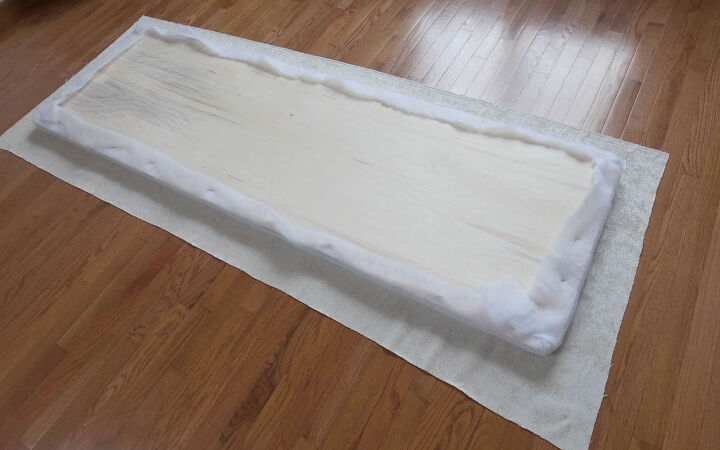
Cut ½ inch plywood as the headboard base. I rounded the edges by simply tracing a cup on all four sides and cut them with a jigsaw. Then sand the edges to soften them.

It’s already looking awesome with a wood headboard. You could just stain it or clear coat it. But we wanted an upholstered headboard to make the bed cozy. So, I bought this beige color fabric from the local store. To upholster, you need 1 inch foam, spray adhesive, batting sheet and a staple gun.
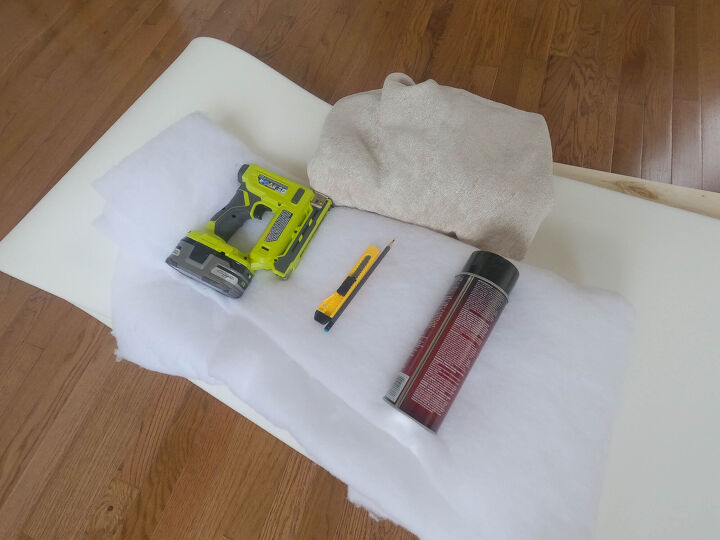
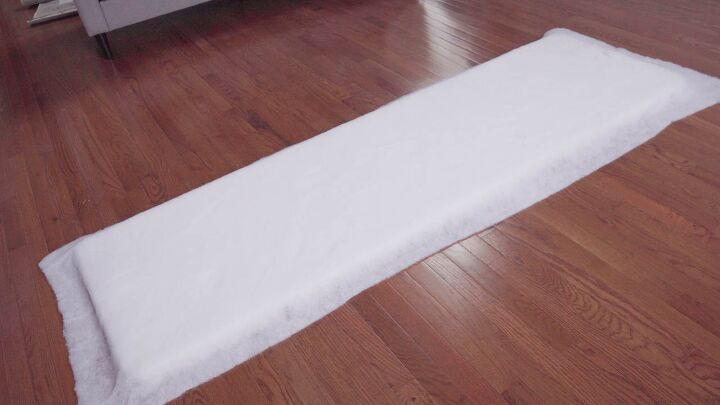
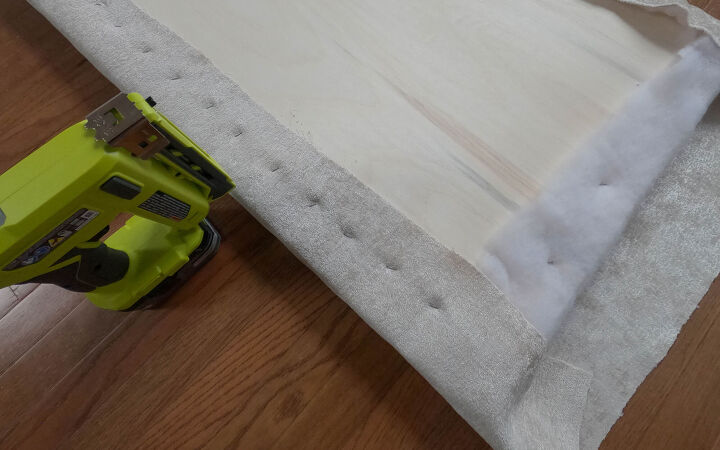
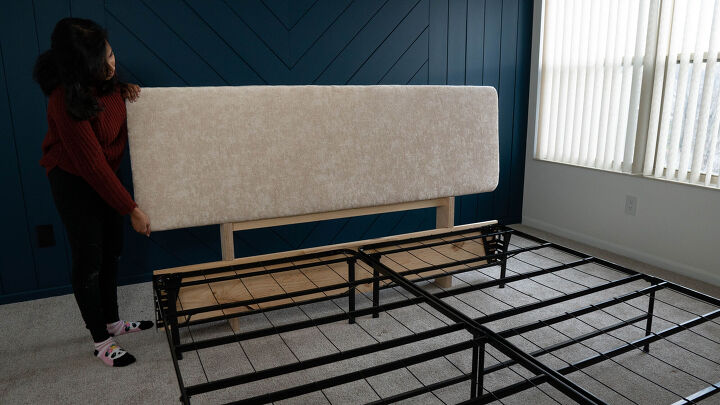
First, cut the foam by tracing the shape of the headboard. Then glue it to the plywood base. wrap with the batting sheet and staple it from behind. Now place the fabric upside down on the clean floor. Then place the base on top and begin to wrap and staple. Make sure to pull the fabric tight and staple. Once all the sides were done, attach it to the frame.

UPDATE THE METAL BEDFRAME
Measure the dimensions and cut 1×12 primed MDF boards to required length of the remaining three side panels.
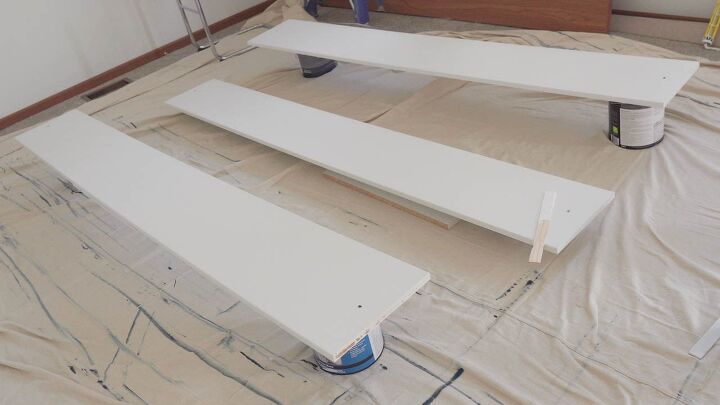
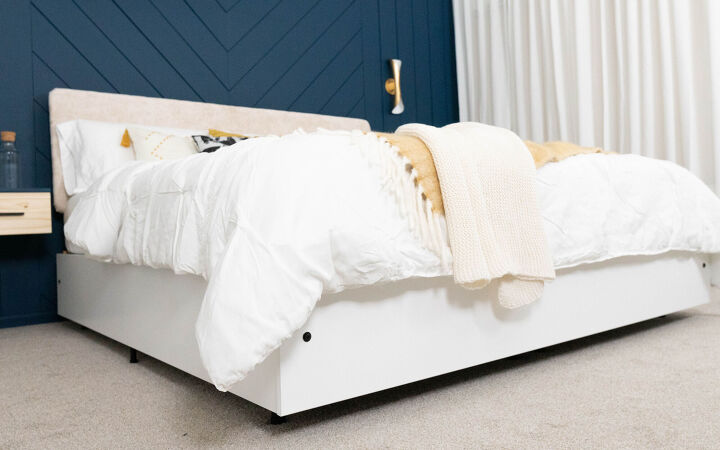
After finishing, fix the side panels to the metal frame. The metal brackets do come with wing nuts and bolt with washer. But you might need to shorten two of those bolts and buy an additional four more washers to install the panels on those brackets.
DIY Upholstered Headboard & Bedframe is done! This simple transformation made bed look big and fabulous.

Comments
Join the conversation
-
Wing nuts are such a blessing when you don't have the tools handy in a hurry. Nice headboard. Thanks for sharing it.
-
That accent wall! Your room looks stunning 😍


Frequently asked questions
Have a question about this project?
Fresh and clean. Would you please share information re
gR your navy blue paint
So after you made the frame , did the the mattress still shift?
Love the bed but also the wall and side tables. Have I missed ha tutorial for these?