


How to Make a DIY Bench With Storage For Old Records

If you’re looking for a practical yet stylish solution for your storage needs, why not try building your own DIY bench with storage compartments?
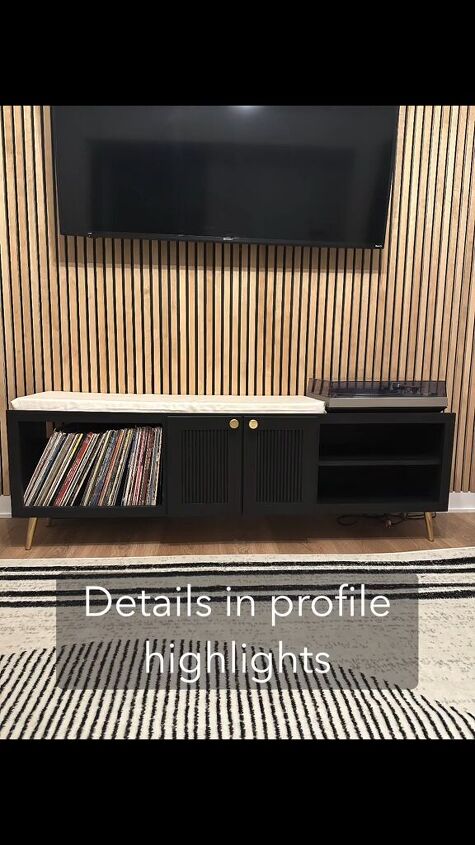
We had a great experience making a DIY storage bench for our old records and wanted to show you how to make one for yourself. I'll show you how to build a storage bench that not only provides seating but also offers storage space for your belongings.
Let's get started!
Tools and materials
- ¾-Inch birch plywood
- Saw (circular or table saw)
- Wood glue
- Paint (color of your choice)
- Paintbrushes
- ½-Inch dowels
- Drill
- Screws
- Cabinet hinges
- Cabinet knobs or handles
- Gold mid-century legs
- Sandpaper
- Measuring tape
- Pencil
- Safety goggles
- Protective gloves
Step 1: Cut the Plywood
Using a saw, carefully cut the birch plywood according to the dimensions you desire for your bench. Remember to include sections for the open space and closed cabinets.
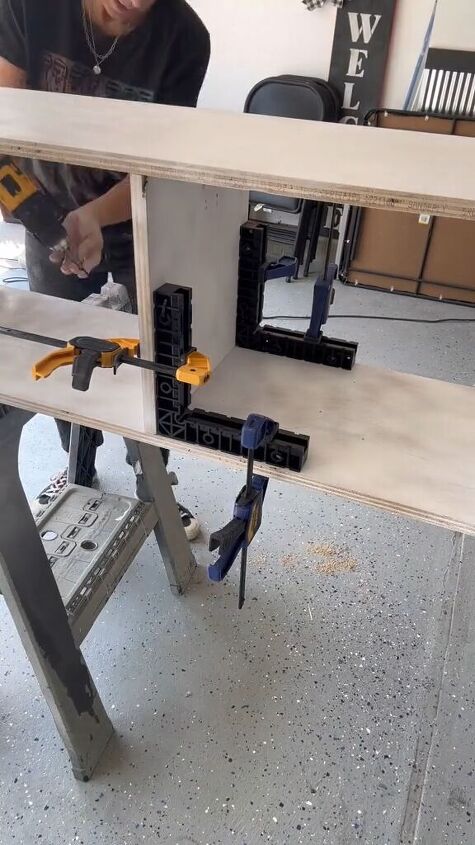
Step 2: Assemble the Frame
Assemble the cut pieces of plywood to form the frame of your bench. Apply wood glue along the edges to secure them together firmly. Use clamps to hold the pieces in place while the glue sets. Allow sufficient drying time as per the glue manufacturer's instructions.
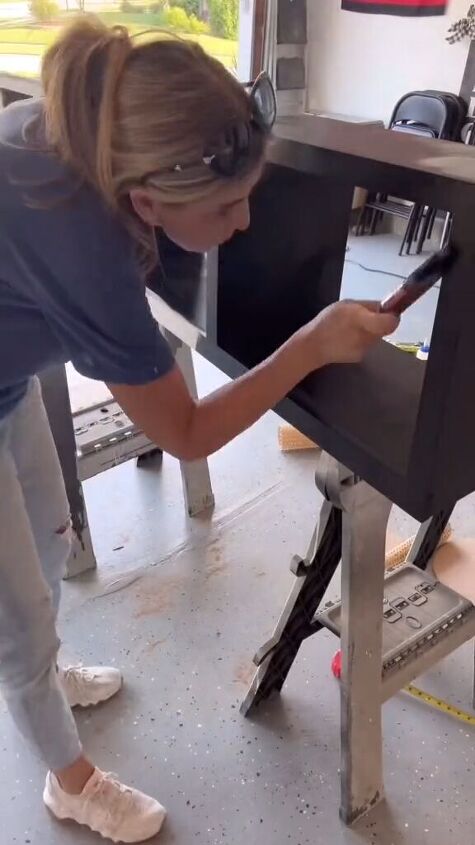
Step 3: Paint the Frame
Once the frame is dry and secure, paint it with your chosen color. Apply multiple coats if necessary for a smooth and even finish. Allow each coat to dry completely before applying the next one.
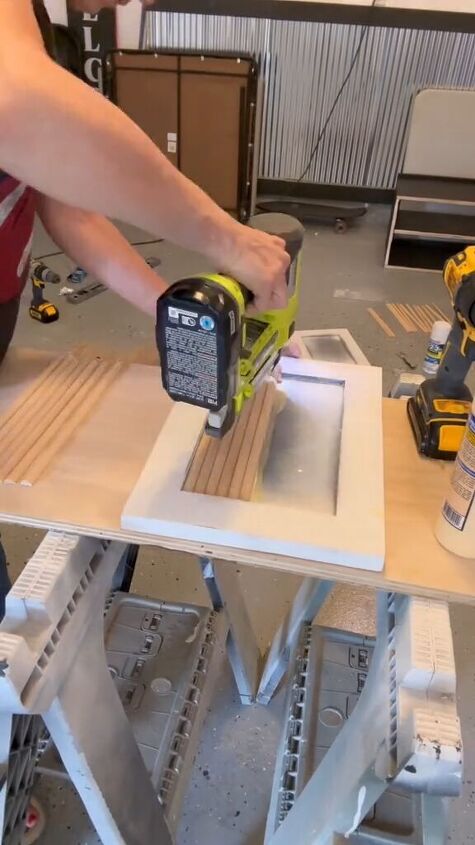
Step 4: Make the Cabinet Doors and Add Dowels
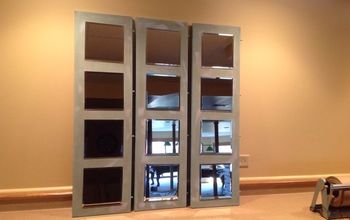
Measure and cut additional pieces of wood to create doors for the closed cabinets. Attach ½ inch dowels horizontally to create a shaker-style design.

Paint the dowels to match the frame for a cohesive look. Attach hinges to one side of each door and then attach the doors to the frame using screws.
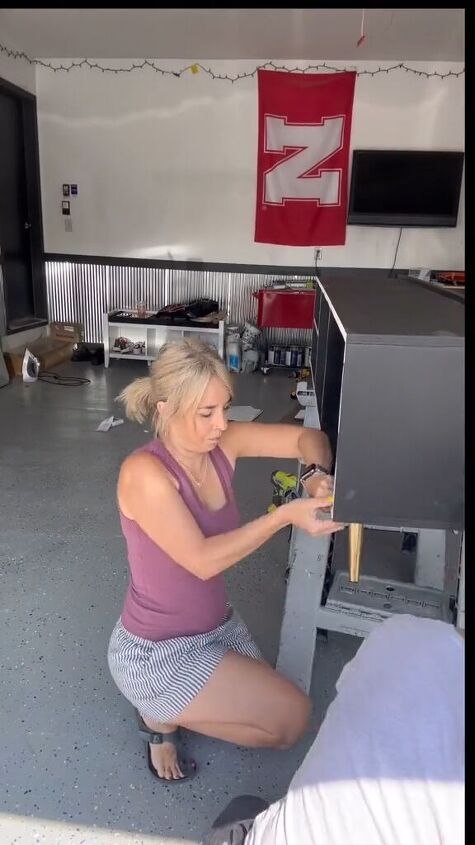
Step 5: Attach Legs
Flip the bench over and attach the gold mid-century legs to the bottom of the frame using screws. Ensure they are evenly spaced and securely attached to support the weight of the bench and its contents.
Step 6: Final Touches
Add cabinet knobs or handles to the doors for easy opening and closing. Place it the finished DIY wooden bench in your desired location and fill the cabinets with your belongings. Not only does it provide practical storage solutions, but it also adds a touch of style to any room.
DIY bench
I hope you enjoyed learning how to build a bench. Building your own DIY bench with storage is a rewarding project that allows you to customize the design to suit your needs and preferences.
With just a few basic materials and some creativity, you can create a functional and attractive piece of furniture that enhances your home decor. Leave a comment and let me know how your project went.
Follow @a_bit_unexpected_diy on TikTok for more DIY ideas.


Frequently asked questions
Have a question about this project?