


Outdoor Entertaining: How to Construct a Versatile Cinder Block Bar

Hey there, DIY enthusiasts! Are you ready for an exciting journey into the world of garden crafts? Get your hands dirty and join me as I dive into a step-by-step tutorial on building your very own cinder block bar and planter stand.
In this guide, we'll explore a clever cinder block idea for your backyard and take you through each stage of building this versatile piece of homemade garden furniture.
This post was transcribed by a member of the Hometalk editorial team from the original HometalkTV episode.
Hometalk Recommends!
This cinder block project is not only a functional addition to your backyard but also a fantastic way to showcase your gardening skills.
So grab your tools, put on your creative hat, and let's bring your outdoor DIY project to life, one cinder block at a time!
Tools and Materials:
- Cinder blocks
- Wood boards
- Construction adhesive
- Gravel (if needed)
- Level
- Tape measure
- Plants
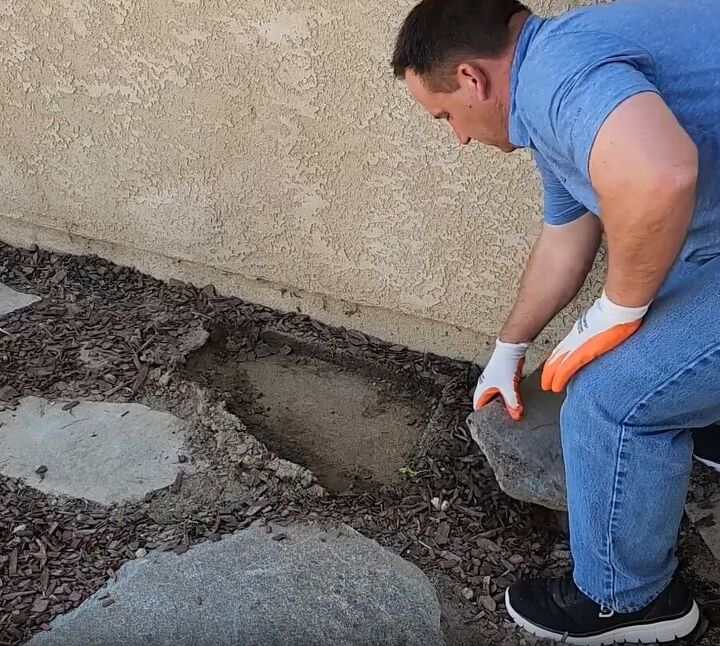
1. Preparing the Ground for Our Cinder Block Table Idea
To start off, we need to clear the area by removing any big flat rocks. This will create a solid base for our Garden planter stand.
Also, don't forget to get rid of any loose debris. A trusty rake will come in handy for scraping it all to the sides.
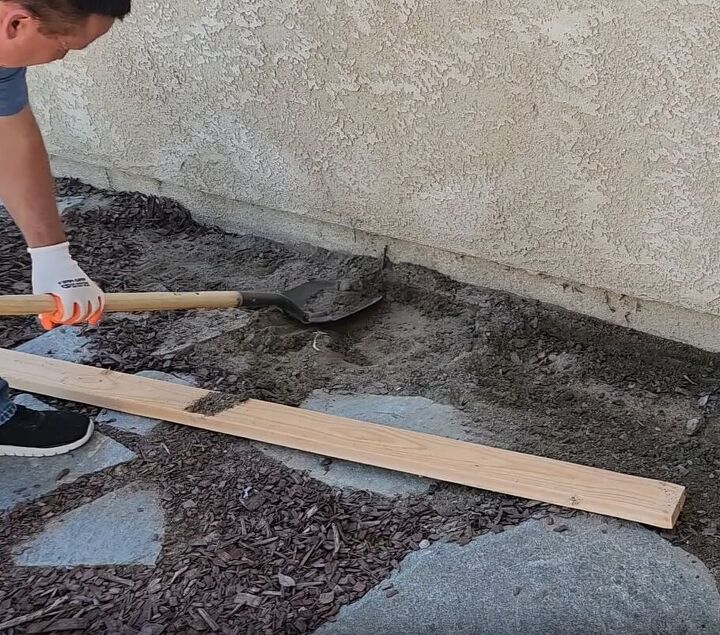
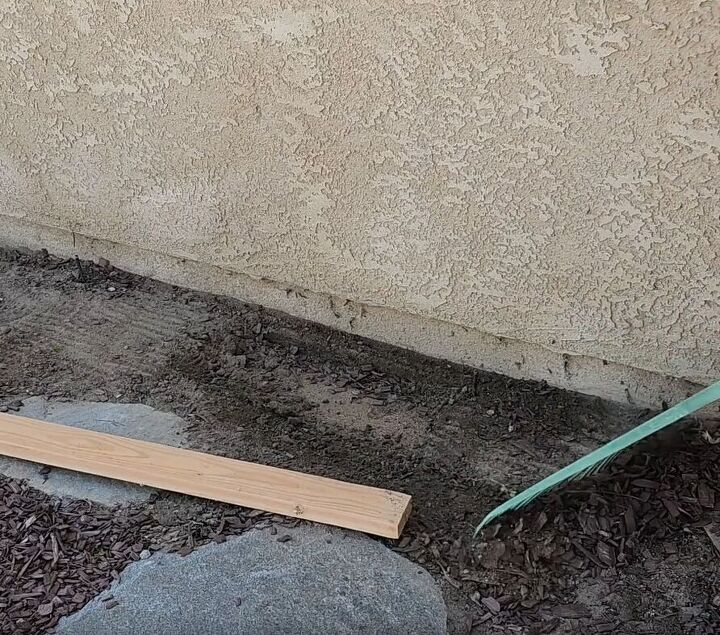
Grab a shovel and remove the sandy soil from the area. We want to reach a firmer base for our cinder block bar project. Simply set aside the soil you remove and dig down a bit. If necessary, you can add gravel, but I found the ground to be pretty solid already.
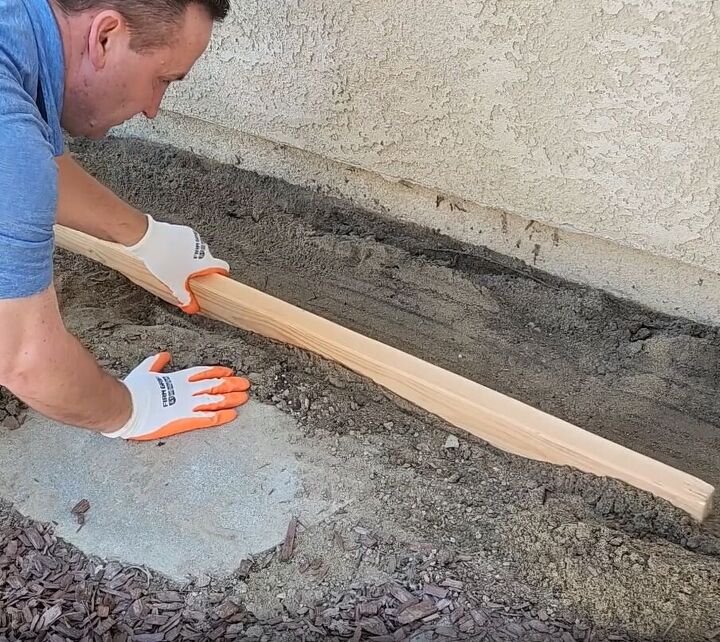
Take a small two-by-four and use it as a screed to level the soil. Just go back and forth with it, ensuring a nice and even surface.
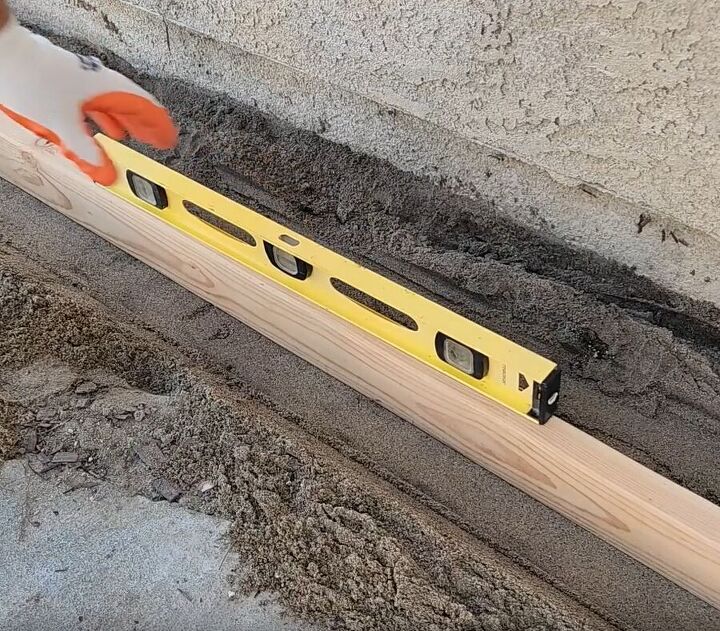
Once you have cleared and leveled the area, use a level tool to double-check that everything is nice and straight.
2. Placing the First Blocks of Our Cinder Block Bar
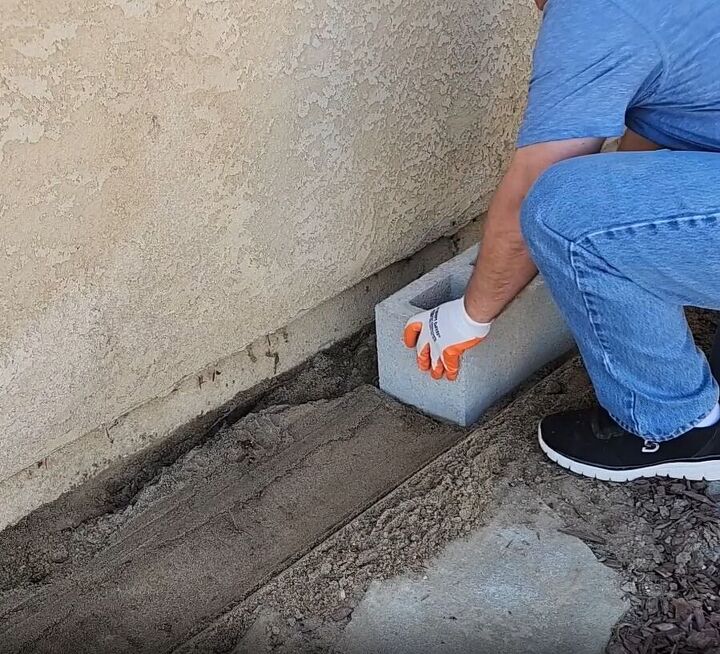
Now it's time to lay down the foundation for our cinder block planter stand. Place the first cinder block and give it a little shake to ensure it feels firm. Next, position the second block right next to it, making sure it is level.
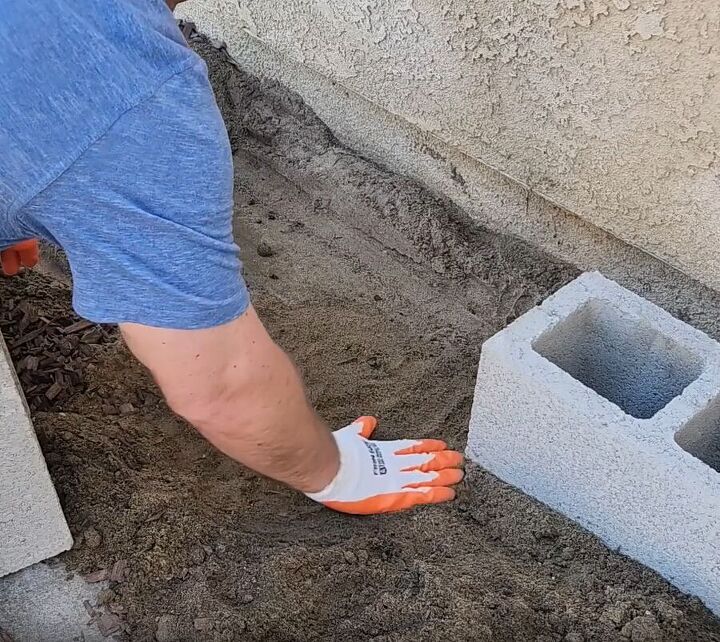
Feel free to add more soil or adjust as needed. If you accidentally dig too deep, add sand gradually, packing it down each time.
3. Building Up Our Cinder Block Project
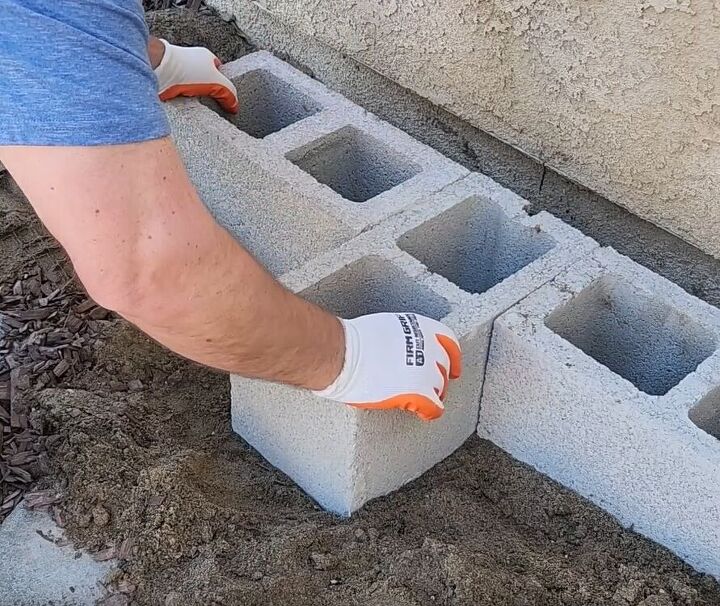
Here's where things get interesting. See how that third cinder block sticks out? We're going to keep repeating this pattern as we go. Remember, this is your project, so make it as big as you desire!
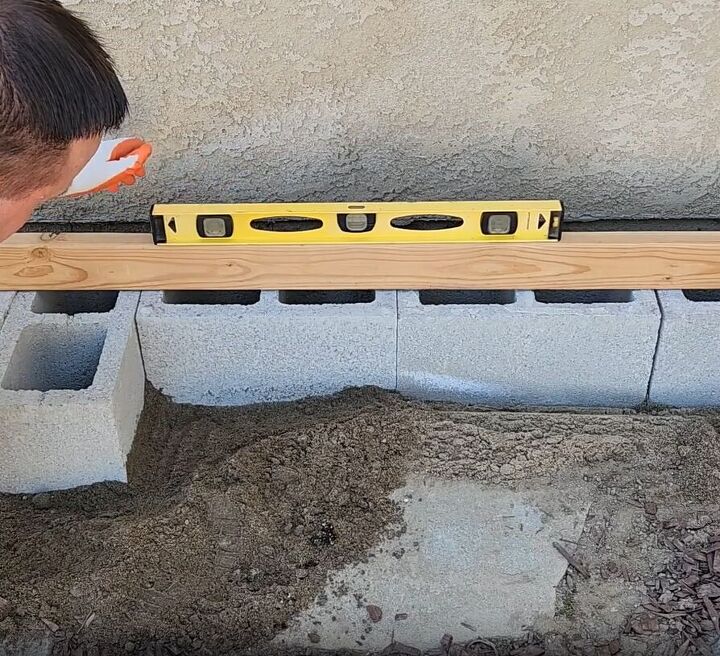
Once the base is complete, place a two-by-four across the top and ensure it is level. A solid foundation sets the stage for success.
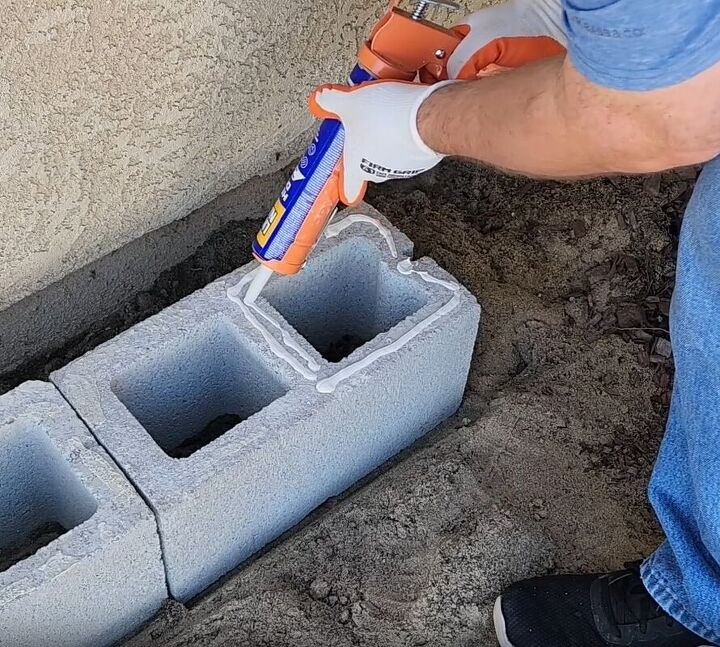
4. Adding Strength and Stability with Adhesive
Now, it's time to enhance the stability of our structure. Apply a moderate amount of construction adhesive to prevent the bricks from sliding or breaking. Use just enough to hold everything securely in place.

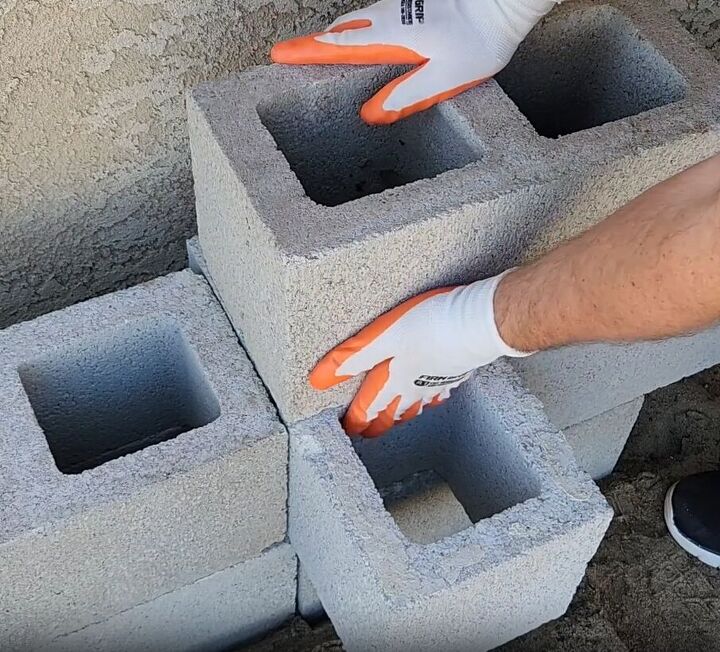
5. Continuing the Construction of Our Cinder Block Idea
Moving on, let's add another cinder block. However, this time, let it hang over just a little bit. Trust me, there's a method to this madness, and I'll explain it later. Apply adhesive, attach the block, and keep repeating this process.
As you progress, remember to keep adding adhesive between the blocks.
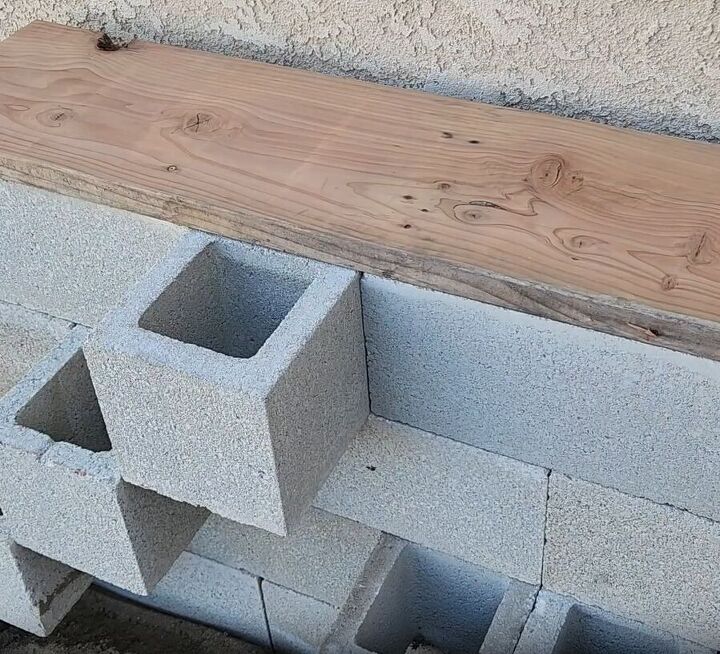
6. Adding the Perfect Finishing Touch
Once you've reached your desired height, ensure everything is level and even. Take a moment to appreciate your hard work!
Now, cut a sizeable piece of redwood board that fits on top. Place it on the blocks, add adhesive underneath, and fit it in place.
7. Planting Flowers in Our DIY Cinder Block Planter Stand
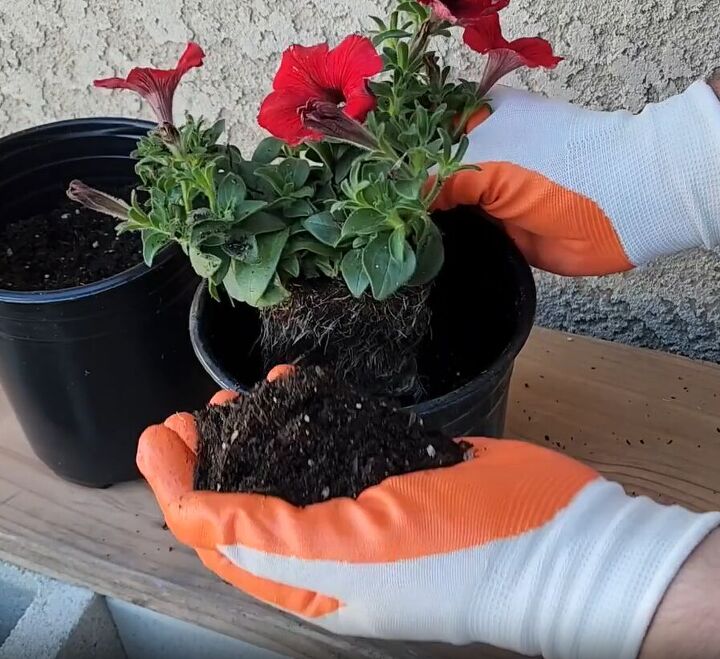
Let's bring some life to our creation! Head to your local hardware store and grab some beautiful flowers. Before planting them, gently separate the roots and use quality potting soil. Better soil leads to better growth.
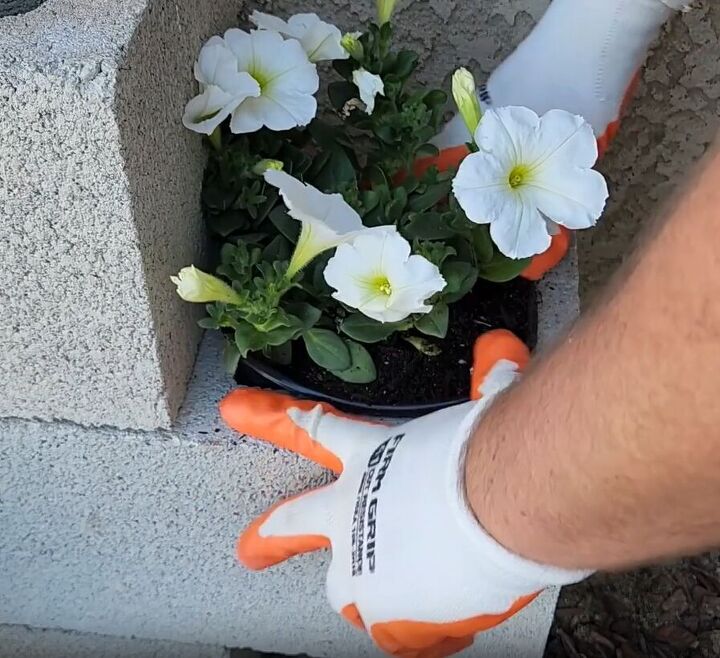
Slide the pots into the cavities between the blocks, allowing them to conform to the shape. Repeat this process until you've filled all the gaps. Remember, don't overcrowd; just slide them down snugly.

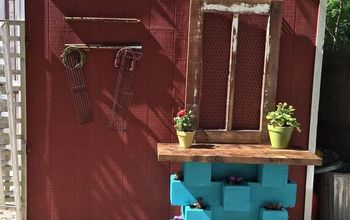
Enhance Your Outdoor Space With a DIY Cinder Block Bar and Flower Pot Stand
Congratulations on completing your DIY cinder block bar and planter stand! You've not only created a functional and stylish addition to your outdoor space but also unleashed your creativity and showcased your knack for outdoor DIY projects.
This unique project seamlessly combines the fun of a bar with the beauty of a planter stand, giving you the opportunity to elevate your entertaining game while adding a touch of charm to your backyard.
More DIY Summer Projects
By incorporating this creative landscaping idea, you've transformed ordinary cinder blocks into a stunning piece of homemade garden furniture. The structure of the planter stand provides endless vertical gardening inspiration, allowing you to display your favorite plants and flowers in a captivating way. And the best part? You achieved all of this without breaking the bank, thanks to the affordable garden decor opportunity that cinder blocks offer.
Now it's time to sit back, relax, and enjoy the fruits of your labor. Invite friends and family over, raise a toast to your DIY prowess, and soak up the compliments on your remarkable creation. Don't forget to share your experience in the comments below.
Comments
Join the conversation
-
Yes, it's OK but concrete gets awfully hot when the sun is on it and retains the heat so plants wouldn't do very well.
-
Worked very well in Florida, just had to make sure that the plants were heat tolerant and built it in the shade.


Frequently asked questions
Have a question about this project?