


Bi-fold Door Bench

This post was transcribed by a member of the Hometalk editorial team from the original HometalkTV episode.
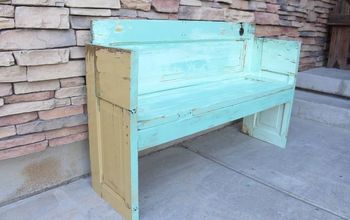
The next time you renovate your home, don’t throw out those bi-fold doors. Turn them into something super useful and create some extra storage.
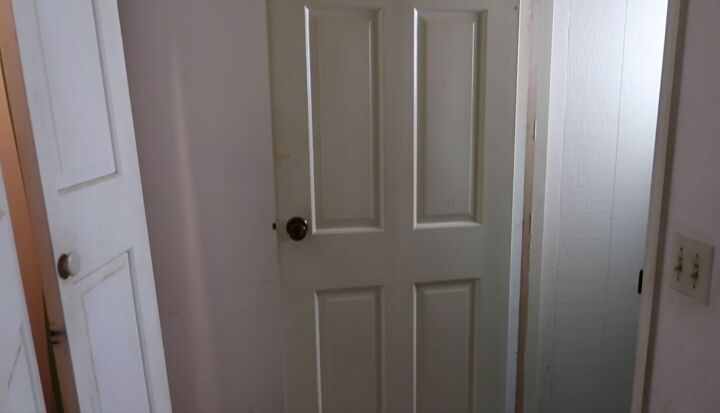
We just bought a house that needed a lot of work. There is this weird room leading from the garage into the house and it was begging for a makeover. I knew we wouldn't use the small closet, so I decided to make it into a usable space.
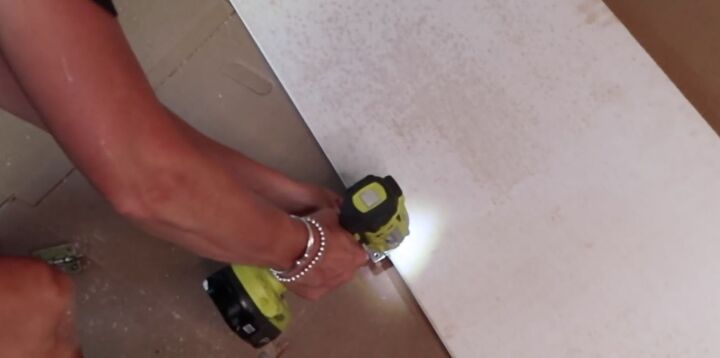
I started by removing the bi-fold doors and removing all the hardware on the doors.
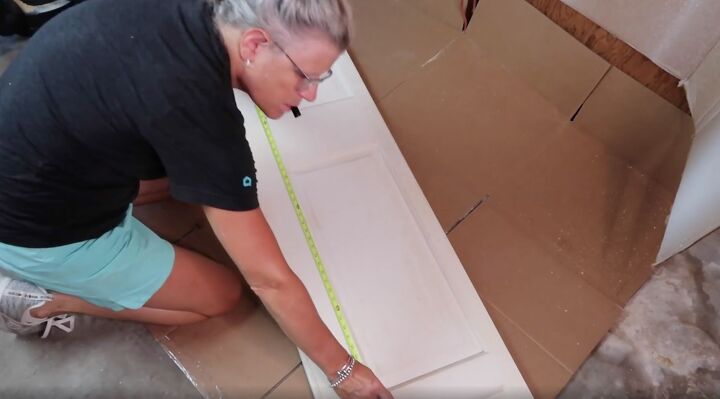
After measuring the length and width of the closet, I transferred those measurements onto the doors and cut them to size. I had to cut both ends of the doors because the way the panels were laid out on the door, I didn't want to cut a panel in half.
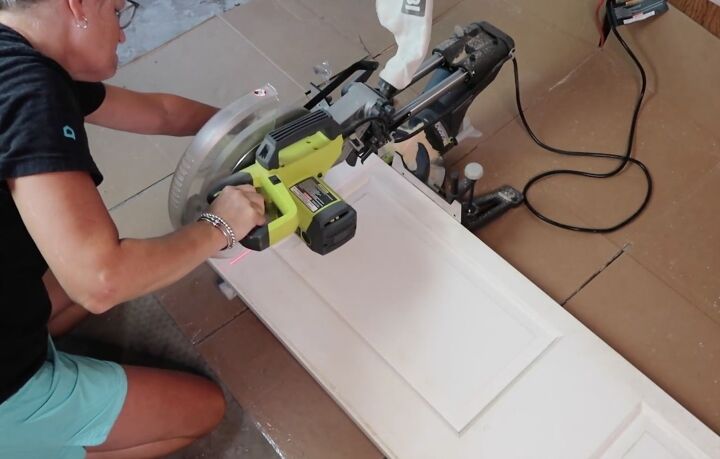
The width of the doors was wider than my cutting range on my saw, so I just had to flip them over to continue my cut. I cut both bifold doors this way.
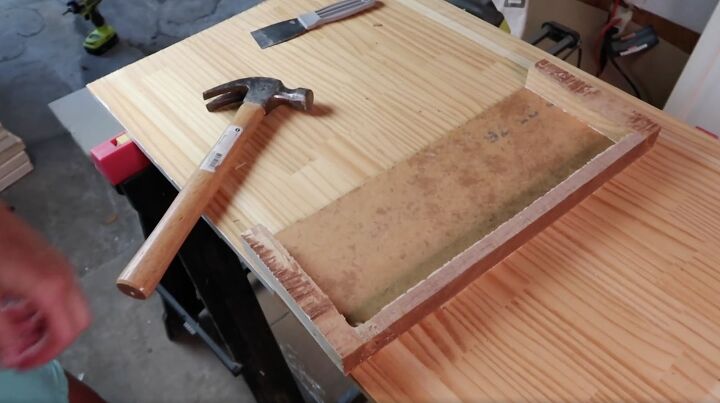
The doors are hollow-core, so I needed to make sure they were strong enough to sit on. I took the ends of the doors that I had cut off and removed the front and the back panels. The panels were easy to remove with a chisel and a hammer.
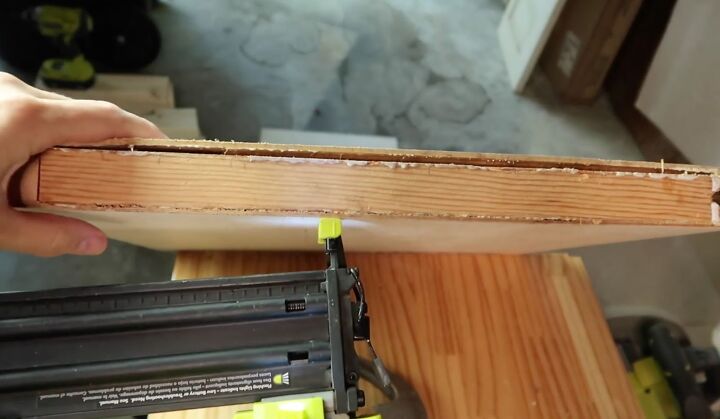
I then slipped the solid wood into the cut ends of the doors and nailed it into place.
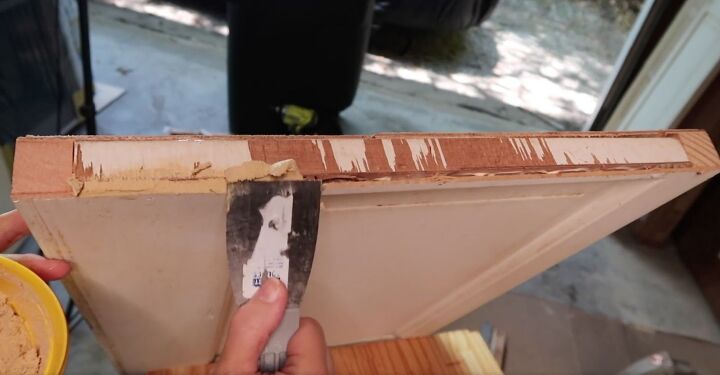
Then I filled the gaps with wood filler for a cleaner look.
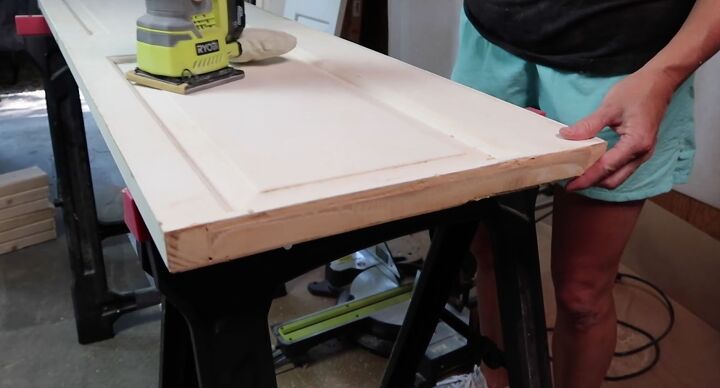
After all the gaps and the wood filler had dried, I sanded everything smooth, including the door.

Next, I primed and painted the door white. It took one coat of primer and two coats of interior paint.

To cut the frame for the bench, I use two-by-fours cut to size. I cut 6 14-inch pieces for the sides, 4 59-inch pieces for the top and bottom, and 6 13-and-a-half-inch pieces for the cross pieces.
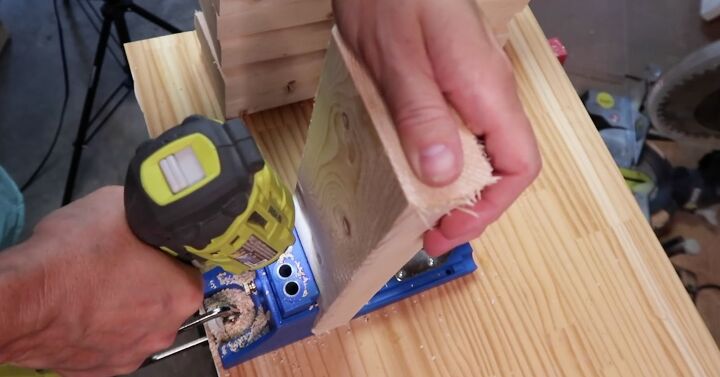
I used a Kreg jig to drill the holes into the ends for a stronger joint. If you don't have a Kreg jig, you could just screw them together at an angle, but they won't be nearly as strong.
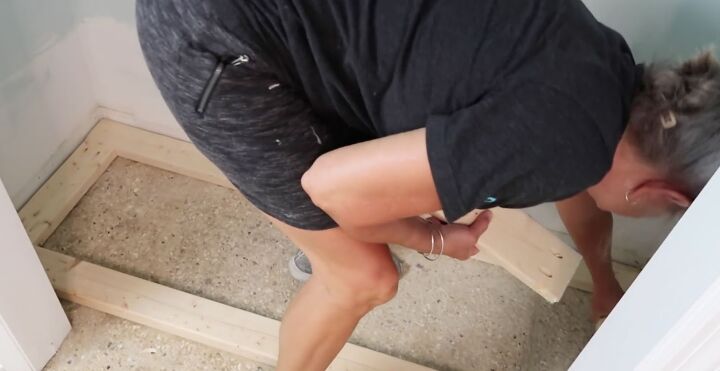
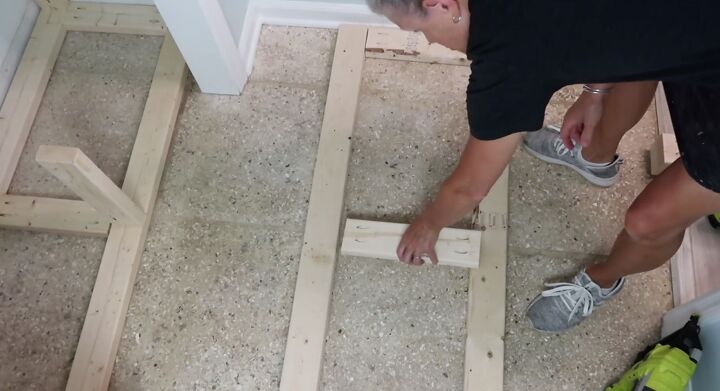
After I cut all the pieces, I laid the bottom of the bench out onto the bottom of the closet and screwed the pieces into place.

Then the side or vertical pieces were next, which I screwed into the bottom of the frame.
The top of the bench was built just like the bottom and assembled outside the closet.
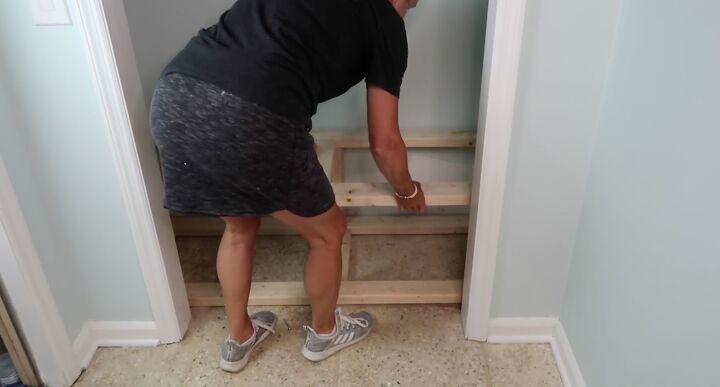
Once it was together, I placed it on the vertical pieces and screwed them into place.
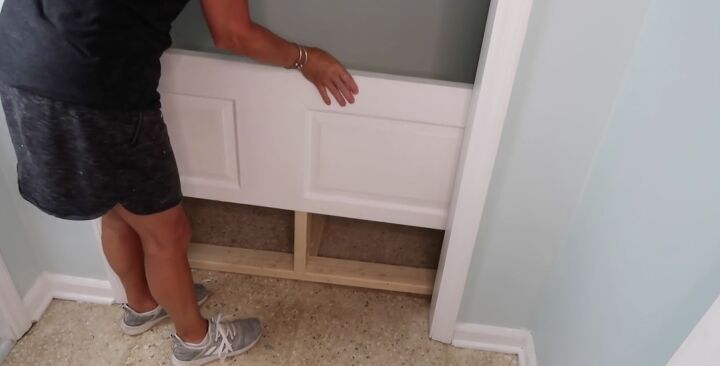
Now that I had a nice solid frame with the bi-fold doors cut to size I used one for the front of the bench, sliding it into place.

I had to use a rubber mallet because it was a little tight.
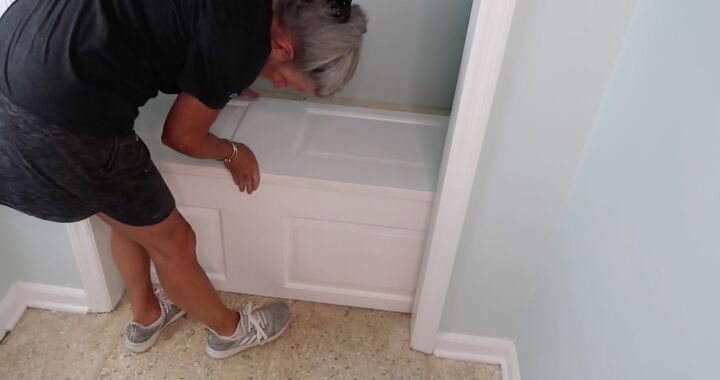
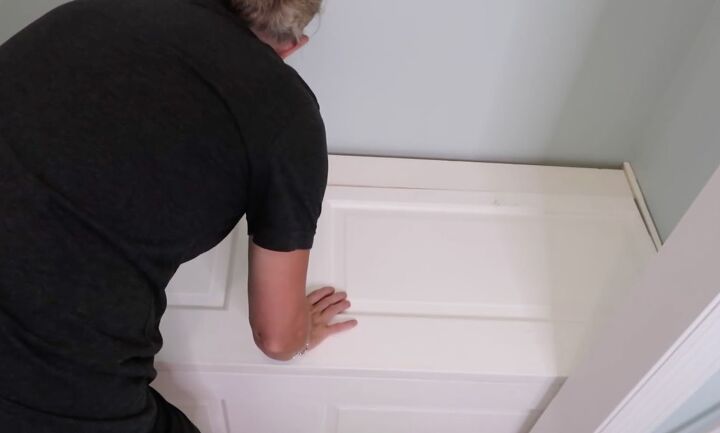
I laid the other door on top, making sure it was nice and square at the front.
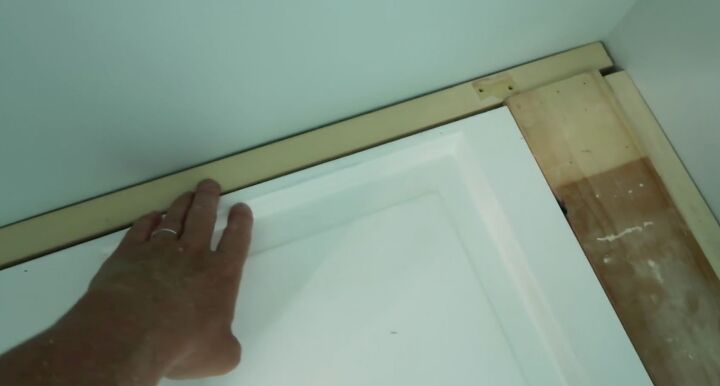
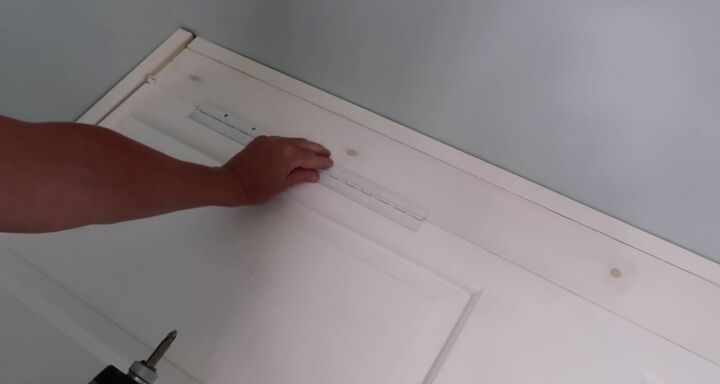
The doors were not as wide as the closet, so I measured the distance between the wall and the door and cut a one-by-four to size.
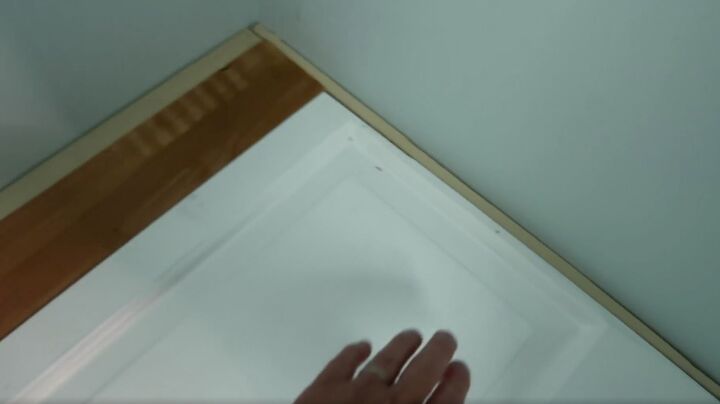
I also cut thin pieces for each edge of the door of the bench. This was to ensure that when you lifted the bench lid up, you wouldn't scrape the sides of the wall.
I painted those boards to match and then laid the door and the one-by-four into place.
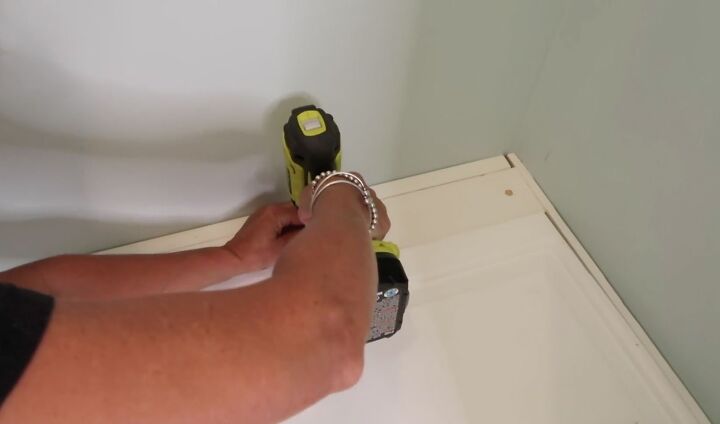
They were then all screwed into the frame.
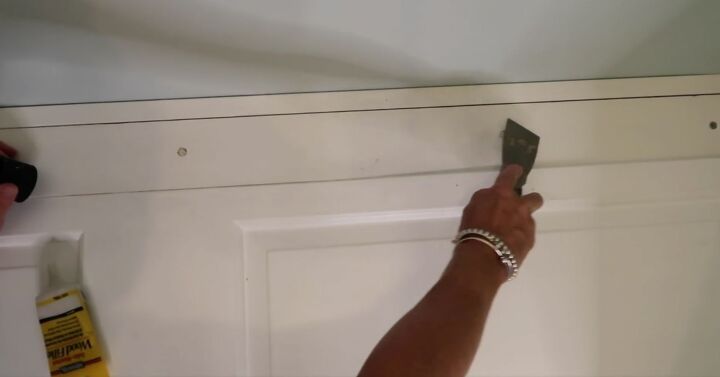
To give the bench a clean look, I filled the holes with wood putty.
Finally, I screwed on the hinges.
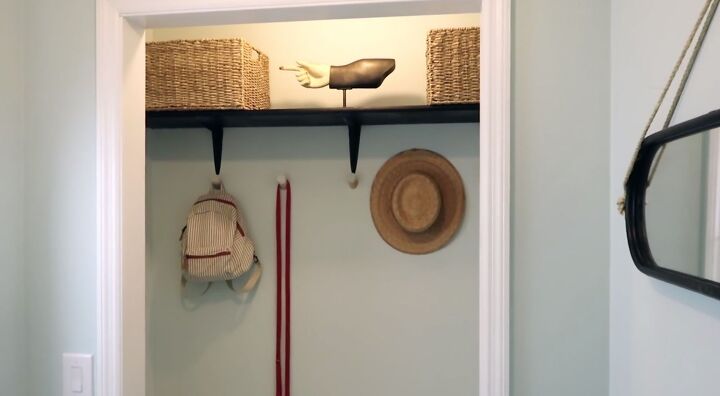
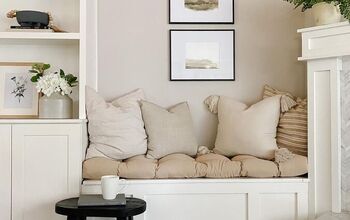
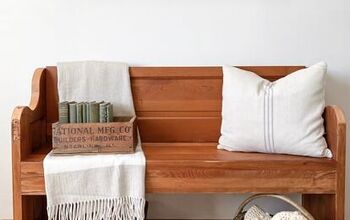
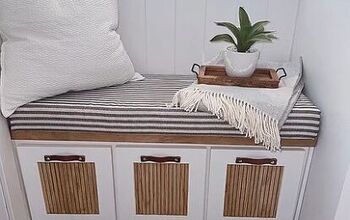
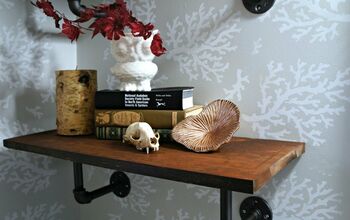
The bench was complete after a fresh coat of paint on the walls and a new shelf with some antique finds.

The room is now a functional space that we use every day. The extra storage we now have is great for all of our beach gear and outdoor items. I hope this inspires you to transform an unused area in your home into something amazing.


Comments
Join the conversation
-
Genius! I also have a front room closet that is useless and I'm going to try this. I love it! Thank you so much for posting.
-
Nice work! I would add shallow shelves and/or hooks to the interior/sides for even more storage!


Frequently asked questions
Have a question about this project?
I am so inspired as I have a front room closet that is nice and wide with double bi-fold doors that just collects junk! Guess what I’m doing to it this week?! 😁 Thank you so much for the beautiful re-purpose and upgrade idea! I can’t wait to get started!!
Could you have figured some way to make the top so it would open so you could use the space for storage, or did I miss something?
BRILLIANT IDEA !! 🤗
Thank you for sharing.