


How to Makeover Old Furniture Into a Modern Painted Dresser
In this step-by-step tutorial, I'll take you through the process of how I gave new life to this once-tired painted dresser. I am excited to share the steps on how to paint a dresser using basic tools and materials. Painting a dresser to transform it is easy and fun so let’s get started.
Tools and materials
- Dust cloth
- Water
- Easy-Off Oven Cleaner (or similar paint remover/stripper)
- Scrub brush
- Water hose
- Fine grit sandpaper
- Paint (I used Gallery Gray by @melangepaints)
- Water (for diluting paint)
- Varathane Polyurethane (or another top coat for protection)
- European Gold Rub ‘n Buff (for hardware)
- Drawer liners
Steps
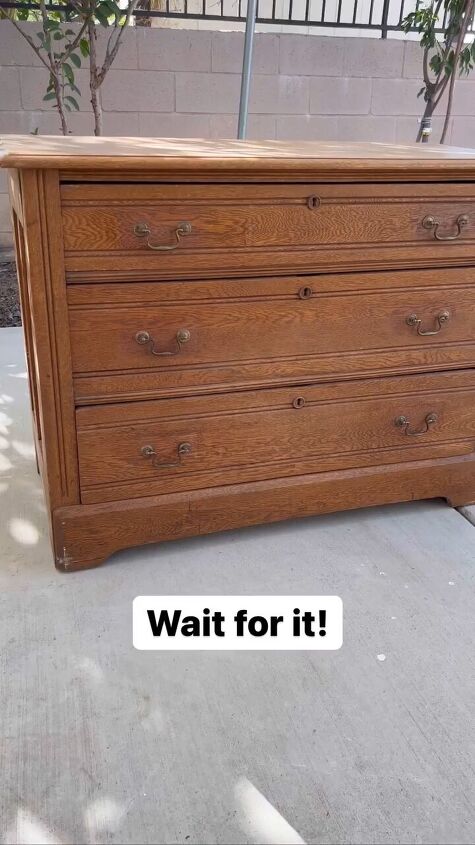
Step 1: Cleaning and preparation
Begin by giving your piece of furniture a thorough clean. Dust it off and wash away any dirt and grime. Once cleaned, set it outside to dry in the sun, allowing it to air out and dry completely.
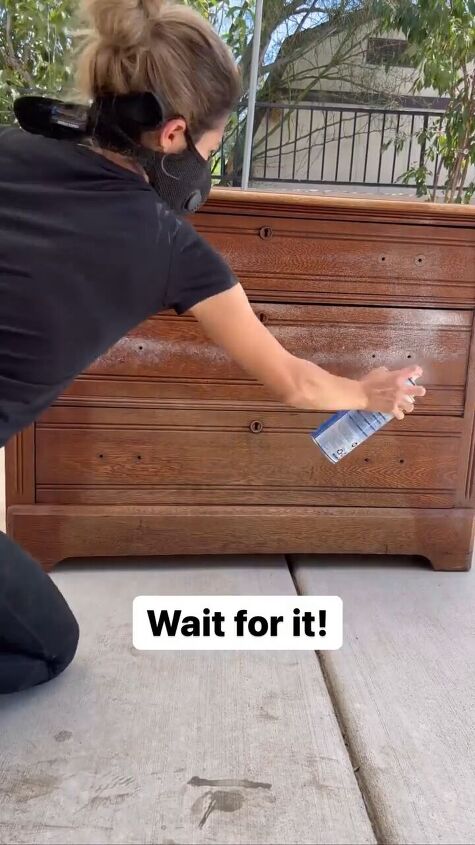
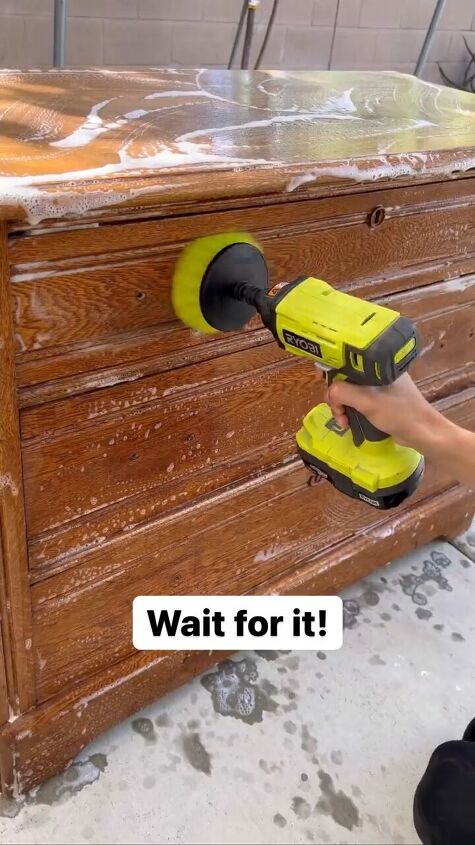
Step 2. Remove paint
Remove old paint with a paint stripper by following the package’s directions. I used Easy-Off Oven Cleaner.
Use a scrub brush to gently remove the softened paint. Be sure to rinse away the residue using a water hose.This step will reveal the bare surface of the furniture.
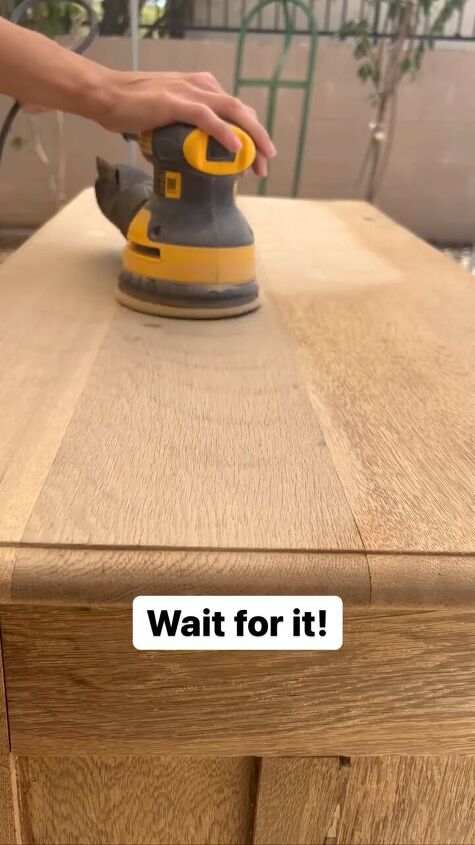
Step 3: Sand for smoothness
To create a smooth and even surface, use fine-grained sandpaper to sand the furniture. Sanding helps to prepare the surface for painting and ensures the new paint adheres well.
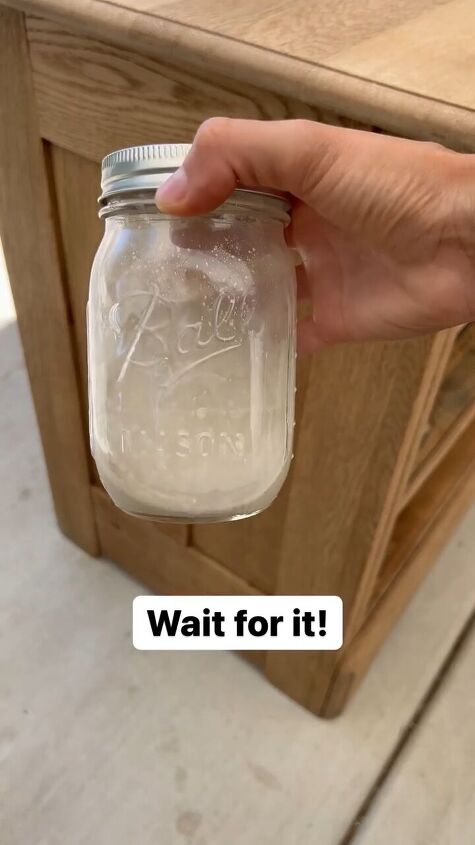
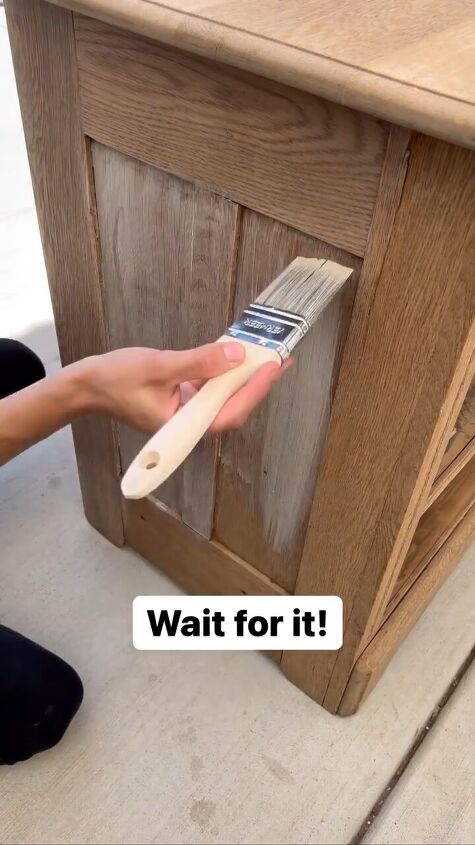
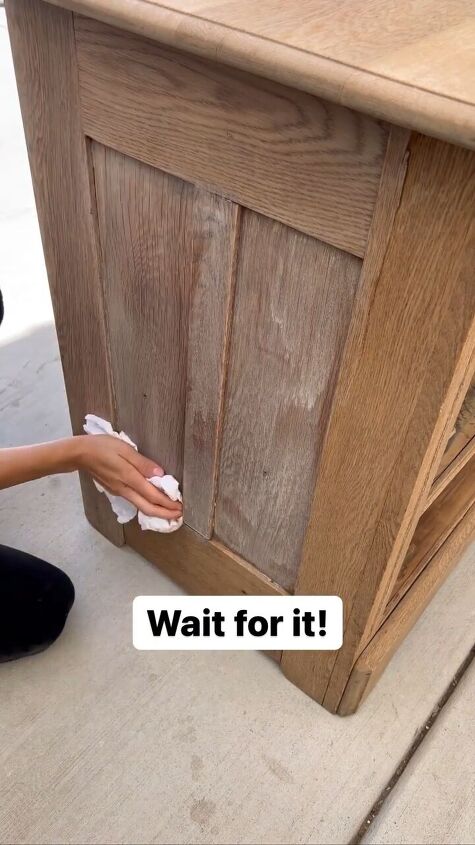
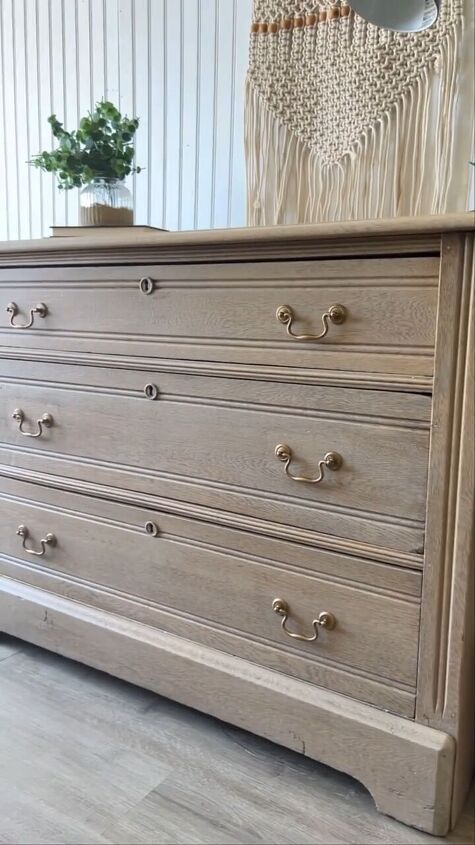
Step 4: Paint application
Dilute your paint by mixing one part paint with one part water. Apply two coats of this diluted paint to achieve a beautiful, even finish. I chose Gallery Gray by Melange Paints for my piece.
Step 5: Top coat for protection
For added durability and protection, apply a top coat of Varathane Polyurethane or a similar product. This will help safeguard your newly painted furniture from daily wear and tear.
Step 6: Hardware transformation
Clean the hardware, and if desired, give it a fresh look. I added European Gold Rub ‘n Buff to mine for a touch of elegance. Once the hardware is ready, reinstall it on the furniture.
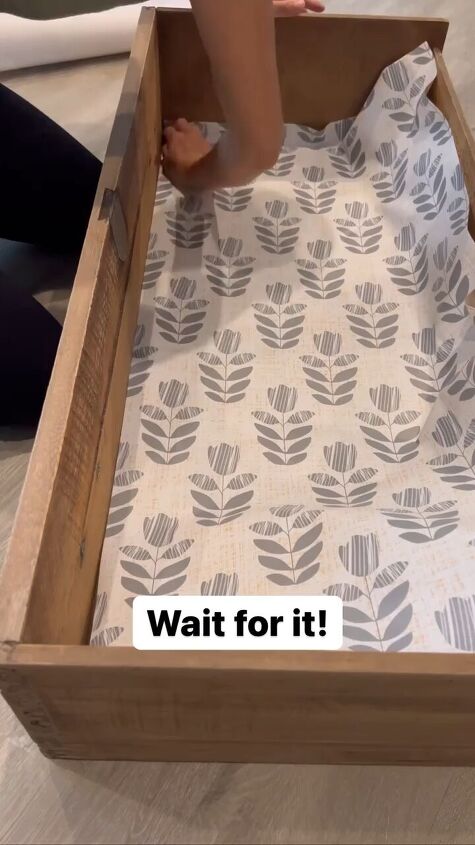
Step 7: Drawer liners
For a finishing touch and to protect the insides of drawers, add some drawer liners. This step not only adds functionality but also enhances the overall look of the piece.
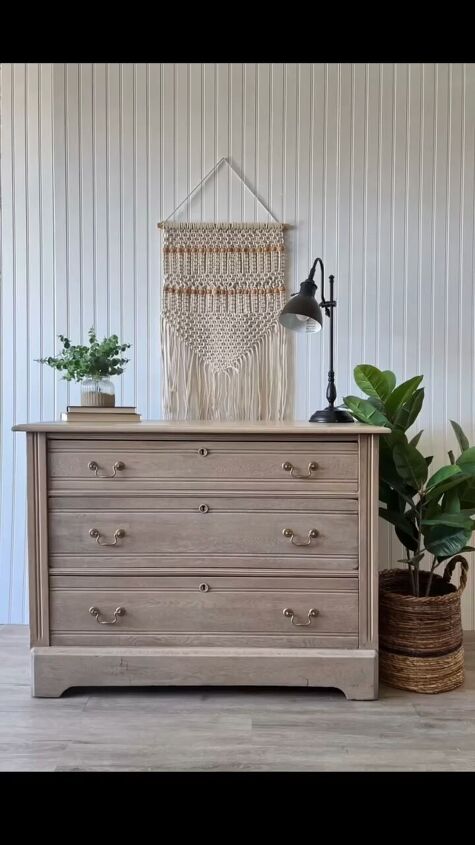
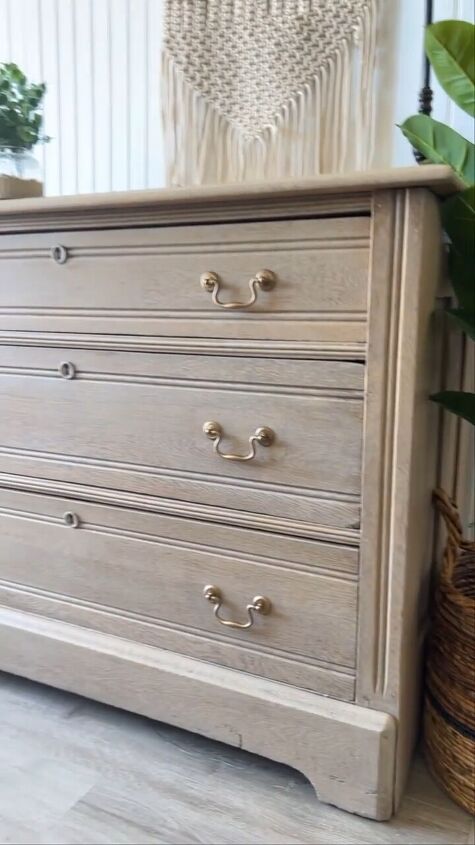
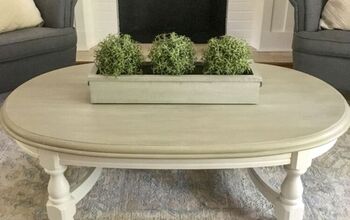
DIY painted dresser
This dresser went from dull and dated to fresh and modern with just paint. Follow these steps to revamp your pieces and enjoy stylish and refreshed home decor.
Let me know how your painted dresser turned out by leaving comments below!
Follow @moderntouchbyjanette on Instagram for more DIY ideas.
Comments
Join the conversation
-
I love the watered down paint idea - it looks so smooth.
-
Thank you for sharing. That is a great idea. The dresser likes amazing. Great job


Frequently asked questions
Have a question about this project?