


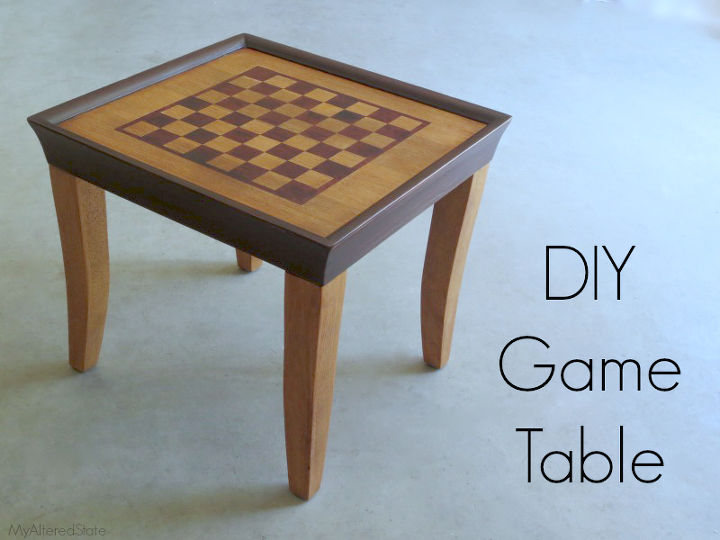
DIY Game Table
Potential is often easy to overlook.
After all, our eyes are meant to see what is actually there, not what could be.
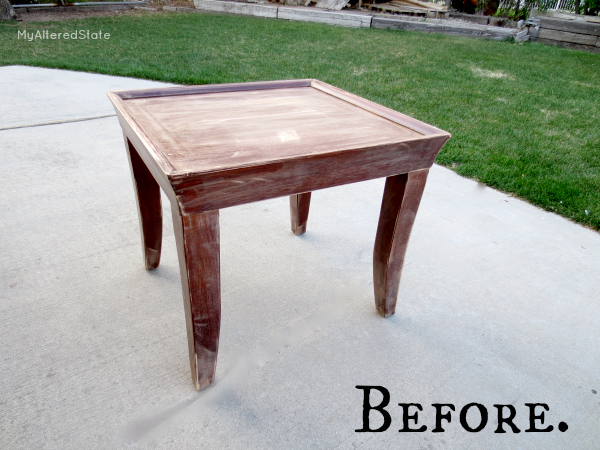
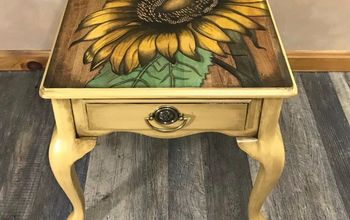
So when I spotted this table at a thrift store, I tried to imagine how it could be more than just a surface to
set stuff on.
I thought about another function for it. I needed it to be multifunctional.
After all, our eyes are meant to see what is actually there, not what could be.
So when I spotted this table at a thrift store, I tried to imagine how it could be more than just a surface to
set stuff on.
I thought about another function for it. I needed it to be multifunctional.

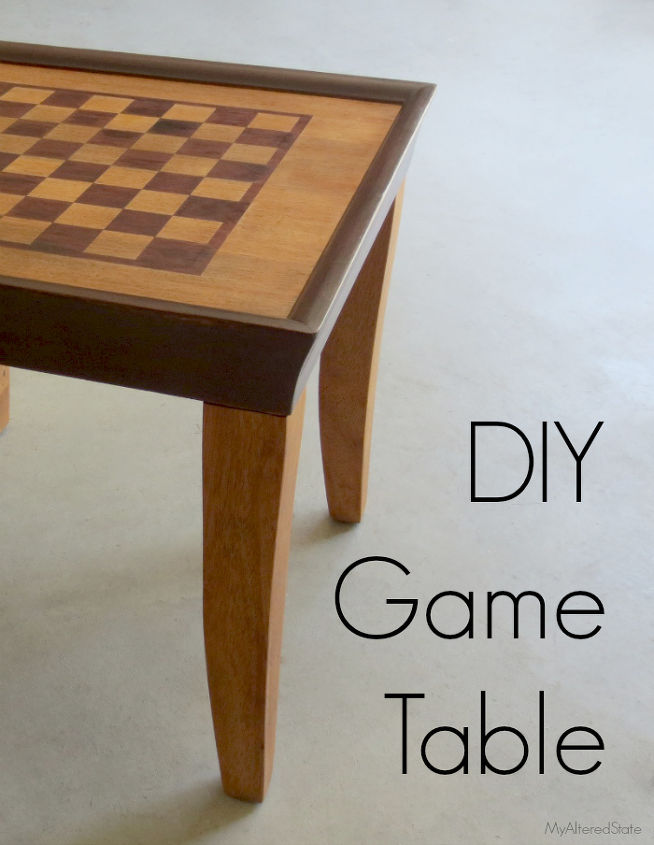
I began by removing the finish on the top surface and legs with an orbital sander. I used
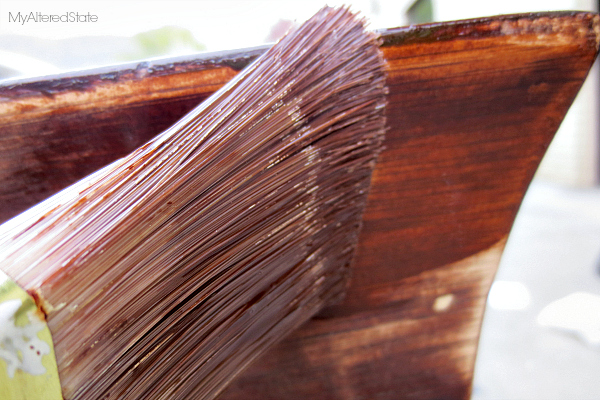
I left the finish on the edge that goes around the table, because I wanted to add a layer of stain and keep it dark. I didn’t use any
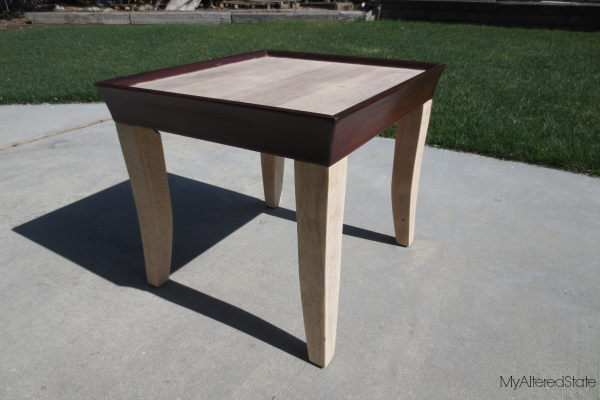

To prepare the surface on the legs and table top to take the stain evenly, I used Minwax Pre-Stain Wood
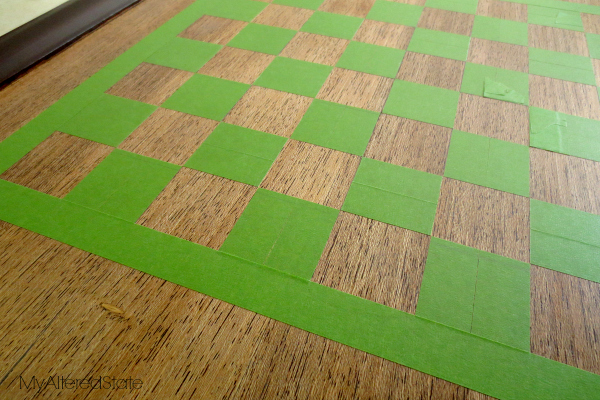
This is what it looked like after I added a strip of tape around the checkerboard. (The
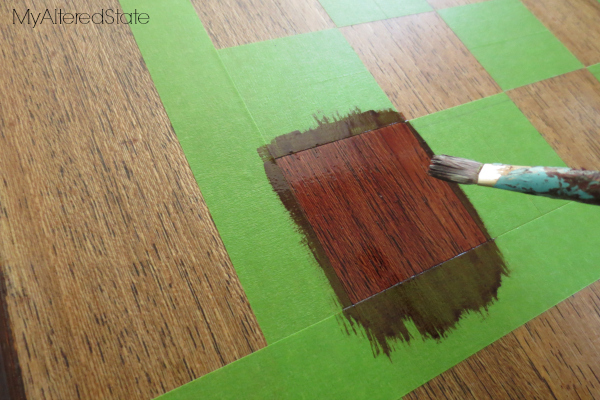
Next, it was time for PolyShades “Bombay Mahogany” on the squares. I used a small
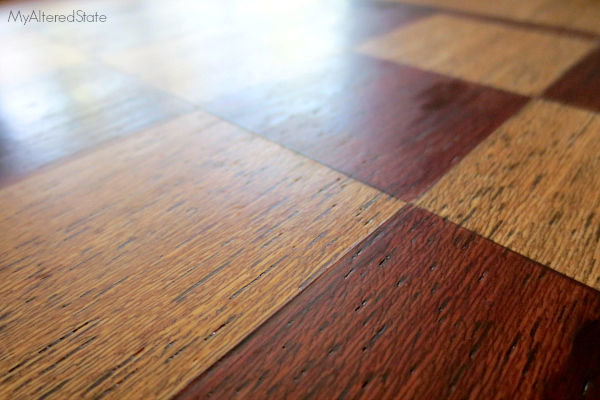
There was no need for a clear coat over the top, and that is the beauty of Minwax PolyShades.

Want more details about this and other DIY projects? Check out my blog post!
Comments
Join the conversation
2 of 27 comments
-
Beautiful job!!
-
thank you :)


Frequently asked questions
Have a question about this project?