How To Defrost Your Freezer

Kristin
by Kristin
What is the condition of your freezer? When you open up your freezer, what are your first thoughts?
Disorganization? How frosted over it is?
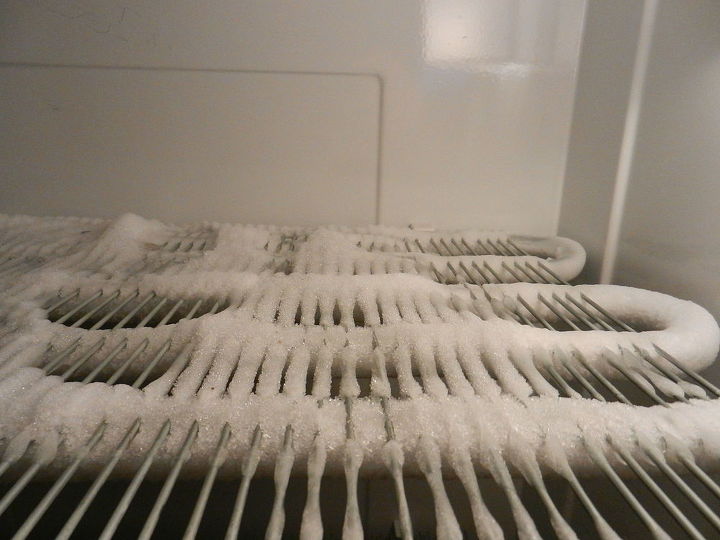
I know for me personally, my freezer was to the point that I could not fit as much food onto the shelves because there was ice built up. Not only was it hindering space, but having ice reduces the efficiency of it as well.


On a cold winter's morning, I decided to get ambitious and defrost our freezer. I had never done a large upright freezer before, but I was ambitious and decided to give it a whirl. Let me tell you, it was much easier than I thought it would be! Here is a detailed look at what it took:


1. Take everything out of the freezer. I used reusable bags because they fit so much more, and stored them in our garage. At the time, it was below zero outside, so I had no worries about food thawing out. Not even a mouse would be stirring in those temps! If you do not have the privilege of frigid cold temperatures, you can store the food in coolers or cold bags.


As you are taking everything out, decide what is freezer burned to death, what you will never use, and what you could use in the near future in a meal.


2. Unplug the freezer unit and allow it to thaw. I personally went to work that day, came home, and it was thawed out. If you want to speed up the process, put a pot of boiling water on each shelf. Also, you can use a warm rag to wipe away frost. This method will only take at the most, a few hours.


3. Put towels or newspaper on the bottom to catch all of the melted water. I personally went through multiple towels because I had so much water (yes, kind of embarrassing!)


4. Wipe out excess water and clean walls of freezer.


5. Wash removable items, such as drawers and shelving, with hot soapy water. Dry thoroughly.


Anything you wash, be sure to let it dry fully, or frost will just build up again.
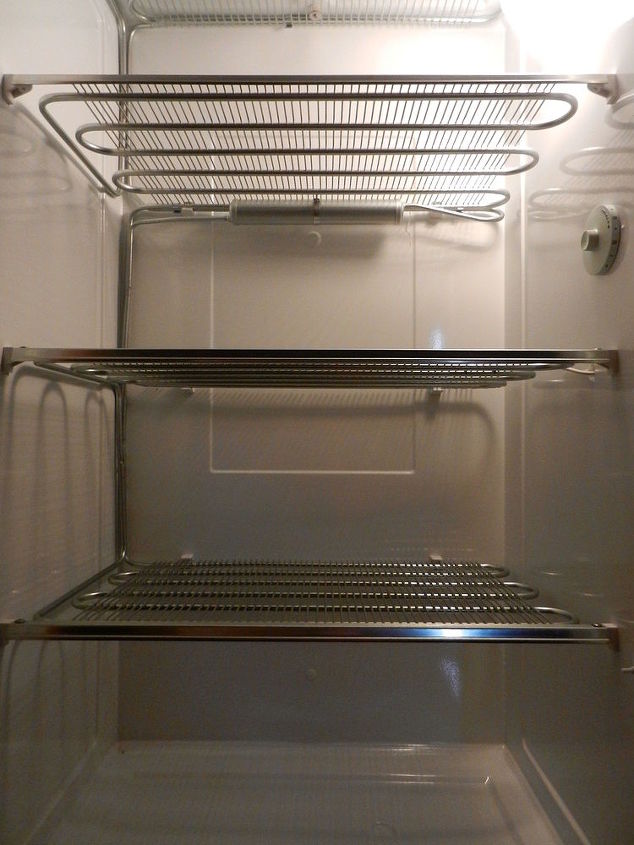
6. Place items back in the freezer. Take this time to once again, go through each item and decide if you will ever use it or not


7. Place like items together, like vegetables on one shelf, meat on another, frozen meals, etc.


8. Create a freezer inventory so that you always know what is in stock.


9. Take time to label items if needed. You will not use an item as quickly if it takes time to figure out what it is. I have had that with frozen soups. I did not know what it was, so I just left it in there. Little did I know it was one of our most favorite soups: chicken corn chowder!


Enjoy the fresh, clean, and newly defrosted freezer!


Now it's time to enjoy something from it!
Kristin
Want more details about this and other DIY projects? Check out my blog post!
Go
Frequently asked questions
Have a question about this project?
Comments
Join the conversation
2 of 22 comments
  • Maureen Barringer Maureen Barringer on May 03, 2017

    THAT IS WHAT MY HUBAND USES A HAIR DRYER ITIS FINISHED IN A HR -& ALL WASHED -I WRAP ALL THE FROZEN PKGS IN NEW PAPER &

    WITH THE FROZEN PLASTIC ( FREEZEE PACK) & PUT IN LG PLASTIC PAIL. EVERY THING STAYS FROZEN

  • 72d8213517 72d8213517 on Aug 04, 2017

    of course

Next