


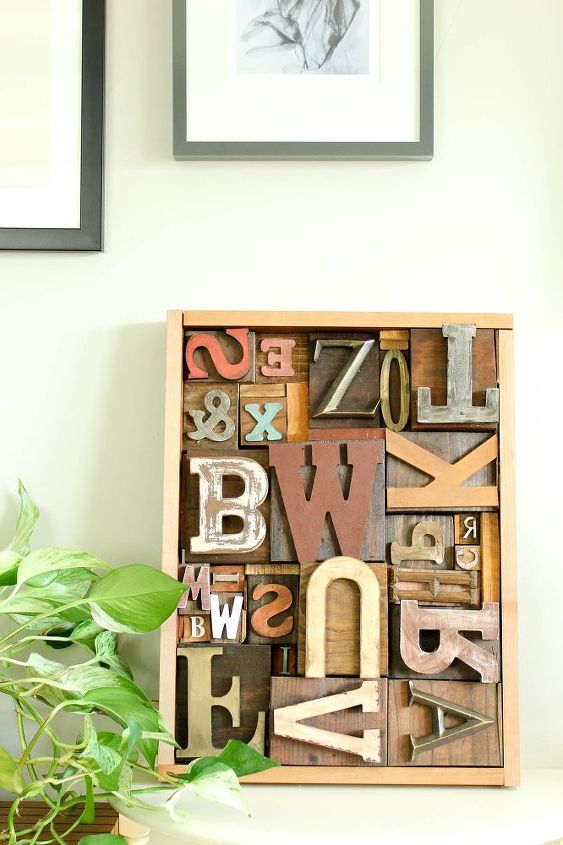
Faux Letterpress Printing Block DIY Art
$18
2-3 Hours
Medium
Calling all Gutenberg fans! I've got a DIY art idea for you! Make this faux letterpress printing block project using wooden letters from the craft store.

I've always had a lot of DIY art ideas that involved vintage letterpress blocks buzzing around my head, but I haven't yet shelled out the cash to buy enough of them to create the handmade art I had in mind.
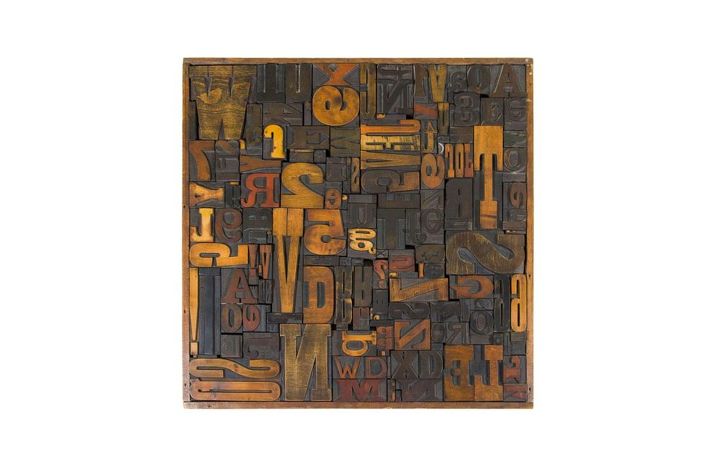
A couple of months ago though, I happened upon this gorgeous ($1200!!) vintage letterpress wall decor from 1st Dibs and it dawned on me that I didn't need letterpress print blocks to create my DIY art idea-I could make them! And for about 1% of the price!
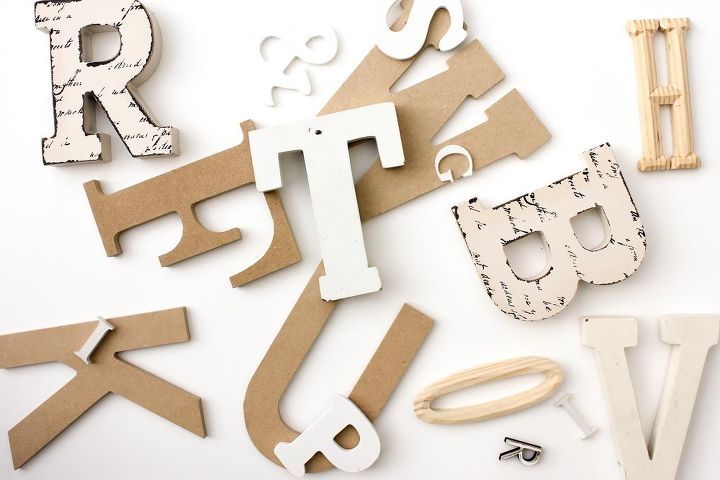
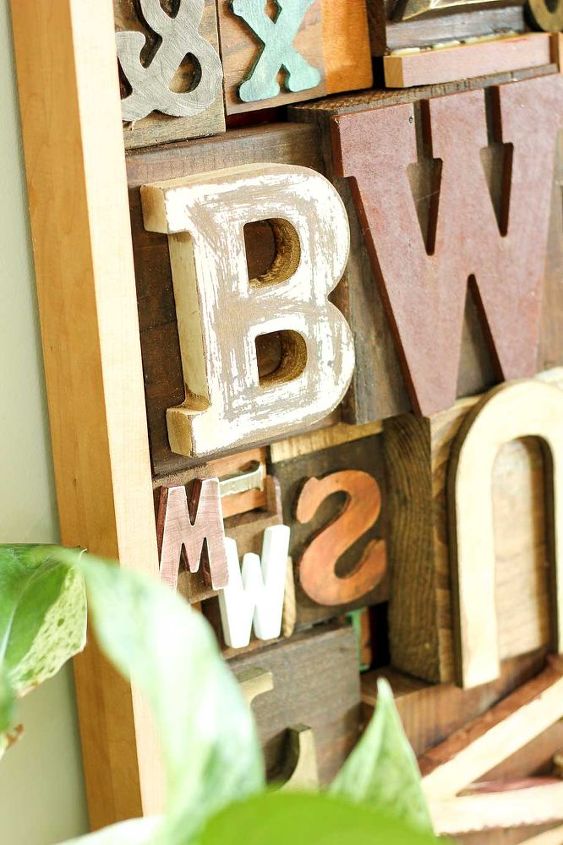
If you spend anytime at craft stores (please tell me you do!), you know there is no shortage of inexpensive wood letters in all sizes and styles these days. When you combine these letters with small blocks of wood-voila-you have letterpress print blocks.
Adding a couple handmade, vintage-inspired touches can do so much to add character and warmth to an otherwise basic space. If you haven't made much DIY art, I really encourage you to give it a try. It's incredibly satisfying to add something to your home that feels personal, handmade and looks fantastic, too. Who needs another bland photo of a leaf from Bed Bath & Beyond, anyhow? :)
The following tutorial will give you all the details necessary to create your own letterpress art. Since your dimensions will vary based on which letters you choose, you'll need to figure out how your own "puzzle" of print blocks fits together. Honestly, this is part of the fun!
SUPPLIES:
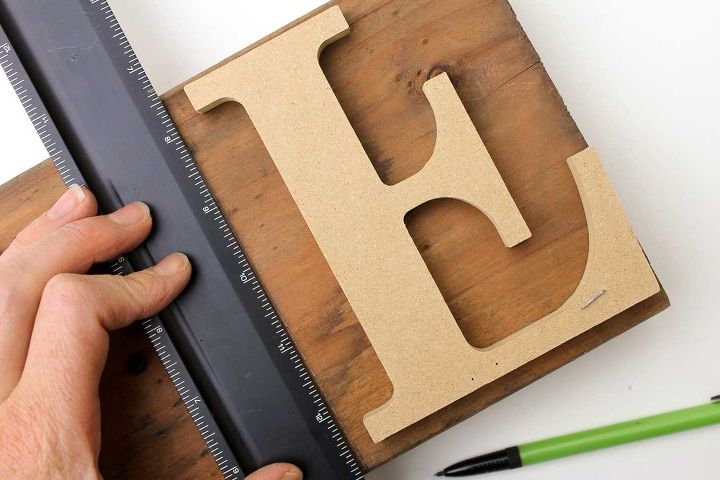
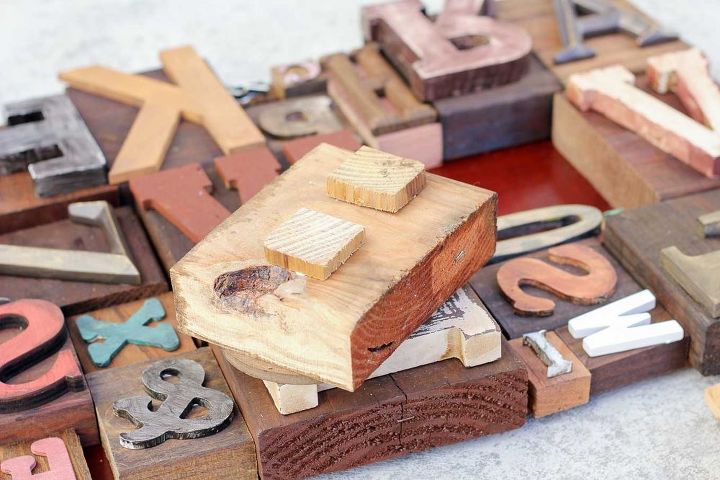
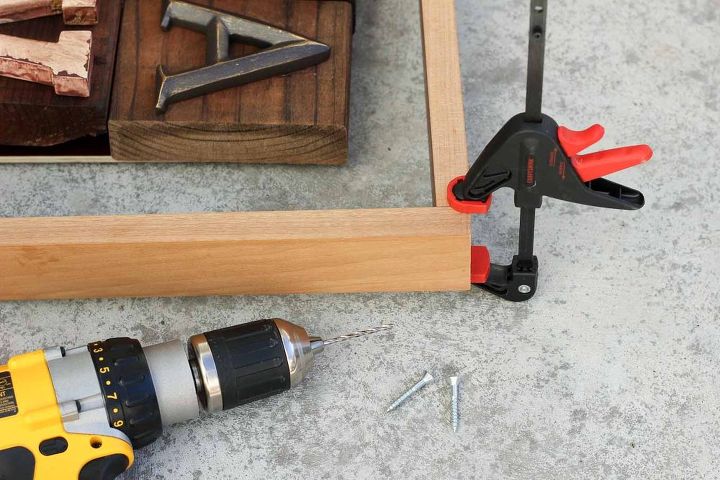
First, find or cut a wood piece that is the same size as each letter.
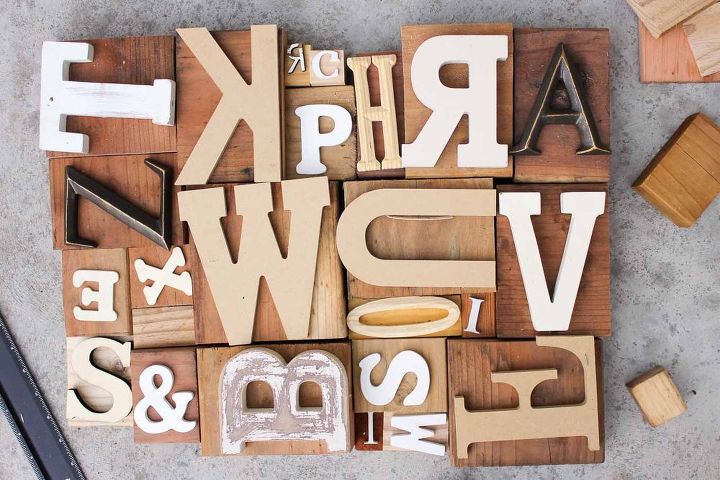
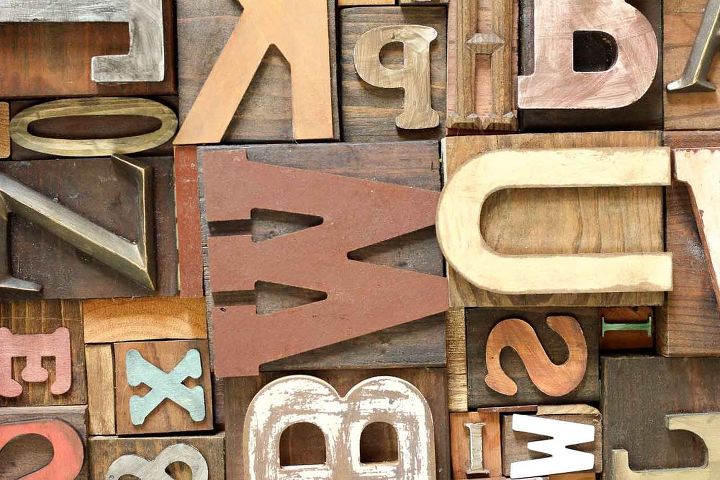
Rough up your letters if you'd like (they are supposed to look like they've been on the printing press for many years, after all!) Then use a combination of paint and/or wood stain on all the blocks of wood and letters.

Glue your letters to their respective blocks and arrange them in the shape you'd like your finished art to be. Cut your plywood to be the dimensions of your overall grid of "printing blocks."
If you'd like, trim your piece to give it an even more finished look.

Want more details about this and other DIY projects? Check out my blog post!
Comments
Join the conversation
2 of 51 comments
-
I'm doing this for my sister. I'm using all caps, mixed fonts, to spell out their last name, then everyone's name in the family will be in smaller size letters interspersed around the last name :)
-
Awesome project thanks for the inspiration!


Frequently asked questions
Have a question about this project?