


How to Make Matte Ornaments in a Few Simple Steps

I'm going to show you how to make matte ornaments. The beautiful matte distressed effect is very trendy, and the best part is, you really can't go wrong with these. Plus, you'll be using supplies you probably already have around the house. Let's dive in!
Tools and materials
- Ornaments (preferably 2.5-3.5" round)
- White powder (flour, powdered sugar, corn starch, grout mix, etc.)
- Spray adhesive
- Paint
- Baking soda
- Spray primer (optional)
- Paint brushes
- Paper bowls
- Tape and skewers
How to make matte ornaments
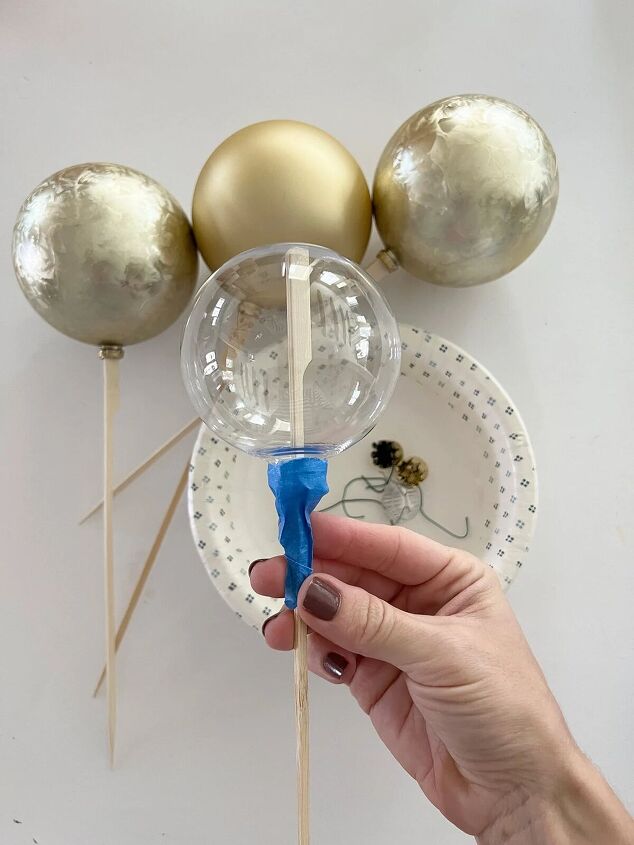
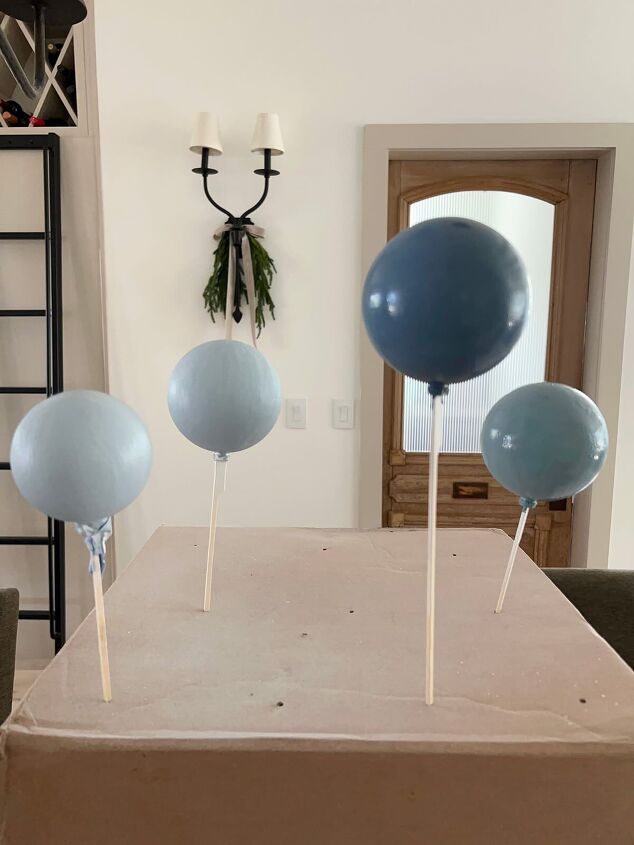
Step 1: Secure the Ornaments
Remove the cap from your ornaments and tape the end of a skewer inside. Wrap painter's tape around the base to secure it. This not only gives you a steady handle but also lets the ornament dry upright.
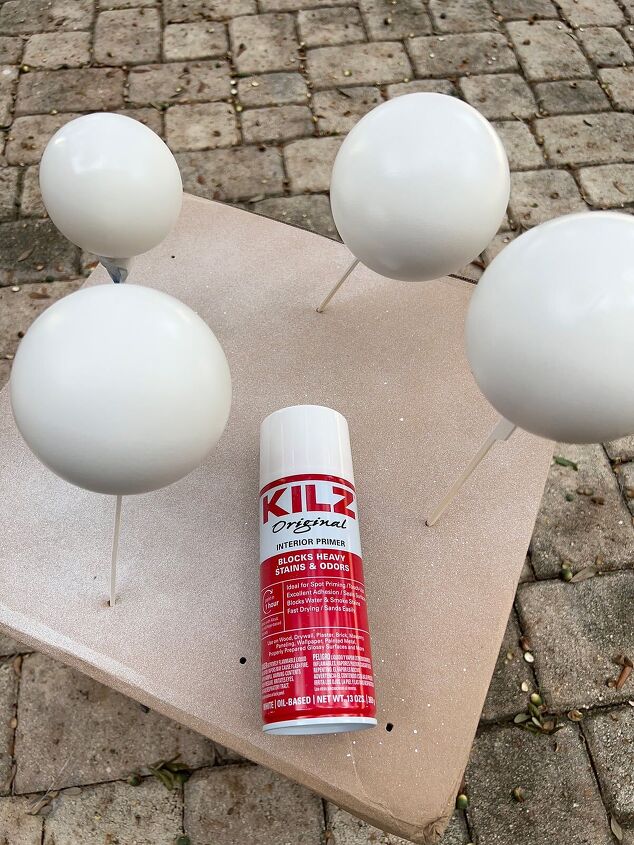
Step 2: Optional Primer
While optional, using an oil-based primer will enhance paint adherence and durability. Stick the skewer into a cardboard box and let it dry.
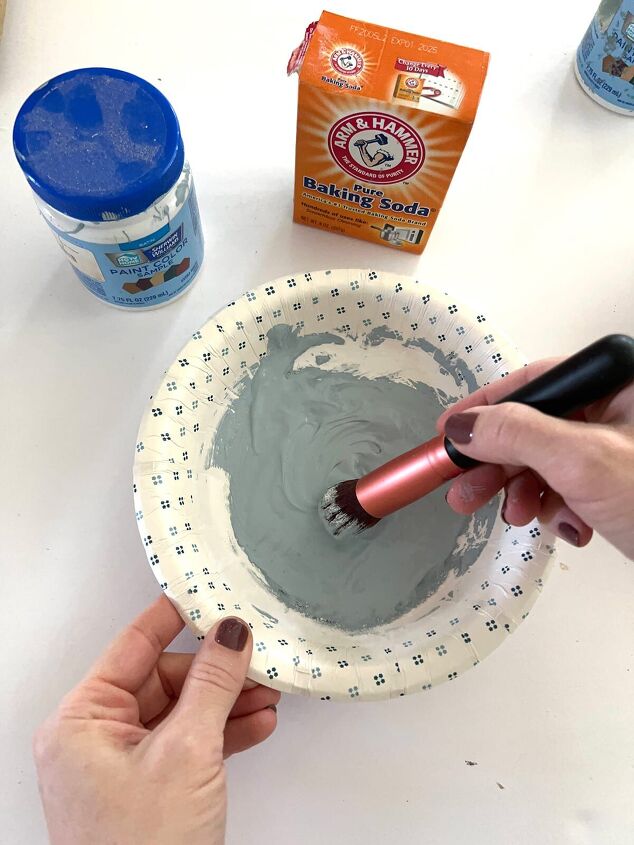
Step 3: Paint
Once the primer is dry, it's time to paint.
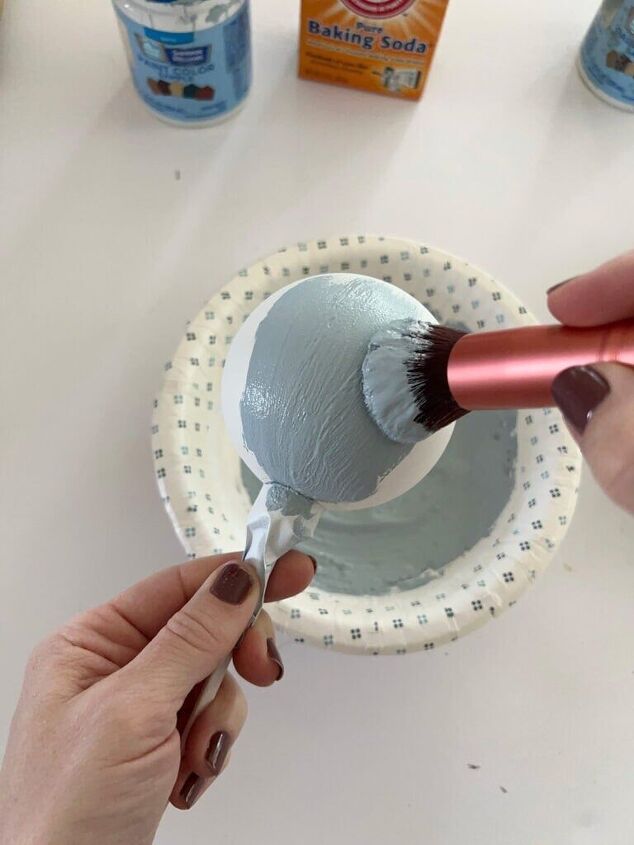
Opt for a matte paint, and for that extra oomph, mix some baking soda with the paint for a chalky texture. Use fine bristle makeup brushes for even coverage.
Let the ornaments dry completely.
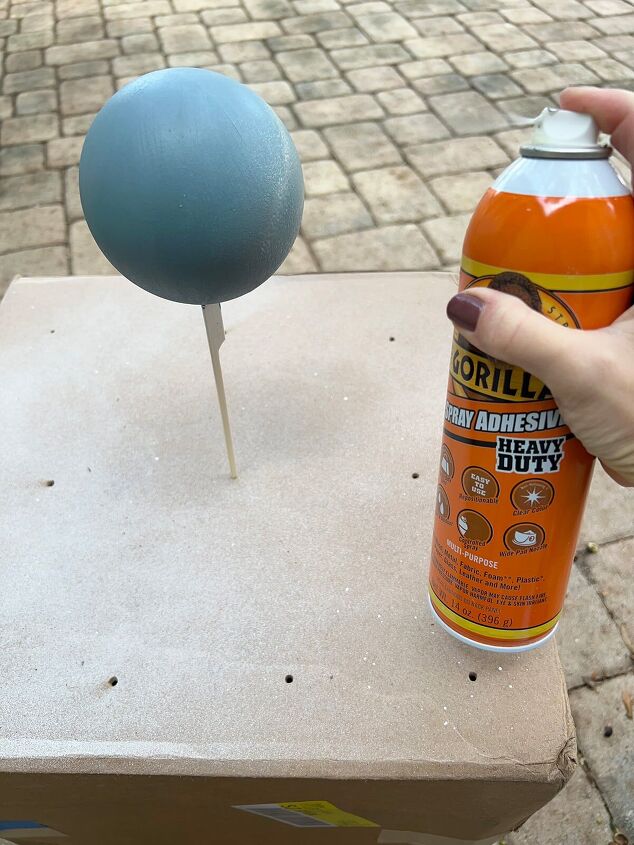
Step 4: Spray Adhesive
Fully coat the ornament with spray adhesive. Be cautious to avoid drips.
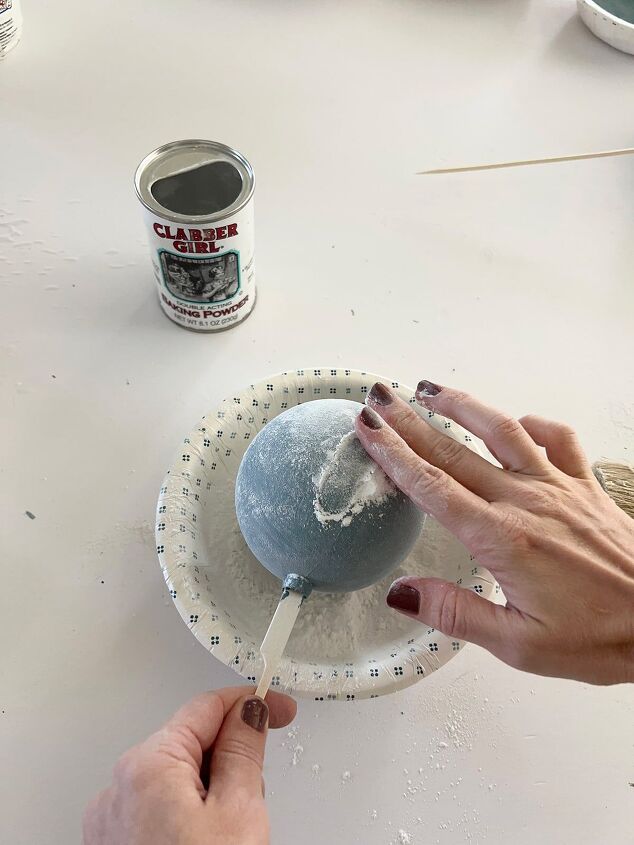
Step 5: Apply Powder
Quickly apply your chosen powder—powdered sugar, baking powder, or white grout powder work wonders. Brush it on, then press and rub it firmly onto the surface. Don't be shy; more powder equals more charm.
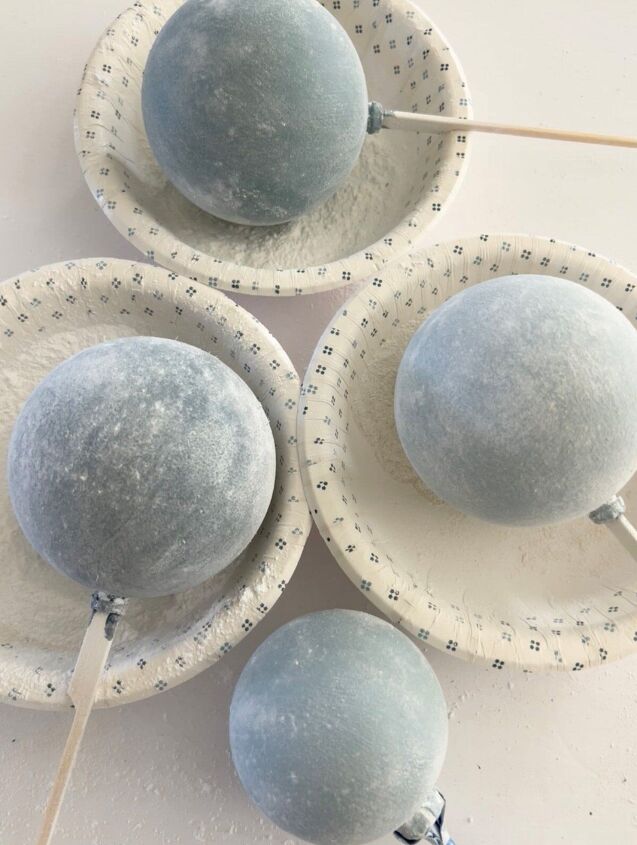
If you want extra coverage, go for another round of adhesive and powder.
A fine sanding block can help remove excess powder. If you're aiming for long-lasting perfection, consider a clear matte varnish to protect the finish.
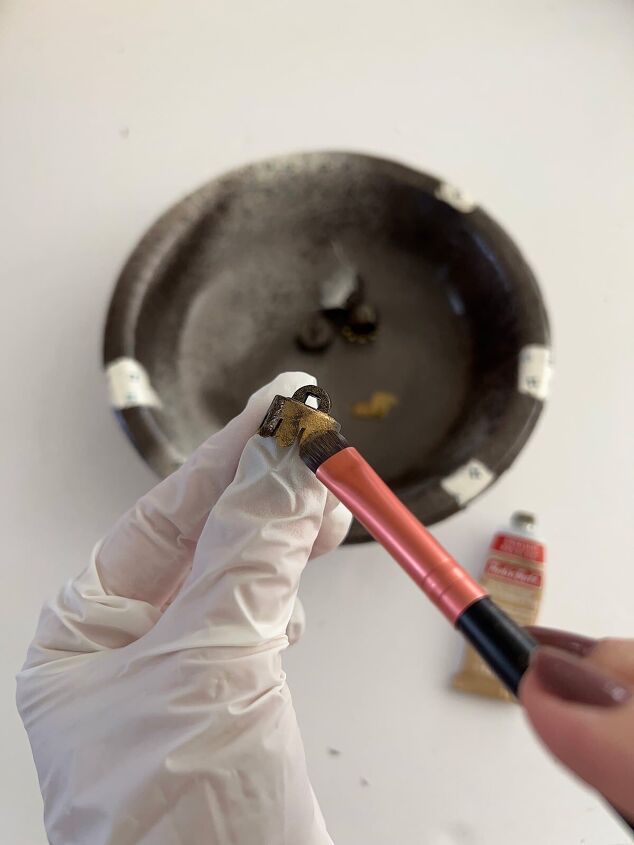
Step 6: Paint Caps & Attach Ribbon
Give your ornament caps a facelift with dark spray paint and a touch of Gold Leaf Rub n Buff for that antiqued look.
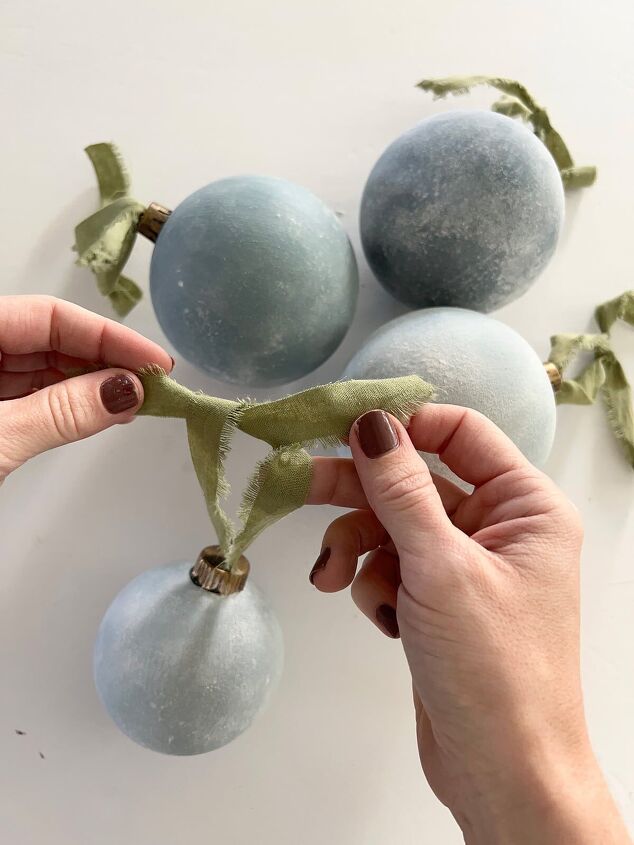
Finish off by tying frayed cotton ribbon.
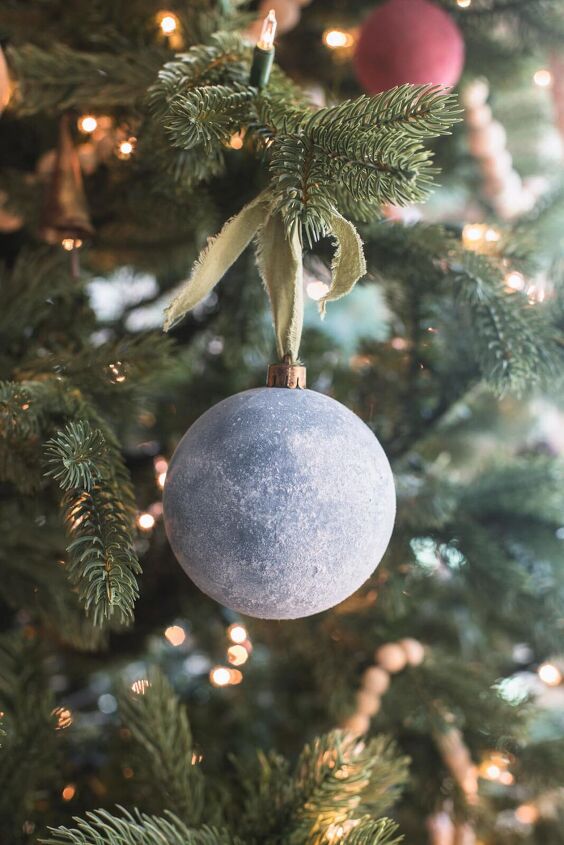
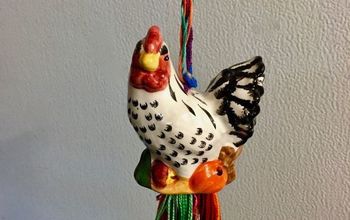
This is how they look on the tree - beautiful!
How to make matte ornaments
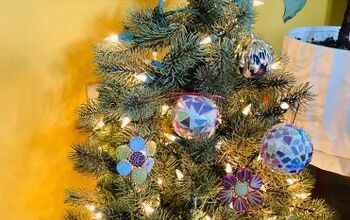
Now you know how to make matte ornaments, play around with different colors to add even more style to your Christening tree.
Will you be making matte ornaments this year? Share your masterpieces in the comments below, I'd love to see your unique twists on this craft!
Follow @jennasuedesign on Instagram for more DIY ideas.


Frequently asked questions
Have a question about this project?