


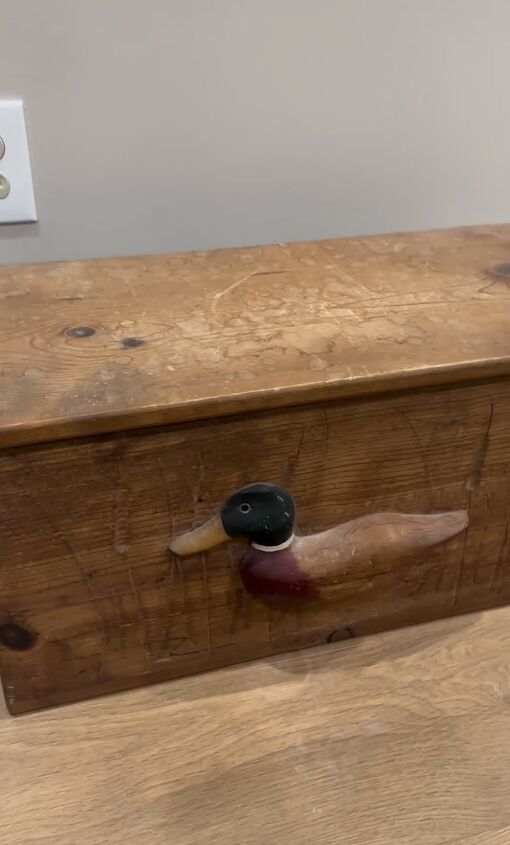
How to Do a Toy Box Restoration: DIY Makeover

I recently decided to do a toy box restoration. I wanted to give my little duck box a makeover. If you're thinking of giving your own toy box a makeover, gather everything you'll need.
Tools and materials:
- Sandpaper
- Artist paint brushes
- Staining paintbrush
- Dremel tool with rasp bit
- Festool Sander
- Dark walnut stain
- Golden oak stain
- Warm satin poly
- Paint (for detailing)
Table of contents
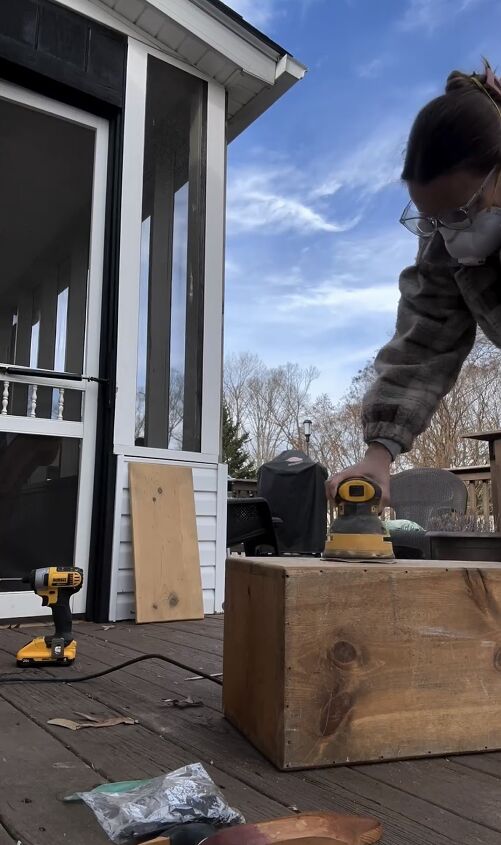
Step One: Sand the Toy Box
I got rid of the old finish by sanding it down.
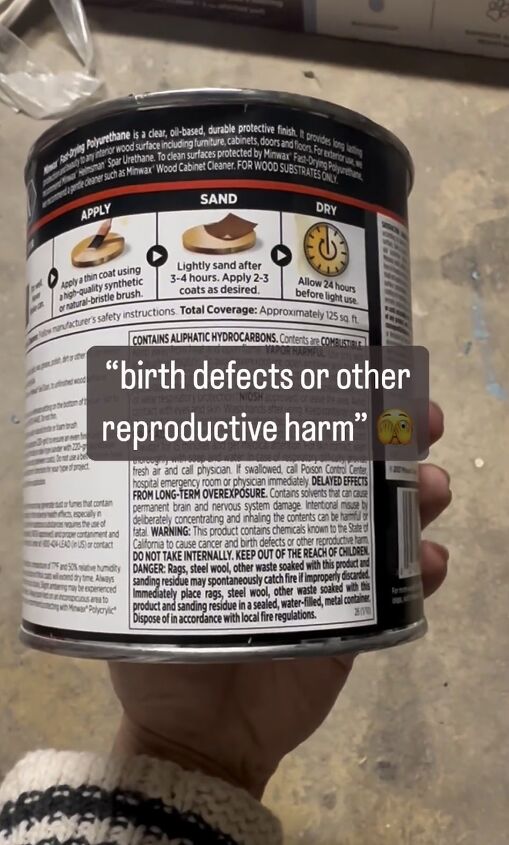
When I checked out the stain can and saw the warning, I thought, "Maybe Mom can handle this better." So, I passed the project to her.
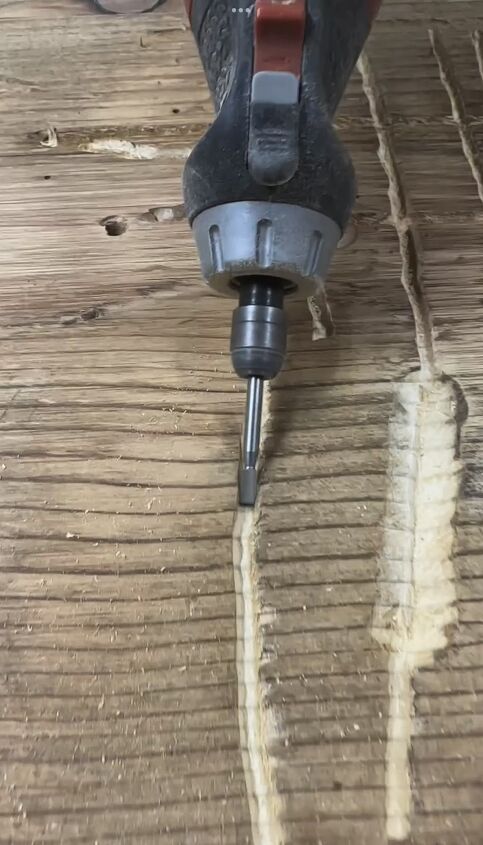
Step Two: Create the Design
Mom started by using a Dremel tool with a rasp bit to make the grooves deeper. This created the cattails that would be the background behind the duck.

Step Three: Paint the Cattails
Next, she used a dark walnut stain to give some color to the cattails.
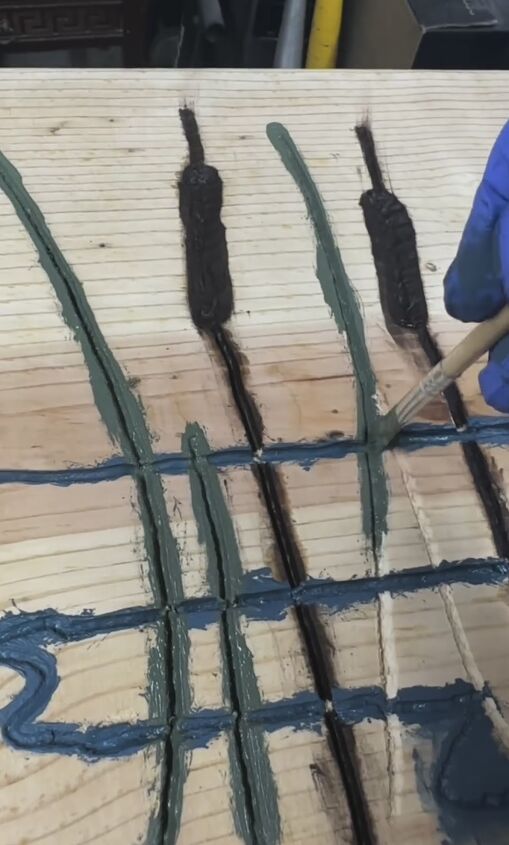
She added a bit of paint to the reeds and water to add more color.
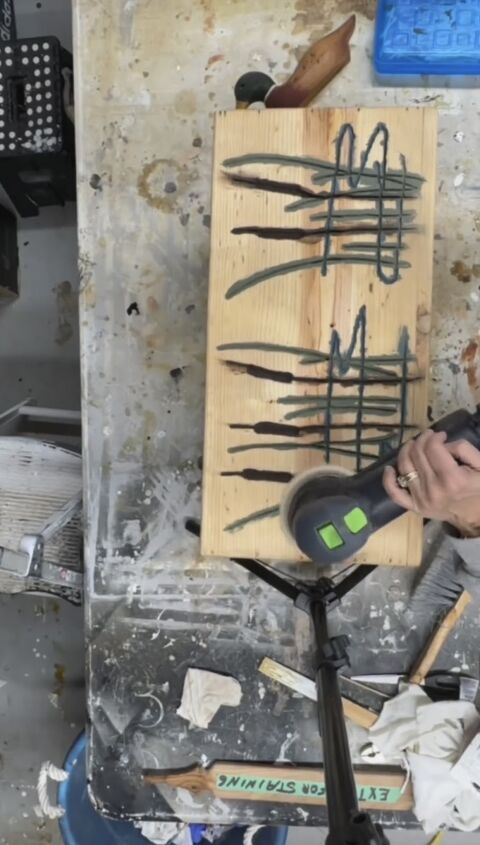
Step Four: Sand Excess Paint
After that, she sanded off the extra paint and stain using her sander.
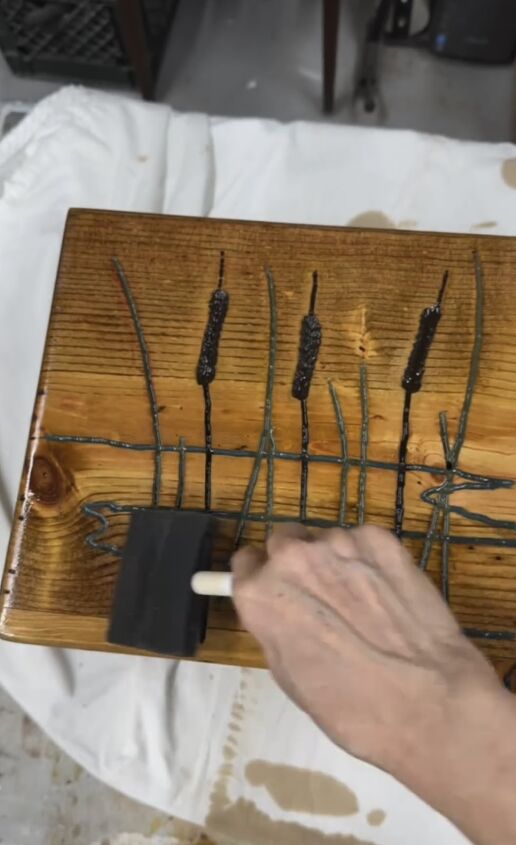
Step Five: Stain and Poly the Toy Box
To finish it off, she applied a golden oak stain and added a warm satin poly finish.
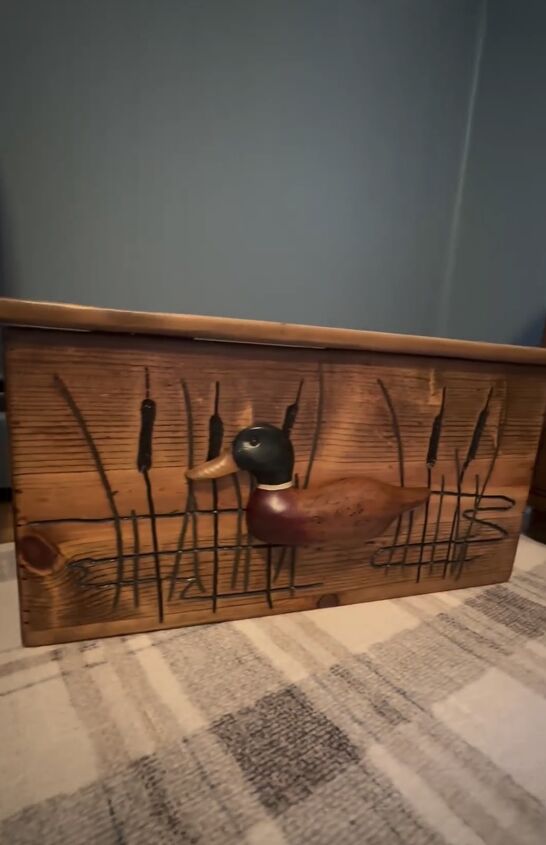
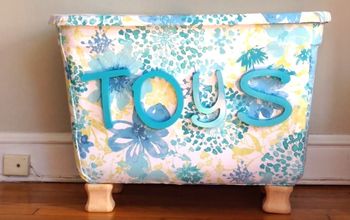
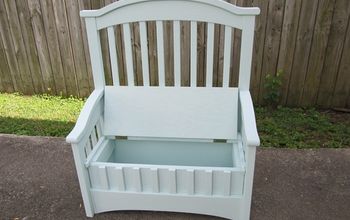
Toy box restoration
This toy box restoration is the perfect addition to my son's nursery. Have you worked on restoring an old piece of furniture? Share your projects in the comments below.
Follow @well_shetried on Instagram for more DIY ideas.


Frequently asked questions
Have a question about this project?