


How to Refinish a Cedar Chest in a Few Simple Steps
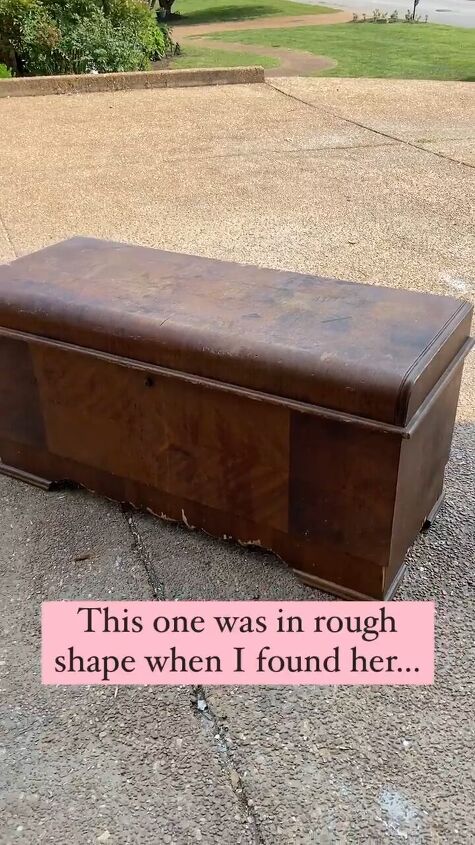
Refinishing a cedar chest can breathe new life into a piece of furniture, and the satisfaction of restoring its beauty is unparalleled.
In this tutorial, I'll guide you through the process I used to refinish my cedar chest, sharing tips and techniques that make the journey rewarding. Be prepared for a bit of elbow grease and time, but the finished product will be well worth the effort.
Tools and materials
- Mild soap or wood cleaner
- Soft cloth or sponge
- Towel
- Iron
- Scraper
- Hammer
- Electric sander
- Sandpaper (various grits)
- All-purpose Bondo
- Putty knife or applicator
- Clear shellac
- Spray bottle
- paint
- Paint sprayer gun
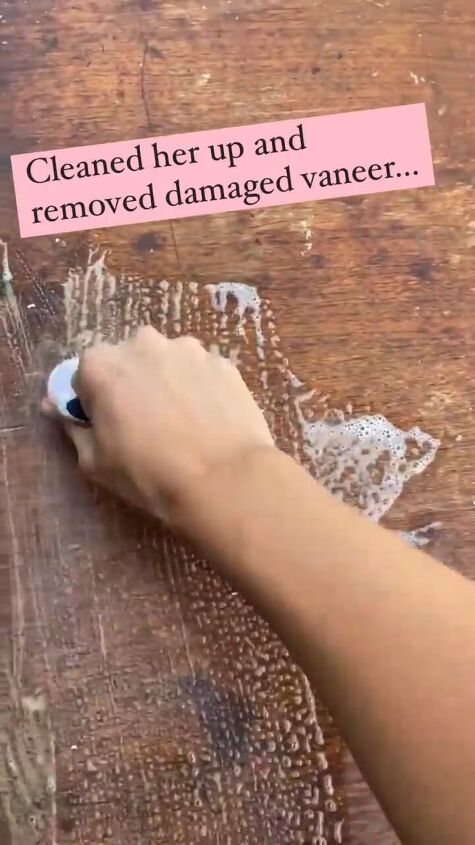
Step 1: Cleaning
Start by cleaning the cedar chest thoroughly. Use a mild soap or wood cleaner and a soft cloth or sponge to remove any dirt or grime. Ensure the surface is dry before moving on to the next step.
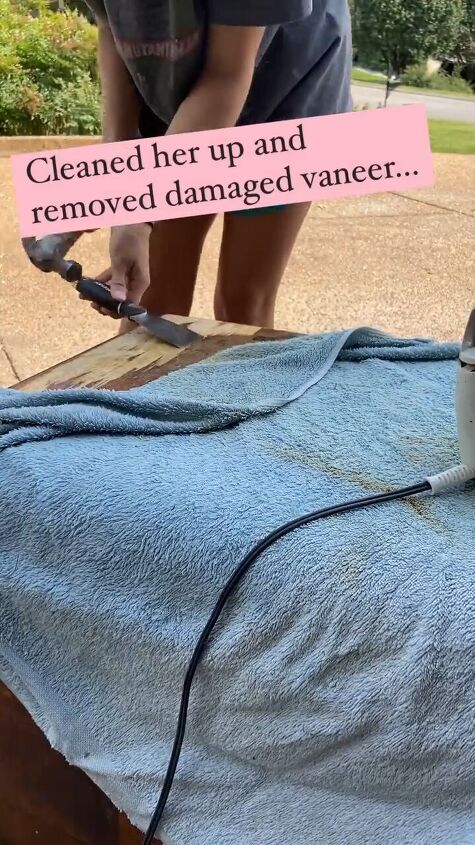
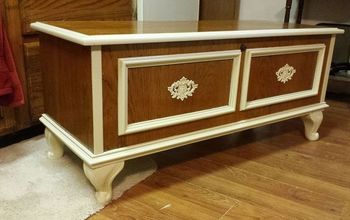
Step 2: Veneer Removal
Identify damaged veneer areas and remove the veneer as best as you can. For difficult areas, cover them with a towel. Apply heat using an iron over the towel to loosen the adhesive.
Once heated, use a scraper and a hammer to gently remove the veneer while it's still warm. Exercise caution and patience, especially in stubborn areas.
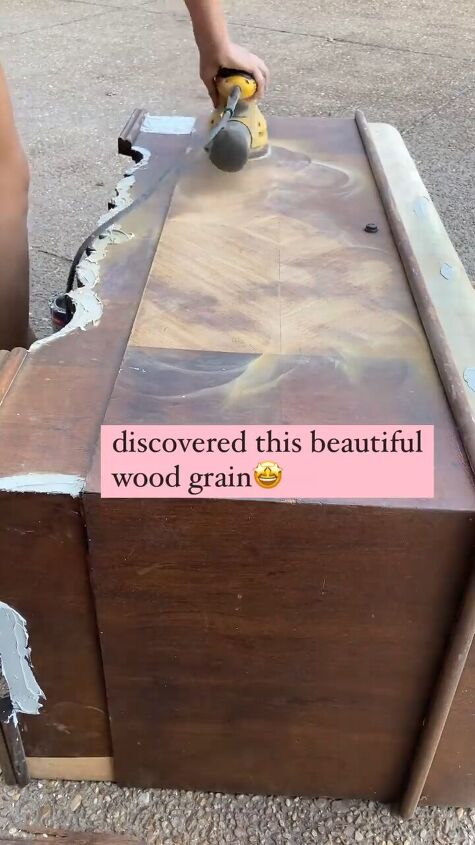
Step 3: Surface Smoothing
Even out the entire surface by using an electric sander with various grit sandpapers. Start with a coarse grit to remove imperfections and progress to finer grits for a smooth finish. Be thorough, paying attention to corners and intricate details.
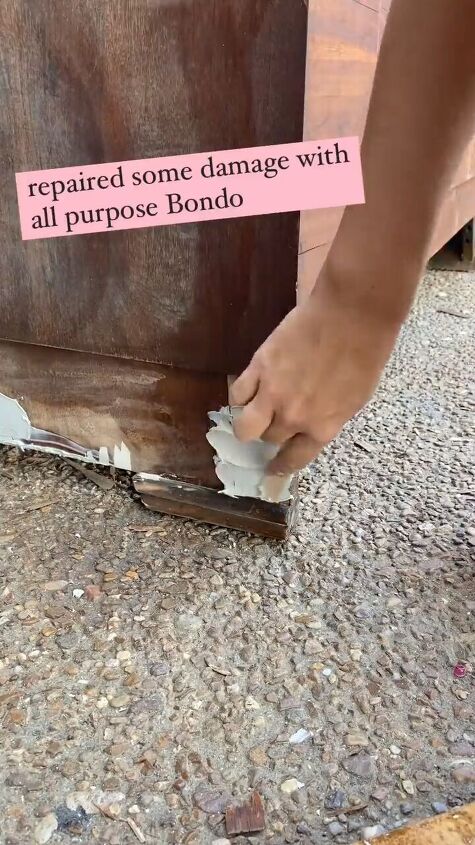
Step 4: Wood Repair
Apply all-purpose Bondo to repair any damaged areas of the wood. Use a putty knife or applicator to spread the Bondo evenly over the imperfections. Allow it to dry completely before moving on to the next step.
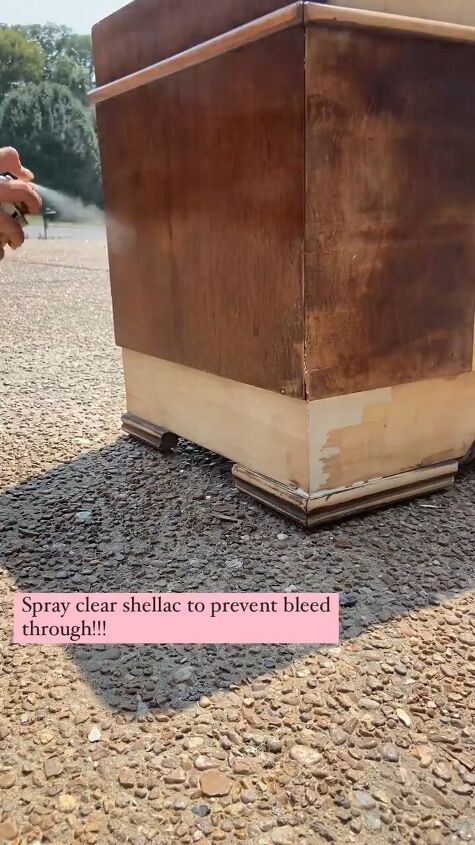
Step 5: Sealing and Priming
Prevent bleed-through by spraying clear shellac over the entire chest. This step ensures a clean canvas for your chosen paint color. Apply the shellac evenly using a spray bottle, allowing it to dry completely.
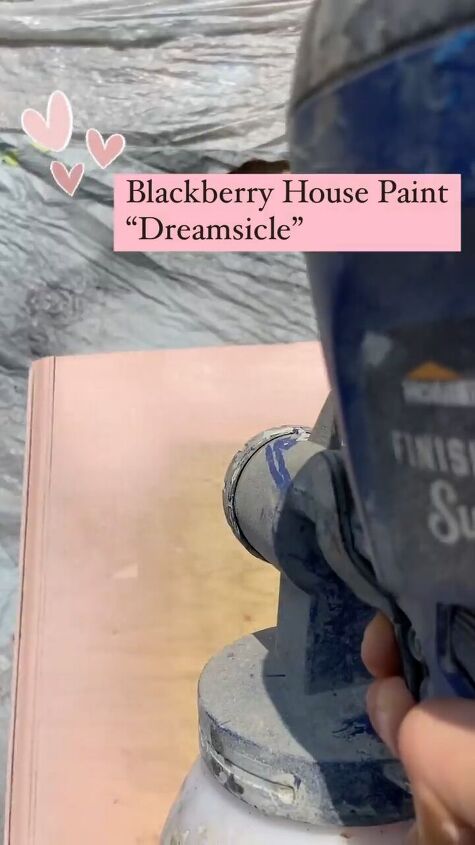
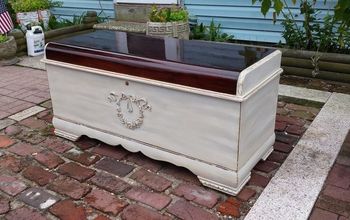
Step 6: Painting
Select a paint color that complements your style. In my case, the vibrant Dreamsicle pink added a charming touch. Using a paint sprayer gun, evenly coat the entire chest with the chosen paint color.
Allow each coat to dry thoroughly before applying the next one, ensuring a smooth and flawless finish.

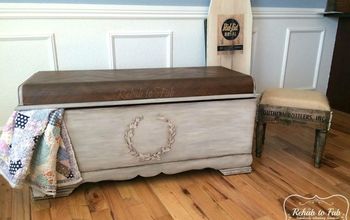
How to refinish a cedar chest
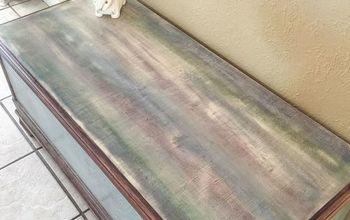
Congratulations on successfully refinishing your cedar chest! The process may require time and effort, but the end result is a rejuvenated and personalized piece of furniture that reflects your style.
Enjoy the satisfaction of transforming an old, worn-out chest into a stunning and unique centerpiece for your home. Leave me a comment and let me know how your project came out.
Follow @rhettsrefinishes on Instagram for more DIY ideas.


Frequently asked questions
Have a question about this project?