


How to Make DIY Lumber Storage in a Few Simple Steps

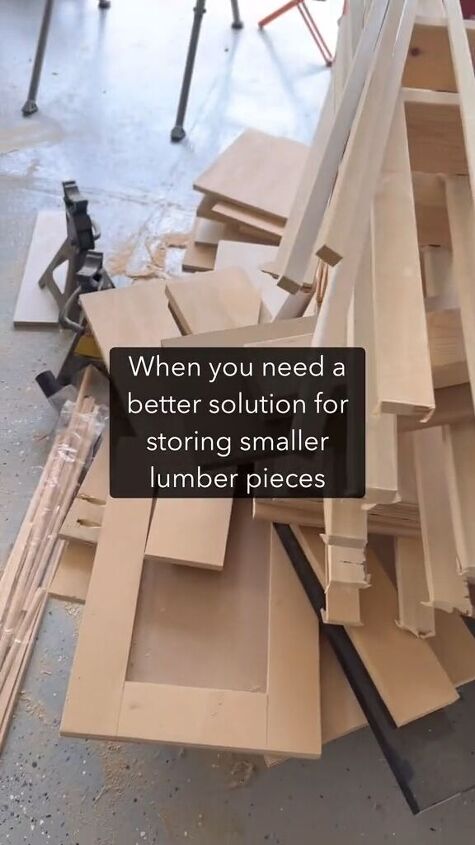
Are you looking for lumber storage ideas? We had nowhere to put smaller pieces of lumber but now we do with this DIY lumber storage rack. All it took was some wood and tools to make this! Here’s what we did:
DIY lumber storage
Tools and materials
- 4x8 sheet of 3/4 inch plywood ($29)
- 4-inch casters (optional)
- Edge banding
- Primer and paint
- Wood glue
- Gold corner brackets
- Saw (to cut plywood)
- Drill
- Screwdriver
- Sandpaper
- Paintbrush or spray gun
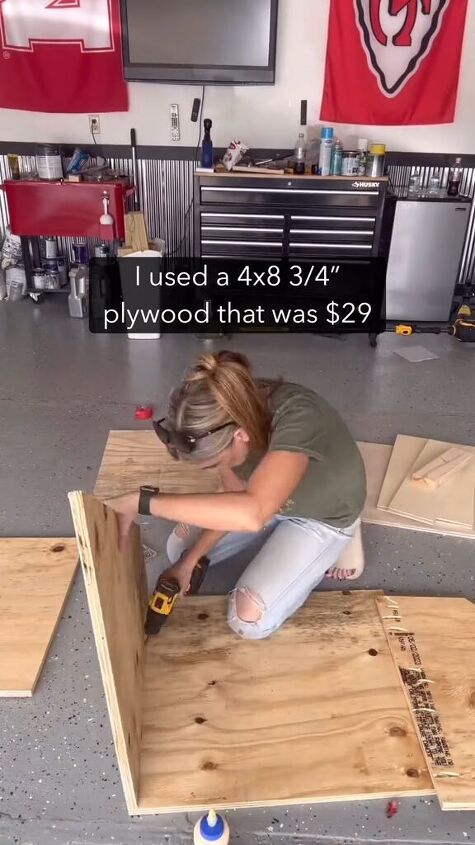
1. Measured and cut plywood
We measured and marked the plywood according to our desired dimensions for the storage caddy. Common dimensions could be something like 2 feet wide by 4 feet long.
We cut the plywood into the required pieces. We needed a bottom piece, two side pieces, and two end pieces. We used glue to stabilize the wood before attaching.
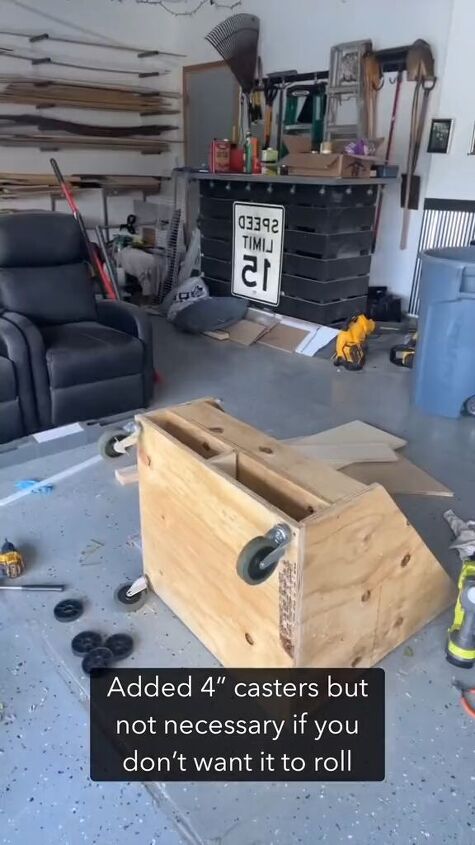
2. Attached casters (optional)
If you want your storage caddy to be mobile like we did, then, attach the casters to the bottom of the plywood. Drill pilot holes and then screw the casters into place.
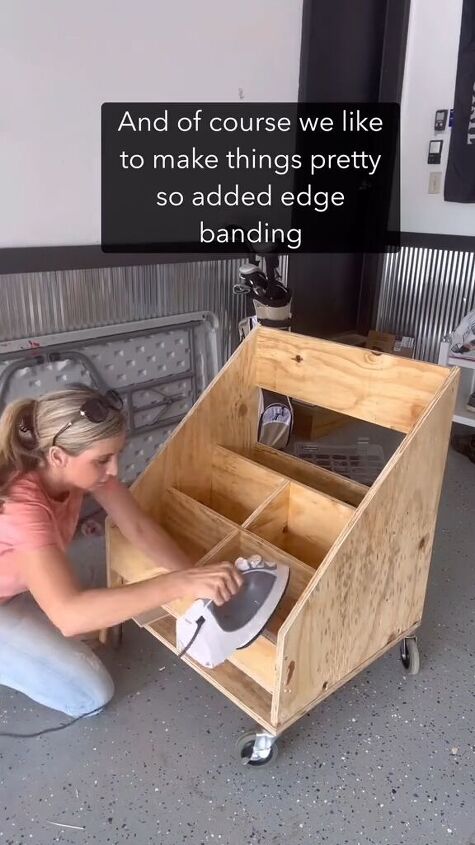
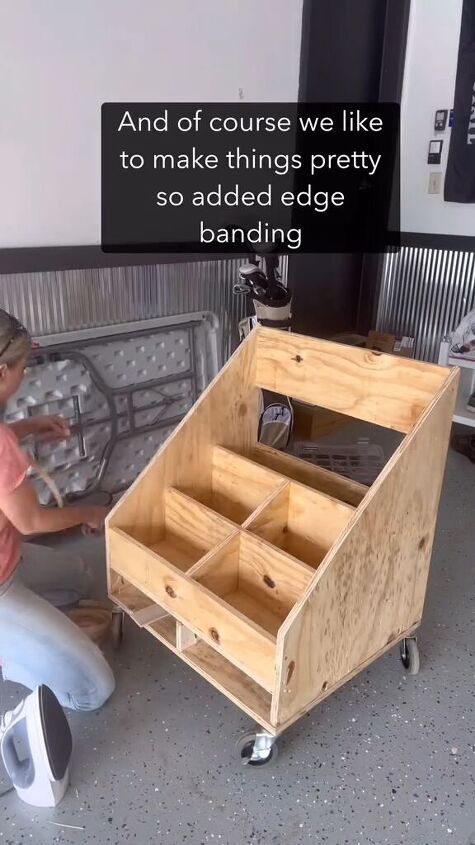
3. Applied edge banding
The edge banding we applied to the exposed edges of the plywood gives it a finished look and protects the edges from wear and tear. We used an iron to adhere the edge banding to the edges of the plywood.
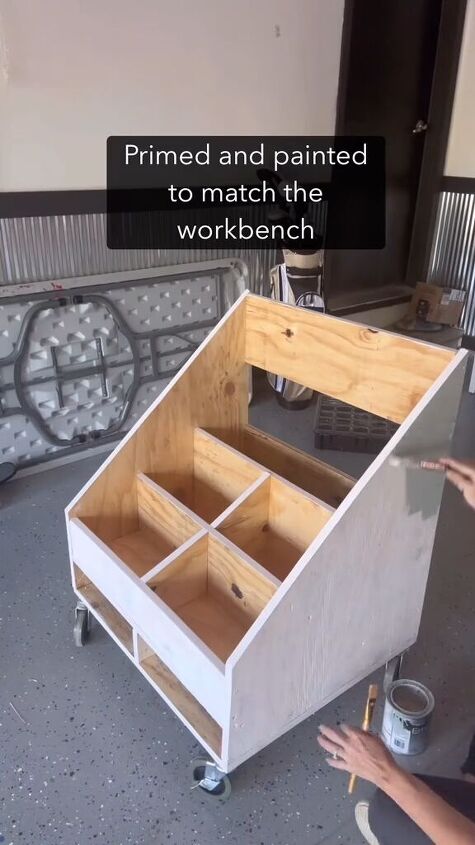
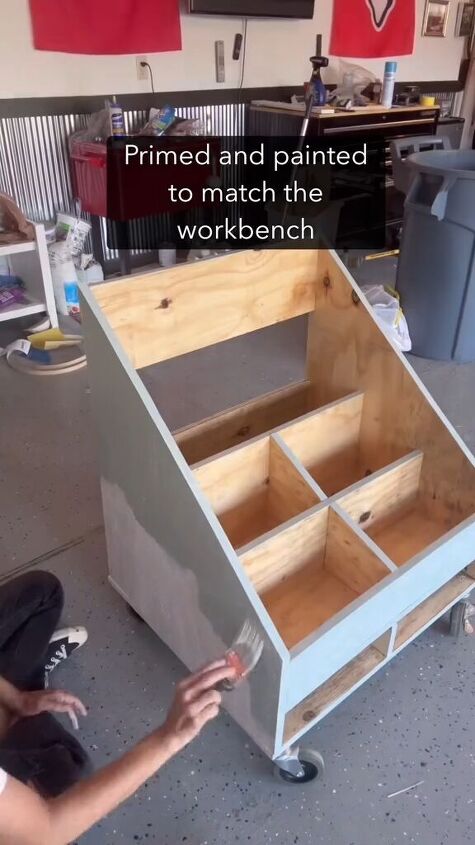
4. Primed and painted
We primed the entire surface of the plywood to prepare it for painting. We allowed the primer to dry completely according to the manufacturer's instructions.
Paint the storage caddy to match your workbench or any other desired color scheme. Apply multiple coats of paint as needed, allowing each coat to dry completely before applying the next.
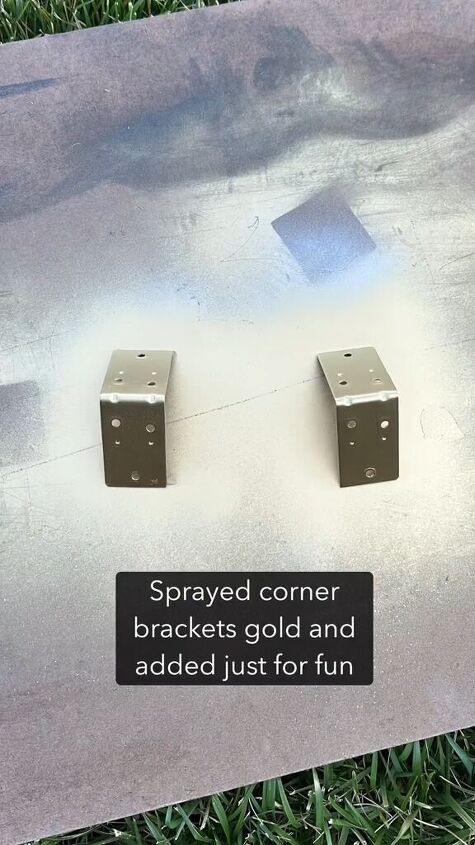
5. Sprayed corner brackets gold
We spray-painted the corner brackets gold for added them to the front for aesthetic appeal. If you do this, make sure to paint in a well-ventilated area and follow the instructions on the spray paint can.
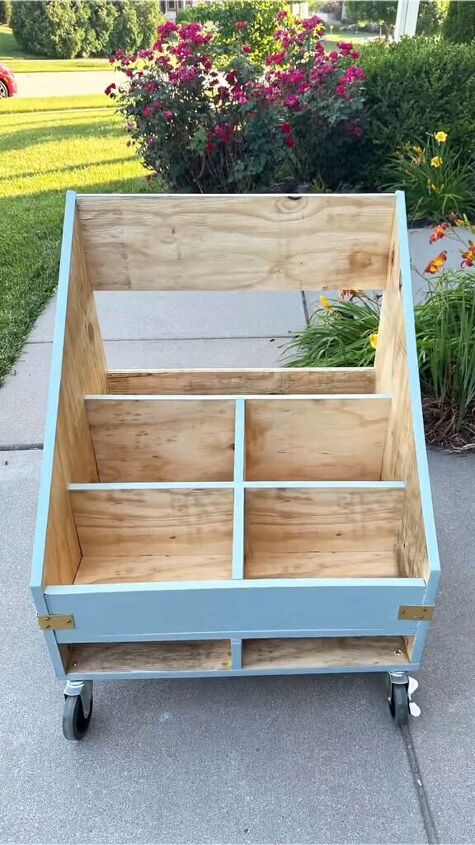
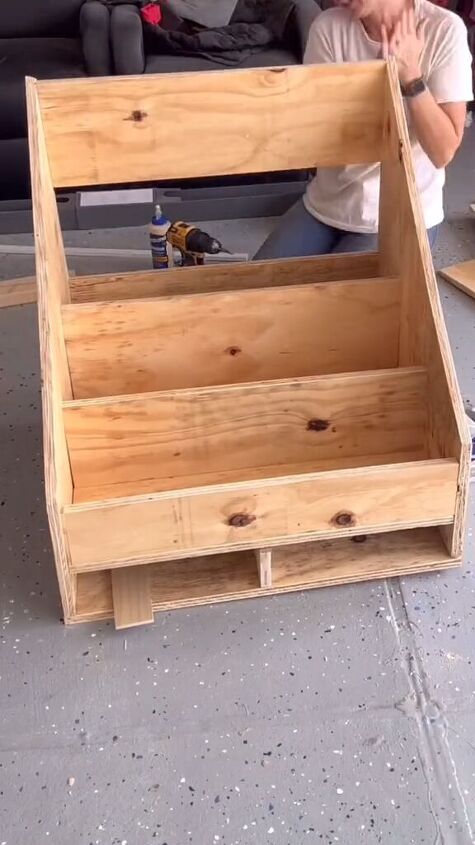
6. Assembled the caddy
Once all the paint and finishes were dry, we assembled the storage caddy by attaching the side and end pieces to the bottom piece using screws. We reinforced the corners with the gold corner brackets for added stability but that’s optional.
After assembly, we inspected the storage caddy for any rough edges or imperfections. We sanded down any rough areas and touched up the paint as needed for a polished finish.
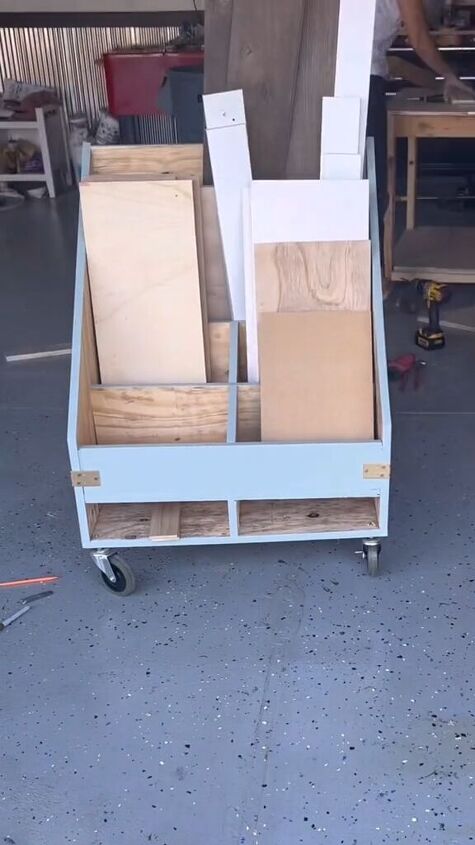
Finally, we placed our smaller lumber pieces or other items inside our DY lumber storage rack. One person commented that this could also be a great kid’s bookcase with books facing out!
DIY lumber storage
Following these steps, we created a functional and visually appealing storage caddy for our smaller lumber pieces. What do you think? Leave us a comment!
Follow @a_bit_unexpected_diy on TikTok for more DIY ideas.


Frequently asked questions
Have a question about this project?