


How to Use Rub 'n Buff: Colors, Application, Removal & More

Ever feel like your home decor is stuck in a rut? You want that fancy vintage look or a touch of glam, but tackling big projects sounds exhausting. Hold on! There's a secret weapon called Rub 'n Buff, and it's about to change your DIY game.
You can rub it on almost anything, from picture frames to lamps, to give them a cool metal look. This guide will tell you all about how to use it Rub 'n Buff, where to find it, and much more...
How to use Rub 'n Buff
Disclaimer: Hometalk may receive a small affiliate commission from purchases made via links in this article but at no cost to you.

What is Rub 'n Buff?
Produced by AMACO, Rub 'n Buff is a unique product that adds a metallic sheen to surfaces. It's not quite a paint - instead, it's a wax paste made with carnauba waxes, fine metallic powders, and colorants. Y
You apply it by rubbing it onto a surface and then buffing it to a shine—hence the name! This gives objects a richer and more dimensional metallic finish compared to paint.
Rub 'n Buff is a popular choice for refurbishing furniture, frames, and home decor pieces, adding a touch of glamor or a vintage vibe.
Where to buy Rub 'n Buff
You can find Rub 'n Buff at many home stores and online retailers, such as Hobby Lobby, Michaels, Walmart, and Amazon. Note that not all stores stock all color options.
Home Depot does not stock the Rub 'n Buff (at least, not online - let us know if you spot it in your local store), but it does stock Metallic Lustre furniture waxes, which are an alternative.
Similarly, Lowes stocks Junkyard Goddess hemp waxes as alternatives.
Of course, you can also buy directly from the AMACO website, however, you can only buy individual tubes. Therefore, the best value is the pack of all 9 color options via Amazon:
AMACO Rub 'n Buff Wax Metallic Finish 9 Color Kit
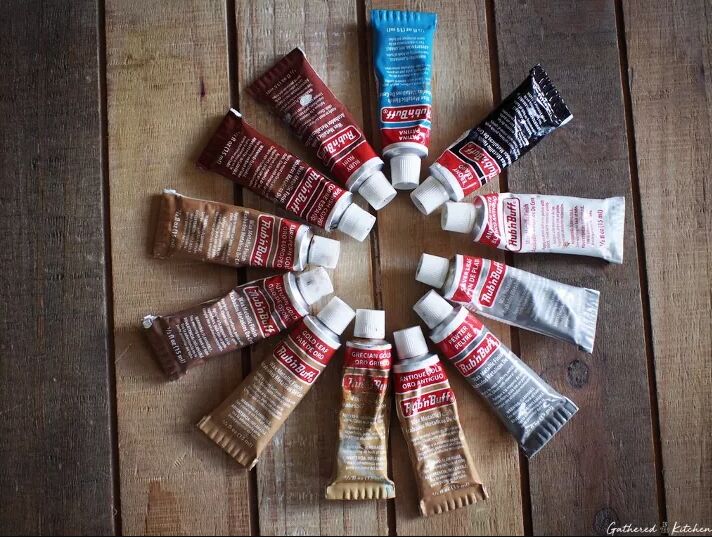
Rub 'n Buff colors
There are currently 9 Rub 'n Buff colors produced by AMACO:
Rub 'n Buff colors available:
- Antique Gold
- Autumn Gold
- Ebony
- European Gold
- Gold Leaf
- Grecian Gold
- Pewter
- Silver Leaf
- Spanish Copper
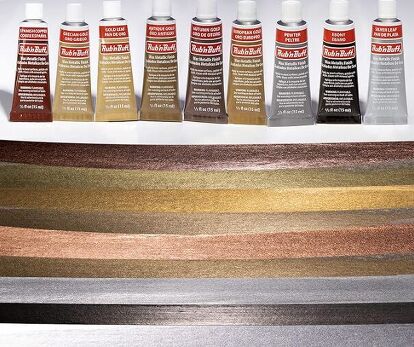
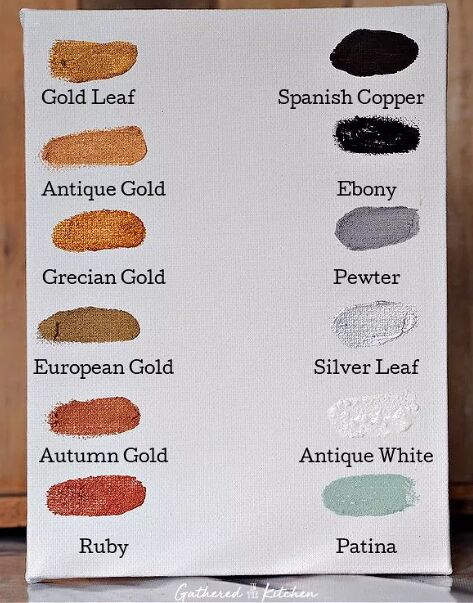
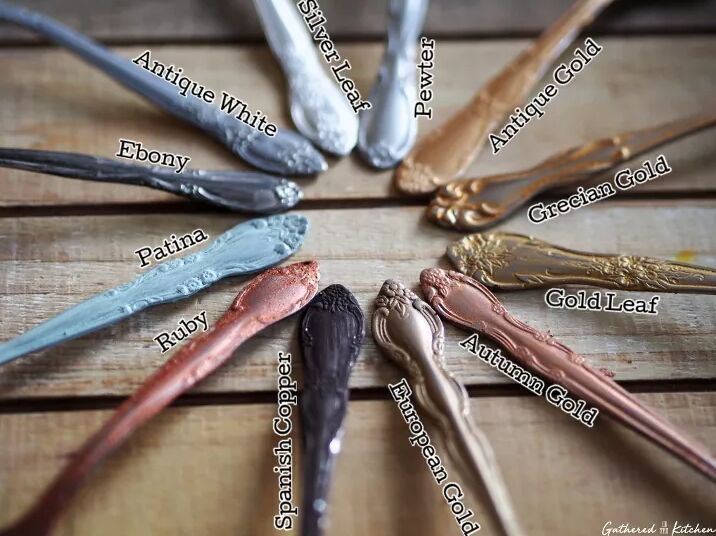
You can see 12 color options (Patina, Antique White, and Ruby have since been discontinued) and the differences in colors in this tried and tested Rub 'n Buff guide by blogger Gathered In The Kitchen. She uses different Rub 'n Buff colors on spoons:
How to apply Rub 'n Buff
Applying Rub 'n Buff is a simple process that requires minimal tools.
- First, ensure your surface is clean and dry.
- Then, use a small amount of Rub 'n Buff on your fingertip (wearing a disposable glove can help) or a soft cloth.
- Rub the paste onto the surface in small circles, applying a thin and even coat.
- Buff the area with a clean cloth to achieve a smooth finish and the desired shine.
Remember, the more you buff, the brighter the shine will be. For porous or uneven surfaces, a second coat may be necessary for full coverage.
Applying Rub 'n Buff on metal
While Rub 'n Buff works on various surfaces, metal applications might require a little extra prep for best results. Since metal can be slick, begin by giving it a thorough cleaning with mineral spirits to remove any dirt or grime.
Consider a light sanding with high-grit sandpaper to create a slightly textured surface for the Rub 'n Buff to adhere to.
You can build the intensity of the finish with additional coats and buffing.
Applying Rub 'n Buff on wood
First, prep the wood by giving it a thorough cleaning to remove any dust or dirt. You can also lightly sand the surface for better adhesion, especially if the wood is finished or has a sheen.
For a subtle effect, keep the layer thin. If you desire a more opaque metallic finish, apply additional coats after the first layer dries completely.
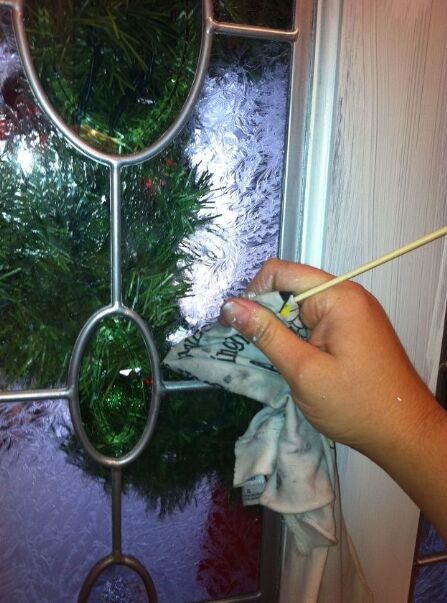
Applying Rub 'n Buff on etched glass
The process is similar to using it on other surfaces but takes advantage of the etching for a more defined result.
Gently rub the product into the etched grooves using a circular motion. Work in sections, especially for larger pieces, to prevent the Rub n Buff from drying before you buff it.
The beauty of using Rub n Buff on etchings is that it primarily rests in the depressed areas, creating a vibrant contrast with the clear glass. Once you've covered the entire design, buff the surface with a clean cloth to remove any excess.
"Rub 'n Buff is a great way to add a special touch to everyday surfaces, even pre-painted ones. To use this product on a painted surface, you can simply apply it over the existing paint. The color of your original item will impact how the Rub 'n Buff looks; dark or black surfaces will often take on an aged/vintage shine, while lighter surfaces will look more dramatically metallic." - Andre Kazimierski, Improovy
How long does Rub 'n Buff take to dry?
Rub n' Buff is known for its fast drying time. Unlike traditional paints, it doesn't require a long wait before buffing.
In most cases, it dries almost instantly, or within seconds of application. This allows you to buff the product right after applying it for a smooth finish and desired shine.
However, drying time can be slightly affected by the surface material. It may dry a tad faster on porous surfaces like wood compared to non-porous surfaces like metal.
Regardless, you can safely buff Rub n' Buff within a short period after application.
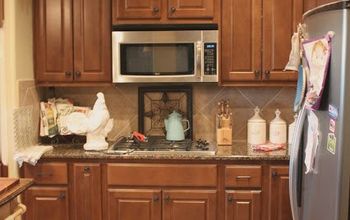
How to use Rub 'n Buff in your home
You can rub it on almost anything like picture frames, light fixtures, or old doorknobs to give them a cool metal look. You can even use it to highlight pretty carvings on furniture.
Here are 5 of our favorite ways to use Rub 'n Buff in DIY home decor projects, as demonstrated by our Hometalkers:
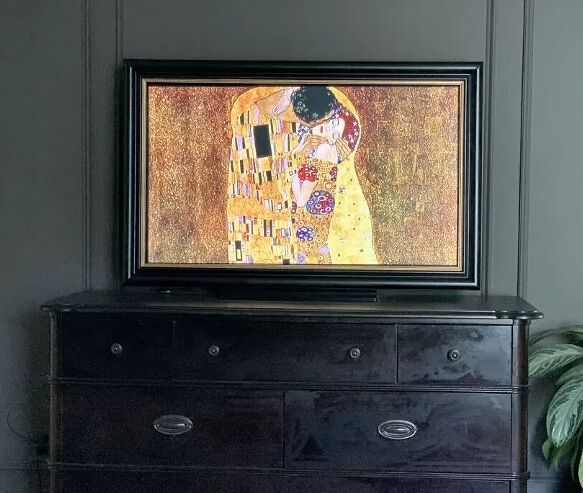
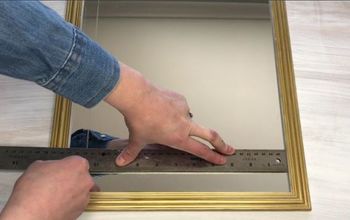
1. Make a frame look fancy
One popular way to use Rub 'n Buff is on a frame to give it that gilded or antique look. We love Lauren Jamison of DIY + Design's idea of using gold Rub 'n Buff on a DIY TV frame:

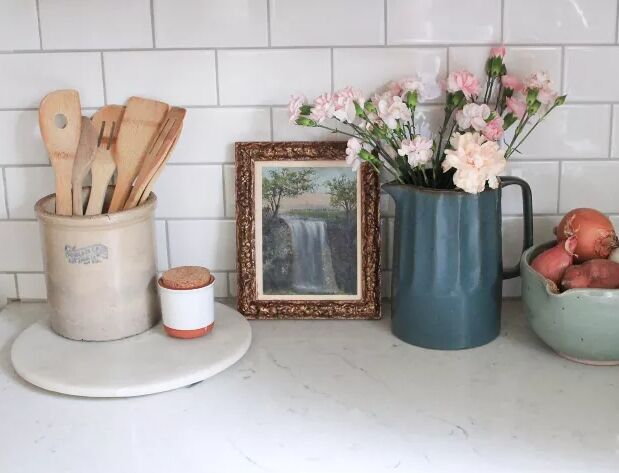
Blogger This Dear Casa also used Rub 'n Buff on a picture frame for a faux antique look:
If gold isn't your color, you could always use another color of Rub 'n Buff to change the gold finish on a picture frame, too.
2. Update your faucets
Rub ''n Buff can also be used to update the faucets in your house. Here, Instagrammer Kylie of livingwiththelamberts used Antique Gold Rub 'n Buff to transform this faucet in her powder room:
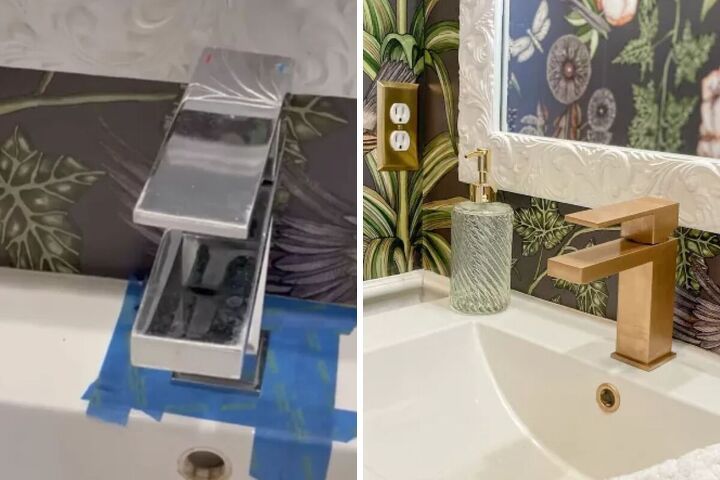
Kylie also chose to seal the faucet using Varathane oil-based Polyurethane in a clear semi-gloss.
Likewise, Instagrammer Jenna and Laurie of @ophelia.Adele.home used Antique Gold Rub 'n Buff to turn both the faucet and the drain plug of their bathroom sink gold:

You could even use Rub 'n Buff on your shower door frame.
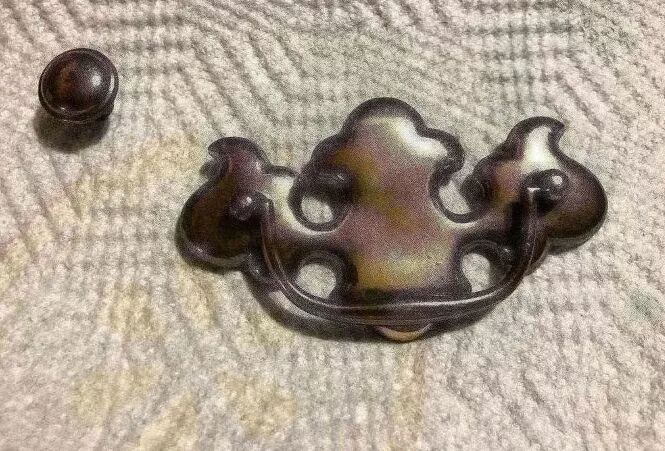
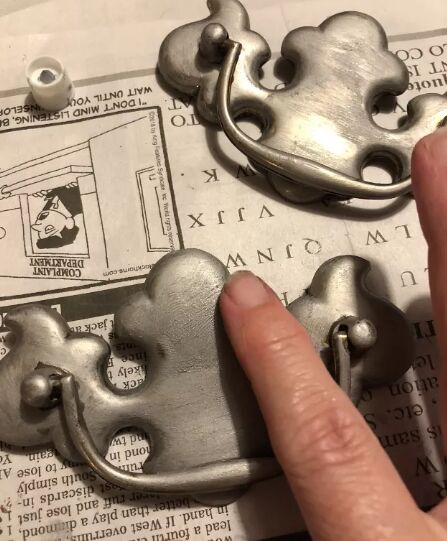
3. Makeover your hardware
You can also use Rub 'n Buff to upgrade your furniture hardware. See how Instagrammer Lynnette Soltwedel uses Rub 'n Buff on drawer handles here:
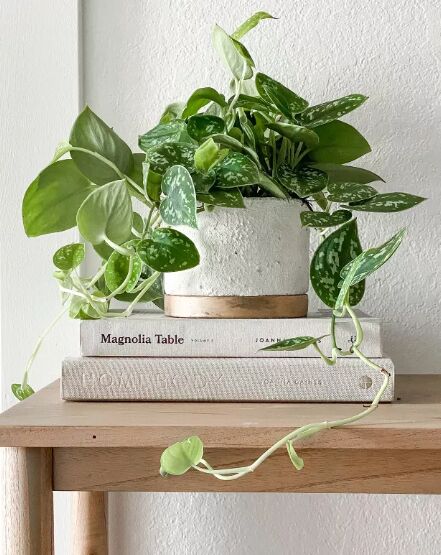
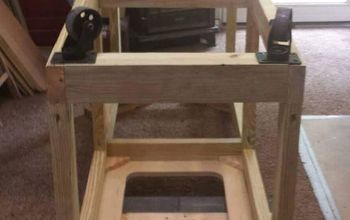
4. Let your DIY decor shine
Rub 'n Buff can also give a metallic touch to any DIY home decor project you may be working on. In this tutorial, Instagrammer Jessica applies gold Rub 'n Buff to a textured planter base:
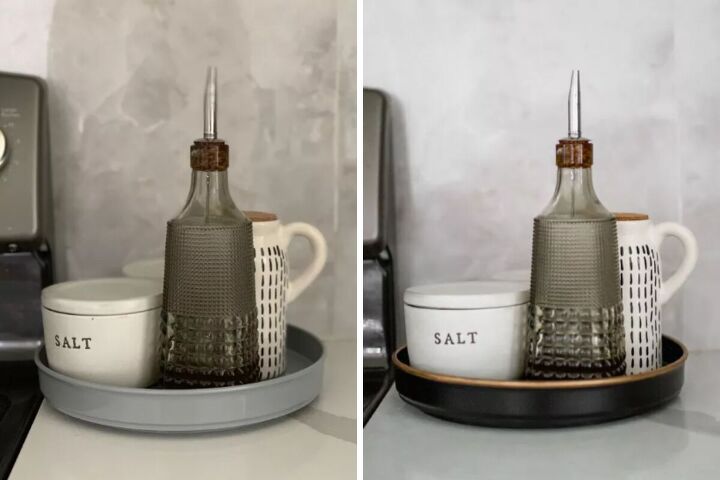
5. Other decorative touches
The possibilities are truly limitless. You can add just a pop of metallic finish to any decorative piece in your home.
For example, Instagrammer Lauren Jamison of DIY + Design used black spray paint and gold Rub 'n Buff to makeover a Lazy Susan in her kitchen:
Rub 'n Buff alternatives
If Rub n Buff isn't readily available or you'd prefer a different application method, there are several alternatives to achieve a metallic finish.
- For a similar waxy feel, try metallic wax finishes by brands like DecoArt. These offer a close application process to Rub n Buff but may come in a more limited color palette.
- For a more paint-based approach, metallic acrylic paints offer a wider variety of colors and effects. These require brushing or sponging and may need a clear sealant for durability.
- Finally, for a more controlled application, consider gilding. This involves applying a thin layer of adhesive, then metal leaf in your desired color. Gilding offers a luxurious, classic look but requires more technique and specialized materials.
See our community's recommendations for Rub 'n Buff substitutes here.
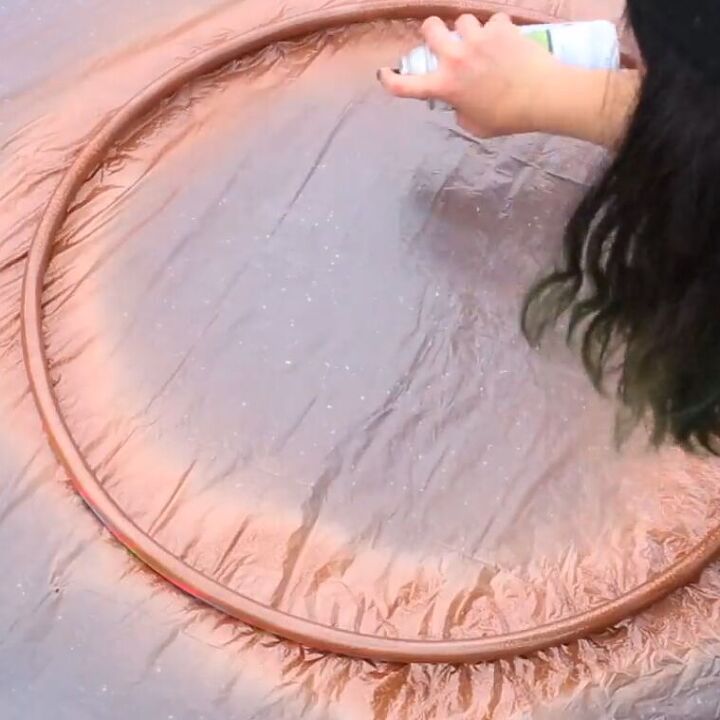
Rub 'n Buff vs spray paint
Spray paint is a fast and efficient way to coat a large surface with a smooth, even finish. It's ideal for outdoor projects or when you need a quick transformation. However, spray paint can be messy and requires good ventilation.
Rub 'n Buff, on the other hand, provides more control over the application. It allows for a more distressed or antiqued look, as you can buff it to highlight details or create a sheen only in certain areas. However, applying Rub 'n Buff takes more time and effort, making it less suitable for large projects.
The durability of each also differs - spray paint offers a more permanent finish, while Rub 'n Buff might require touch-ups over time.
Ultimately, the choice between these two depends on the size and style of your project, the desired finish, and the importance of speed and ease of application.
How to remove Rub 'n Buff
Removing Rub 'n Buff can be tricky because it dries to a hard wax finish. However, there are a few methods you can try depending on the surface and the level of stubbornness:
- For a gentle approach, try wiping with warm, soapy water. This might work for fresh application or on non-porous surfaces.
- If that fails, consider a slightly more abrasive option like a magic eraser dampened with water. This can be effective but requires caution, so test it on a small inconspicuous area first to avoid scratching the surface.
- For a stronger solution, move on to a mild solvent like denatured alcohol. Apply a small amount to a soft cloth and rub gently. Be aware that this method can be harsher and might not be suitable for all surfaces.
Always ensure proper ventilation when using solvents.
How to use Rub 'n Buff FAQs
Is Rub 'n Buff waterproof?
"Once the Rub 'n Buff has cured (dried) well, you can use oil-based polyurethane to protect from it being worn away by use. Most any surface wears away over time and then it could be repeated if wanted." - Janice, Hometalk Helper
Is Rub 'n Buff permanent?
"To remove Rub 'n Buff, I suggest you use a gentle abrasive like steel wool or fine-grit sandpaper in a circular motion. My best tip is to use mineral spirits or denatured alcohol to loosen and wipe away the product. You see, removing Rub n Buff can be challenging on certain surfaces such as porous materials like wood, or rough surfaces like metal, so always test in a small area first and proceed with caution. I recommend wearing protective gloves and working in a well-ventilated area when using chemical products." - David Mason, Knobs.co
Can you make your own DIY Rub 'n Buff?
Yes! You can try adding mica powder to furniture wax or mixing metallic powders such as Pearl Ex or Powdered Pearls with boiled (not raw) linseed oil. Of course, a homemade version may not be as effective as the brand.
More Rub 'n Buff ideas
Have you used Rub 'n Buff in your home decor projects? If so, what did you use it for? Share your ideas and projects in the comment section below:


Frequently asked questions
Have a question about this project?