


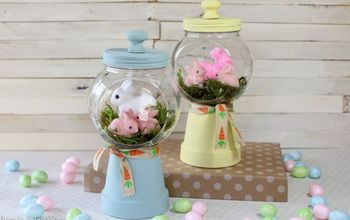
How to Make a DIY Spring Garland For Your Mantel

Let's make a DIY spring garland together, featuring cute bunnies and carrots! It's super easy and fun, and you'll love the charming result. Here's what you'll need and how to do it:
Table of contents
Tools and materials
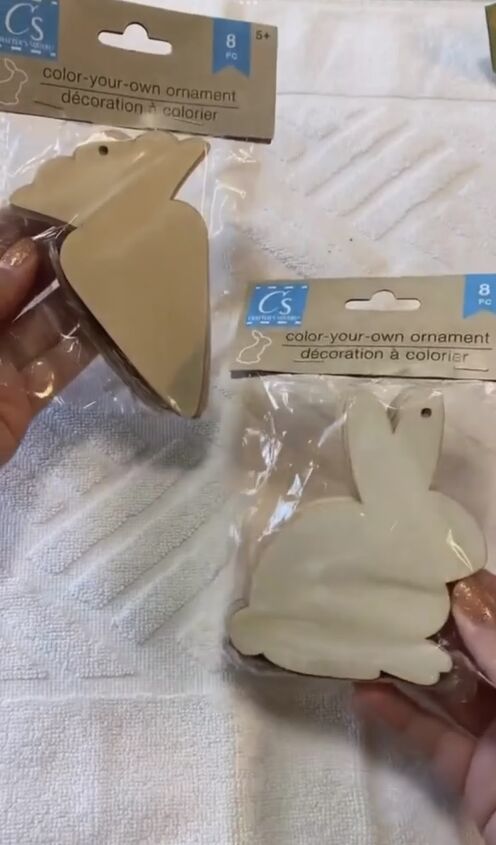
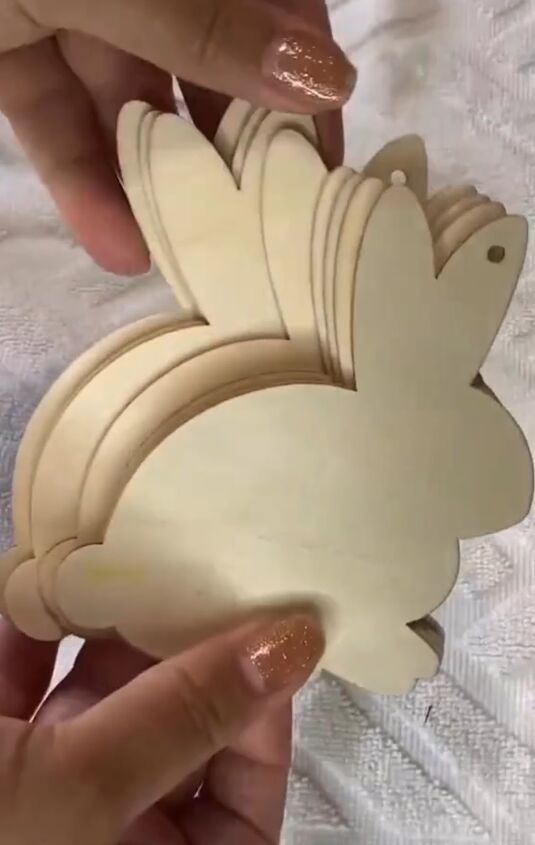
- Color-your-own ornaments bunnies and carrots
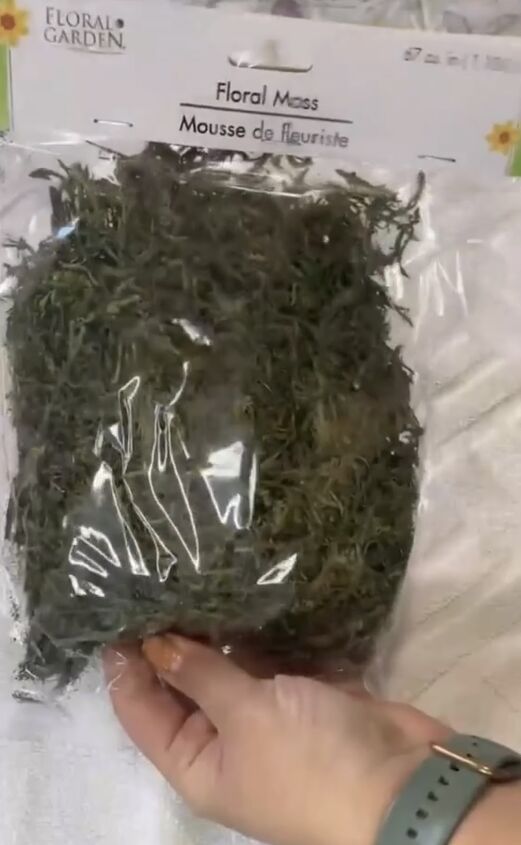
- Floral moss
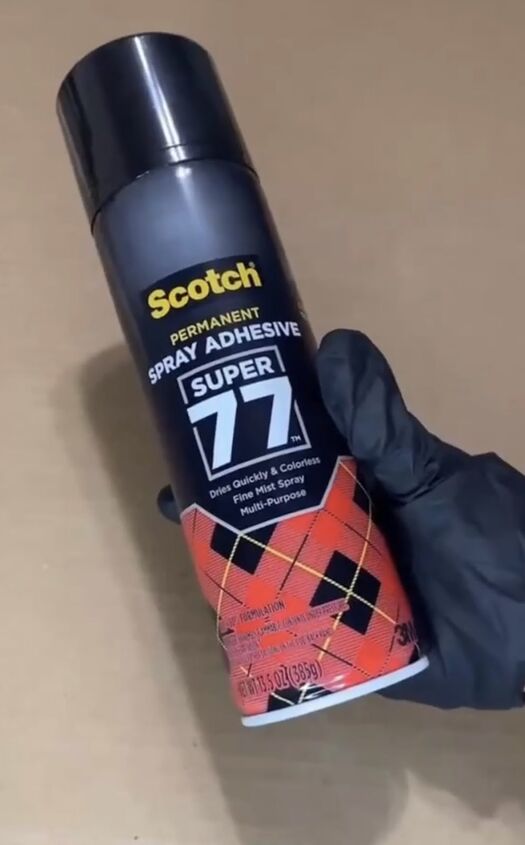
- Scotch Super 77 permanent spray adhesive
- Orange burlap
- Marker
- Scissors
- Twine
Making the Bunnies:
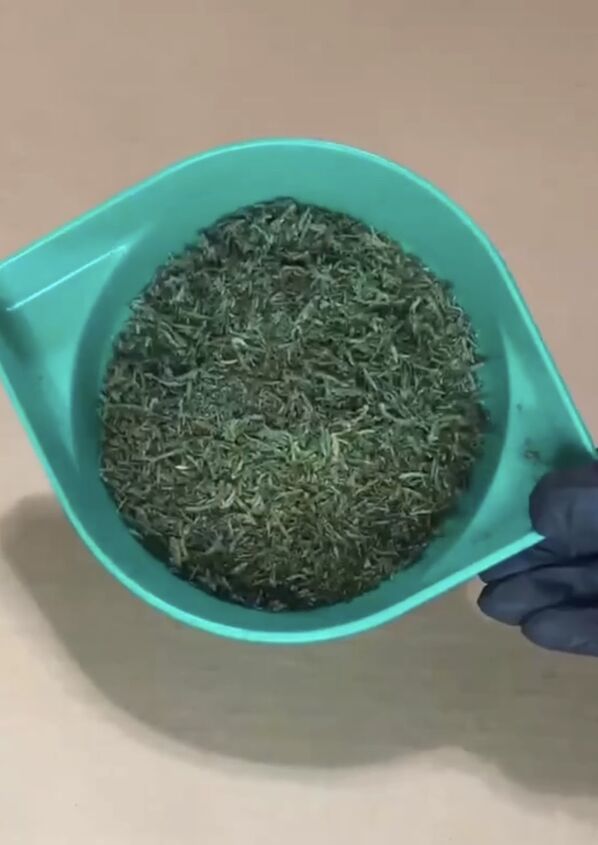
1. Start by breaking apart the floral moss into small shreds. You'll need them to cover the bunnies and the tops of the carrots.
2. Place the shredded moss in a bowl.
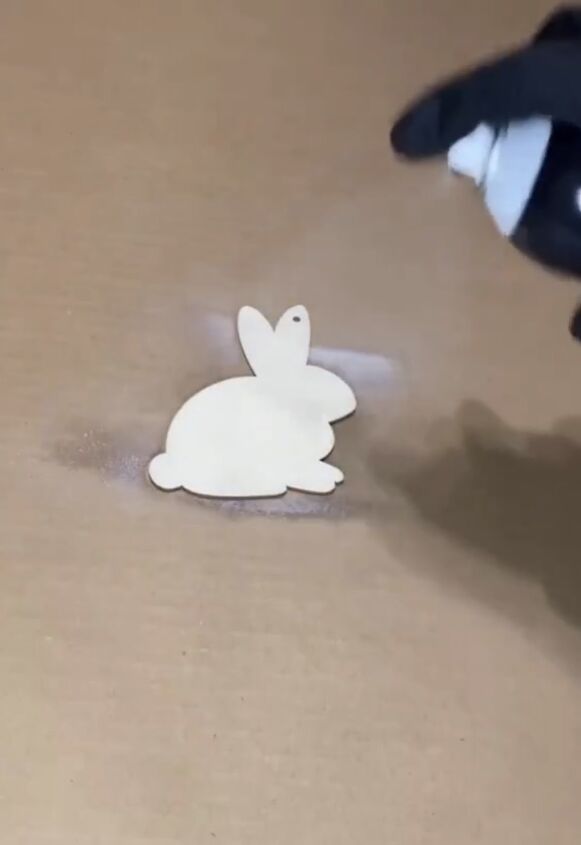
3. Spray the front of each bunny with the spray adhesive.
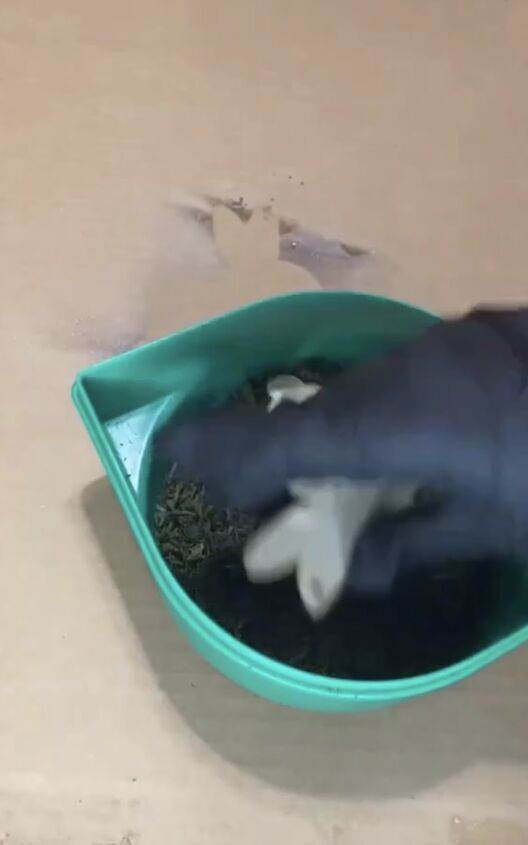
4. Quickly dip the sprayed bunny into the bowl of moss shreds. Let it dry. Repeat these steps for the rest of the bunny decorations.
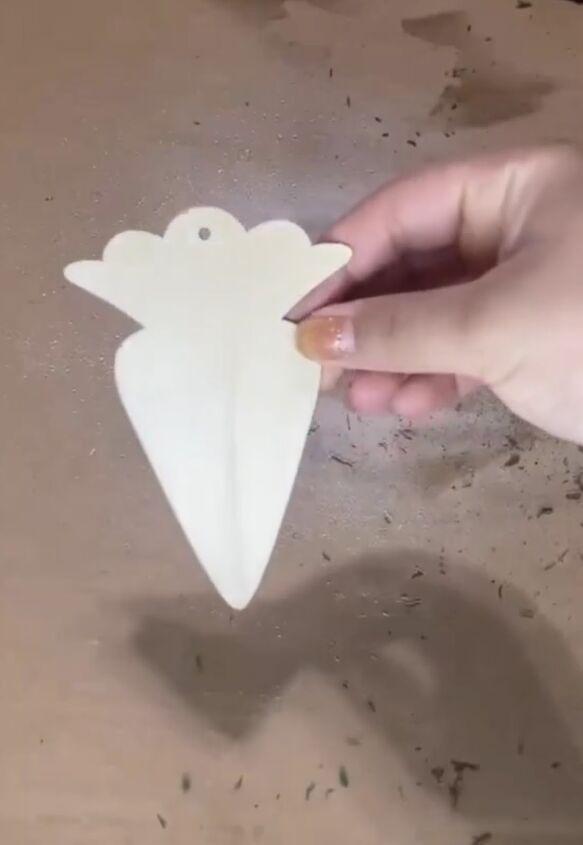
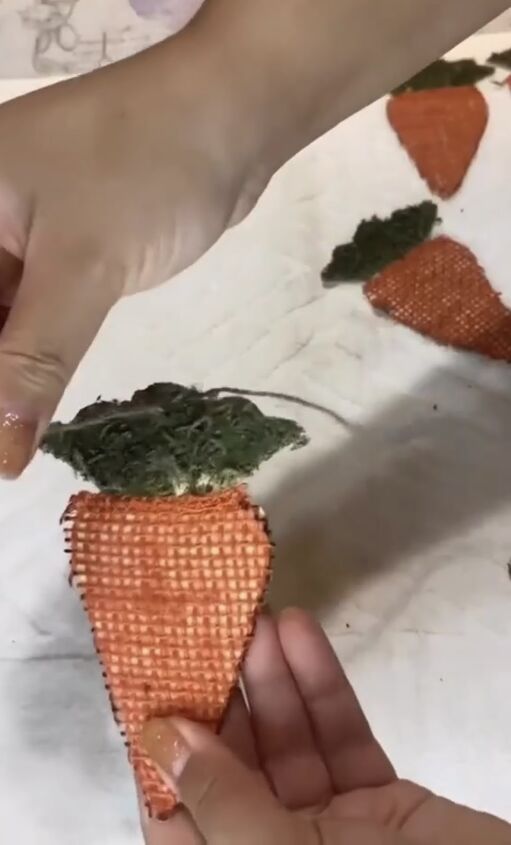
Making the Carrots:
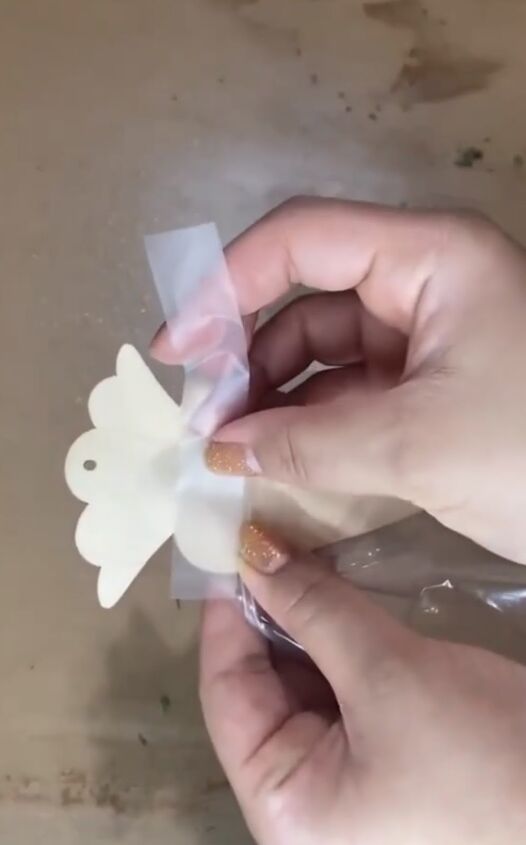
1. Cover the bottom part of the carrot decoration with plastic wrap or a small sandwich bag, securing it with tape.
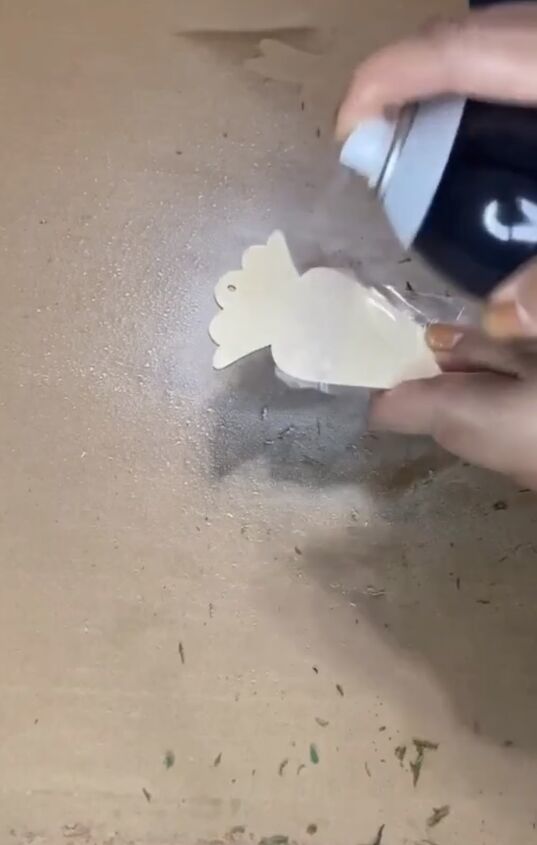
2. Spray the top of the carrot with the adhesive spray.
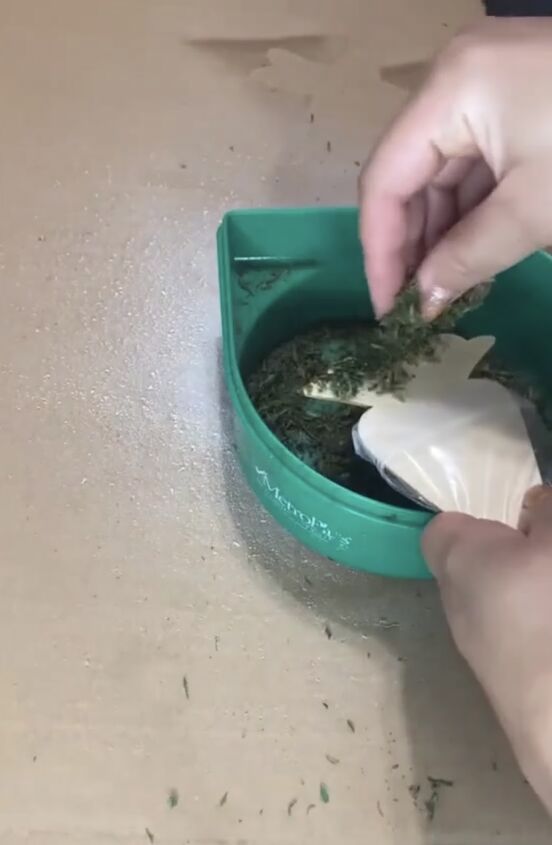
3. Immediately sprinkle moss over the adhesive.
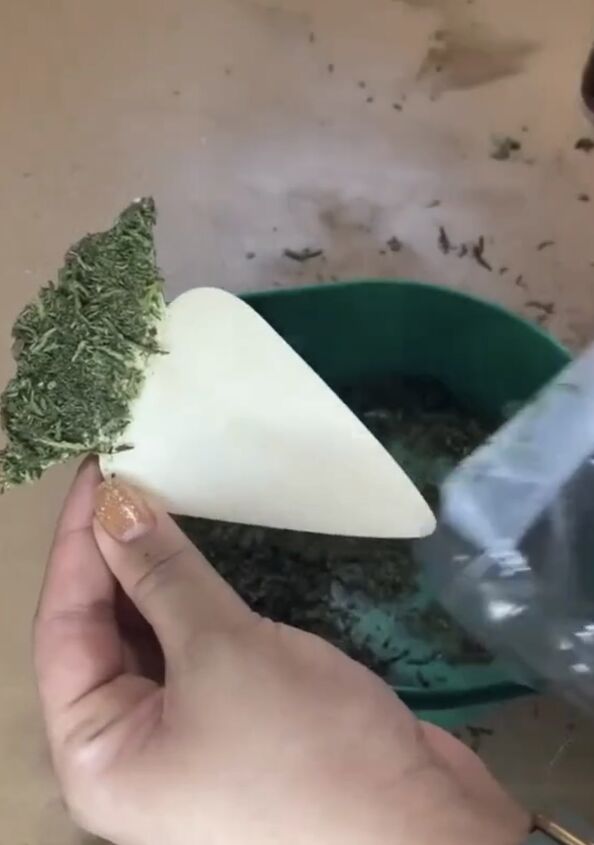
4. Remove the plastic wrap or sandwich bag and let the moss dry.
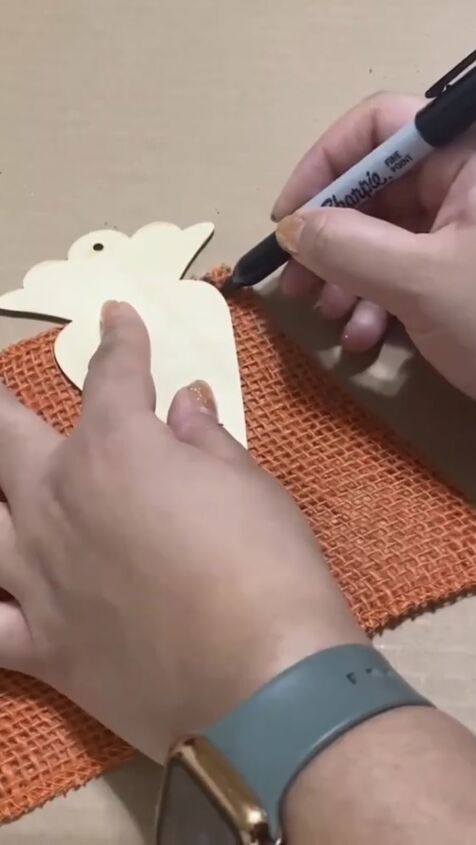
5. Once dry, place the carrot face down on the orange burlap.
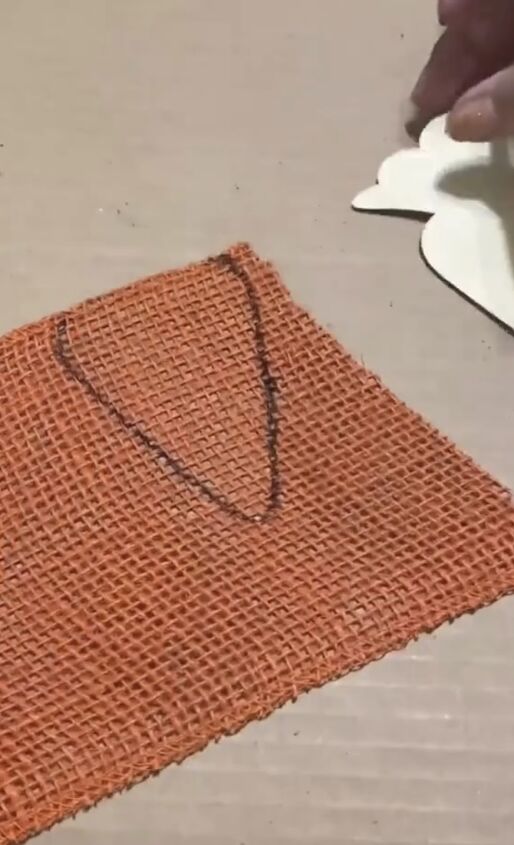
6. Trace around the bottom of the carrot with a marker to create the cutting line on the burlap.
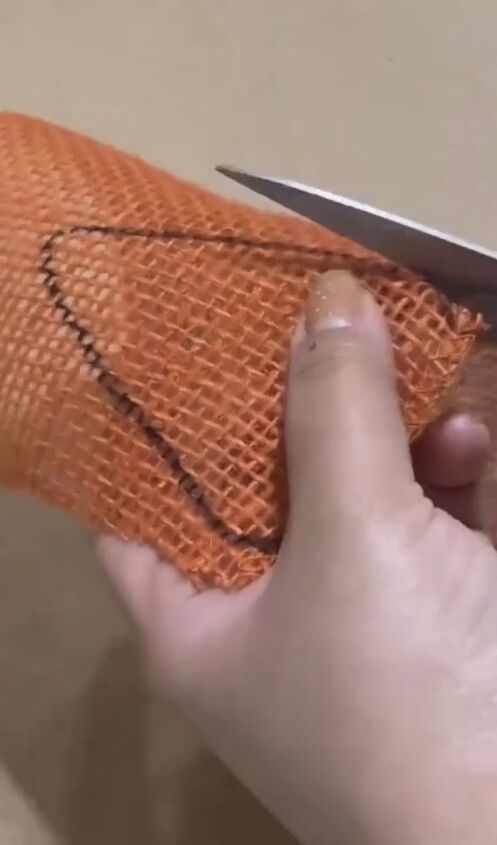
7. Cut out the carrot shape from the burlap.
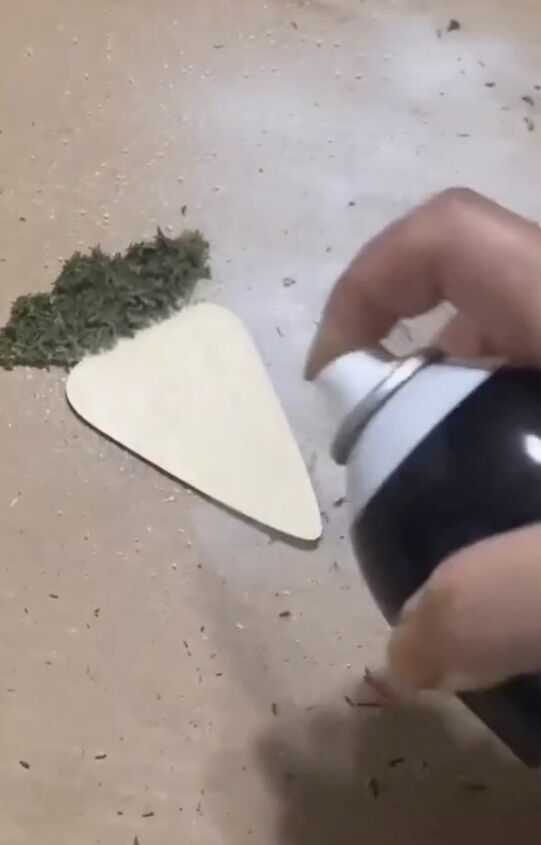
8. Spray the bottom of the carrot with adhesive spray.
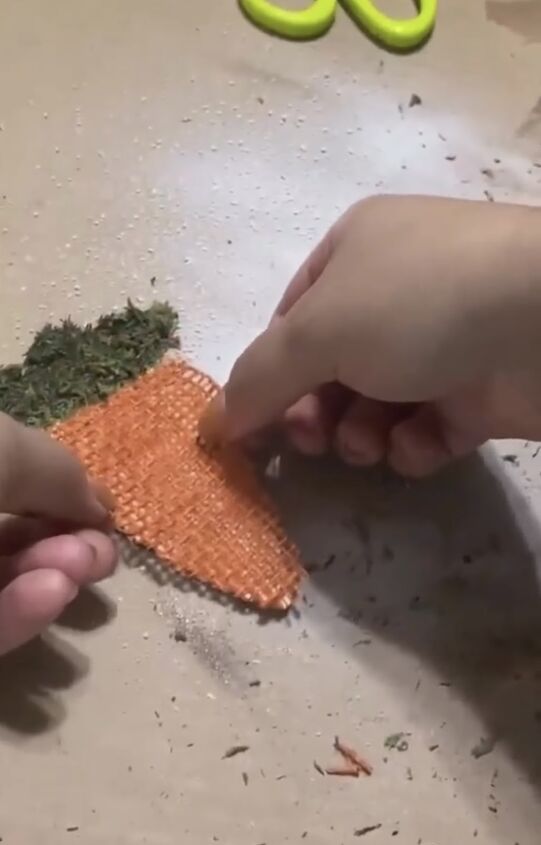
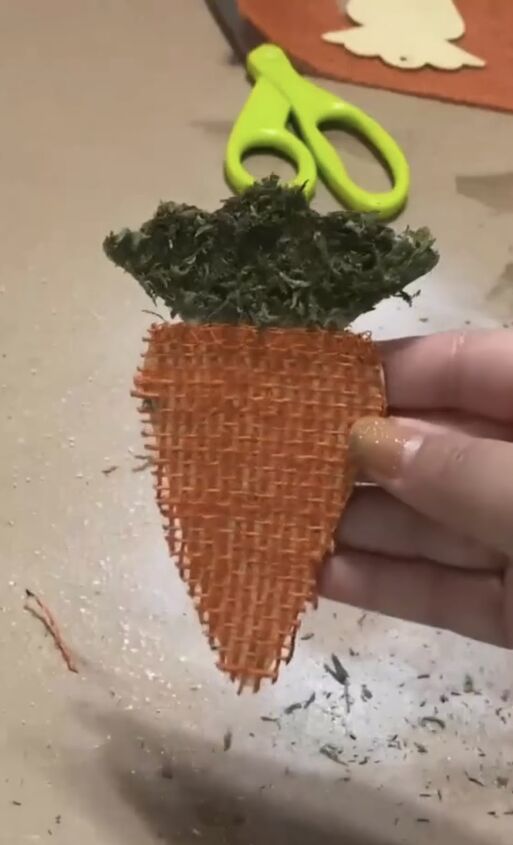
9. Quickly place the carrot-shaped burlap onto the adhesive. Repeat these steps for the rest of the carrots.
Creating the Garland:
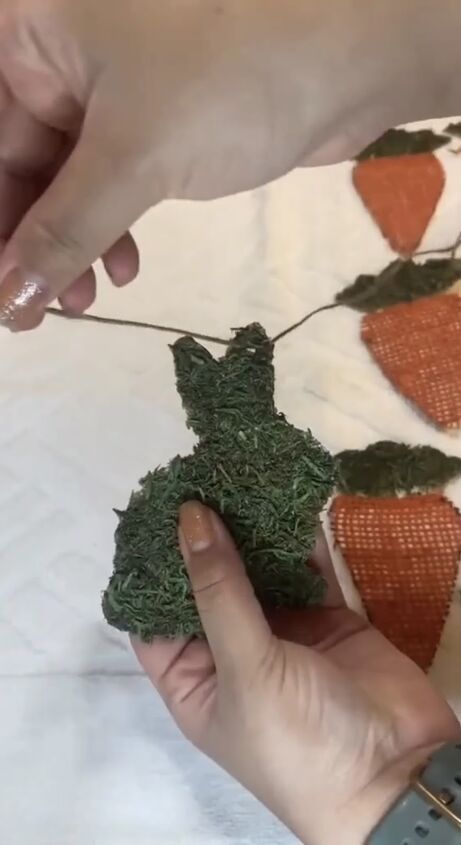
1. Thread the twine through the hole in each decoration, alternating between bunnies and carrots.
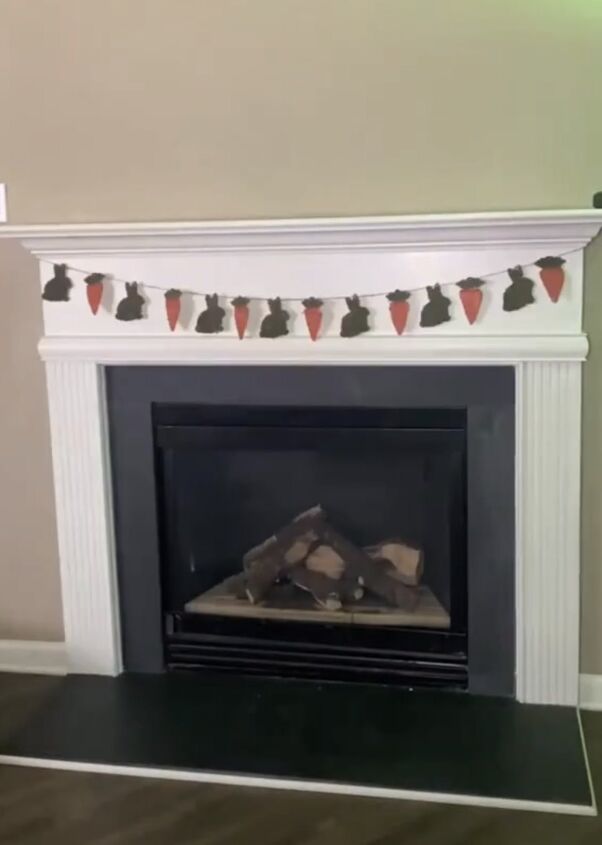
2. Hang your lovely spring garland using small nails or tacks.
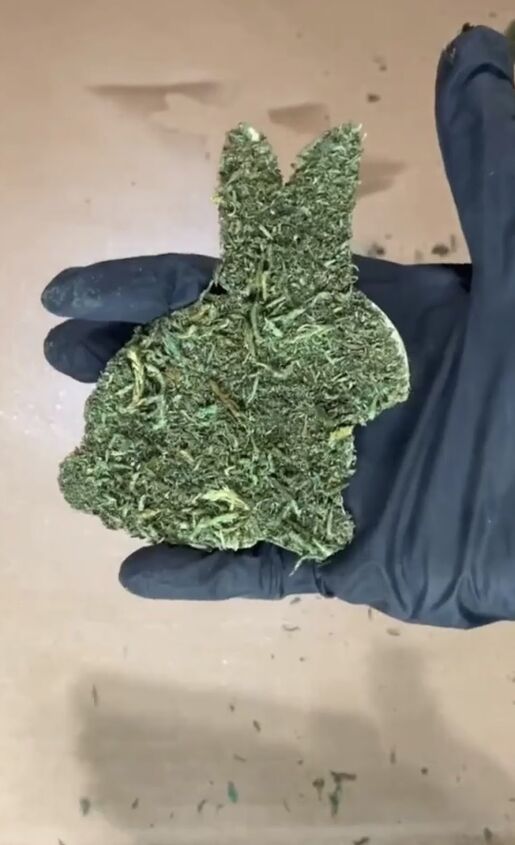
DIY spring garland
Your very own DIY spring garland is perfect for adding a cheerful touch to your home decor. What spring crafts are you working on? Share your projects in the comments below.
Follow @rosaenidn on Instagram for more DIY ideas.


Frequently asked questions
Have a question about this project?