


How to Make a Christmas Bow in 5 Different Styles
Adding a pretty bow can make your holiday decorations special. I'll show you five simple DIY Christmas bow styles using different ribbons.
Whether it's for gifts or decorations, these bows will add a lovely touch to your holiday season. Let's get started!
This post was transcribed by a member of the Hometalk editorial team from the original HometalkTV episode.
Tools and materials
- Ribbon
- Scissors
- Pipe cleaners
Hometalk may receive a small affiliate commission from purchases made via Amazon links in this article but at no cost to you.
DIY Christmas bows
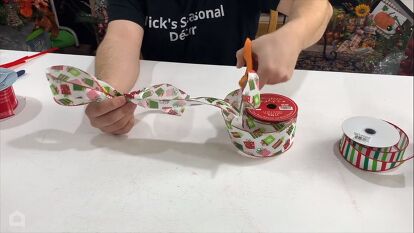
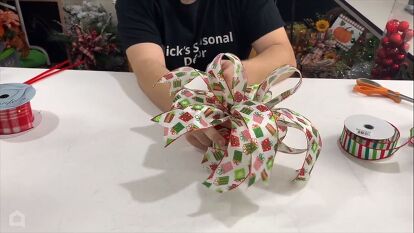
Christmas bow 1


This ribbon is one and a half inches and it's wired.
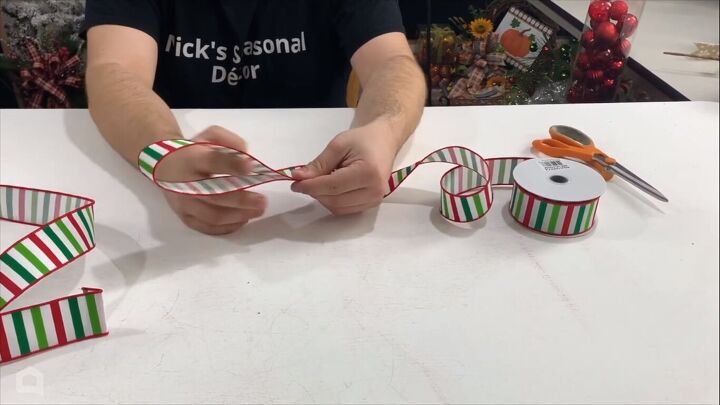
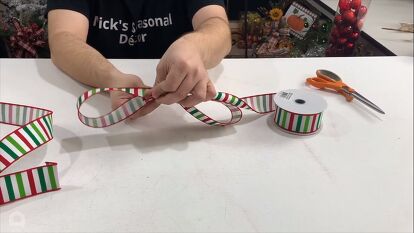
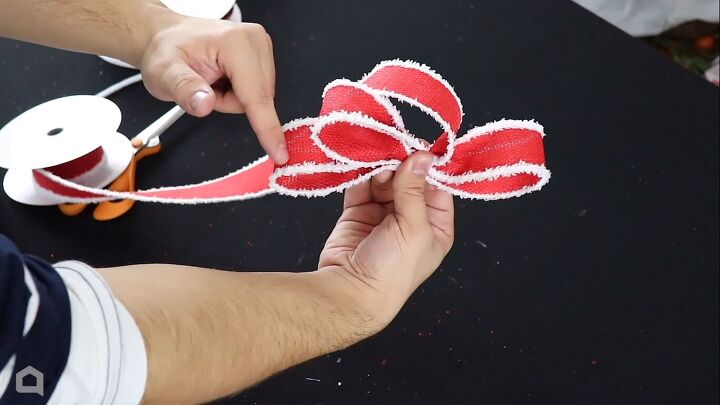
- Let's start by taking our ribbon, creating one loop, and folding it over so that we can create our second loop. Pinch it directly in the middle and create a loop.
- Repeat this process as many times as you would like. The fewer loops you do, the more open your bow will be. I think five on either side should give us the bow that I'm trying to go for.
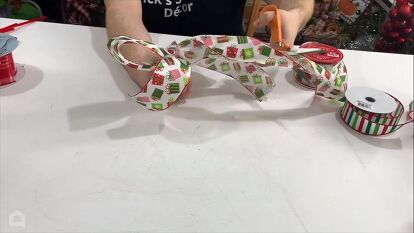
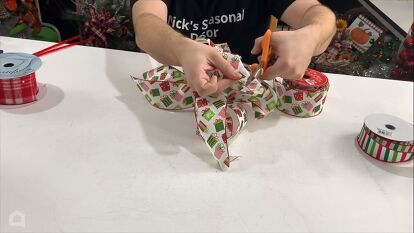
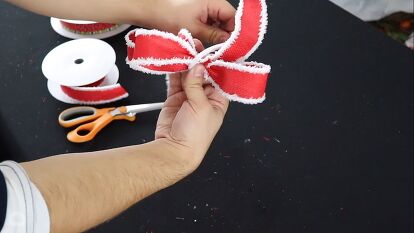
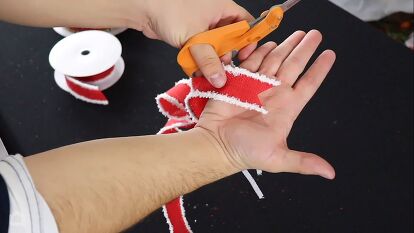
- What we can do now is cut off our ribbon. I always leave about a quarter inch to a half an inch, sometimes even longer of an extra tail. Take our tails and place them behind our bow.
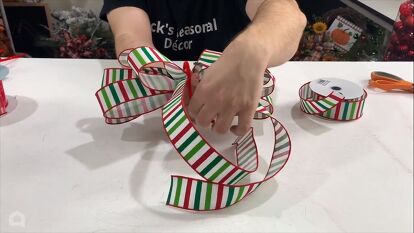
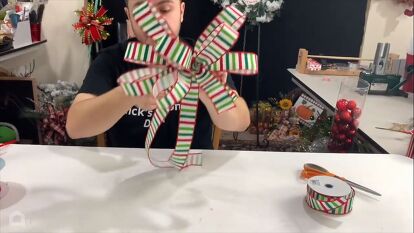
- Take a pipe cleaner and secure the bow by twisting it really tightly from behind. Try to match your pipe cleaners to your project; that way you don't see them as much.
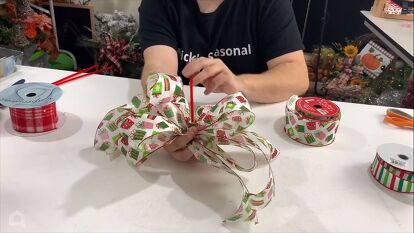
- Last is the important step, which is to fluff.
Christmas bow 2

Here we have another roll of ribbon and this ribbon is two and a half inches.
- Let's start creating our loops; one loop and two tails. So one loop on one side, two tails on the other. Then repeat that process on the other side.
- We're going add about three or four more of these to create a nice full bow. You can do as many or as few loops as you would like.
- Take your pipe cleaner, secure your bow, and here we go.
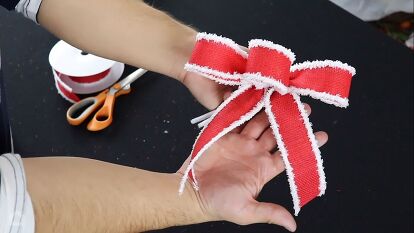
- Before we fluff, dovetail all the ribbon ends.
- Begin fluffing.
Bows are totally customizable, so feel free to use whatever size ribbon and whatever color combo.
Christmas bow 3


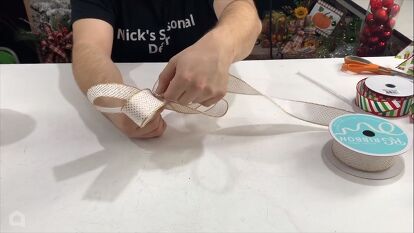

Now we're going to create a third bow. This bow is the easiest out of all three of them. This is a 1.5-inch ribbon.
- We're actually going to leave the tails on this bow; we don't need to cut them separately. We're going to start by just pinching one loop. Take it and pinch it backward.
- We're going to do two loops on either side and then something that I like to call a button loop, dead smack in the middle.
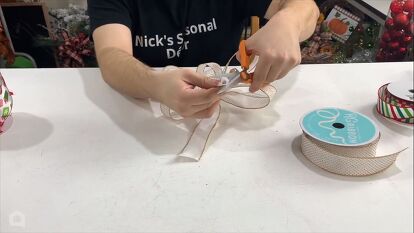
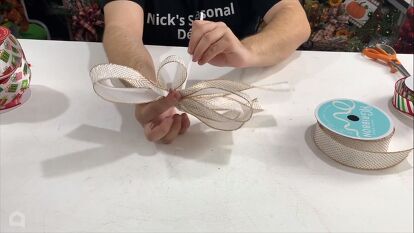
- Cut off the tails, take a pipe cleaner, and secure it to your bow.
- Dovetail the ends, and there we go.
- Now we can fluff that out.
Christmas bow 4

- For this simple bow, make three loops, plus tails.
- Tie a pipe cleaner around the middle.
- Dovetail the ribbon ends.
- Fluff!
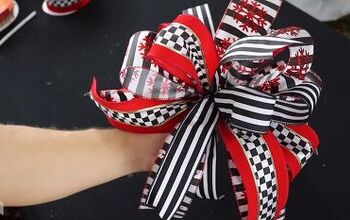
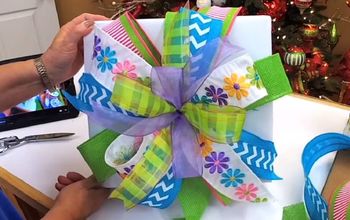
Christmas bow 5

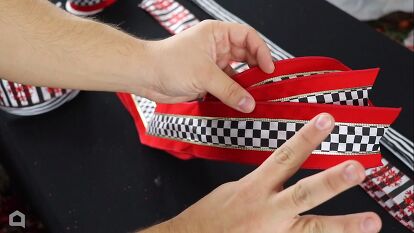
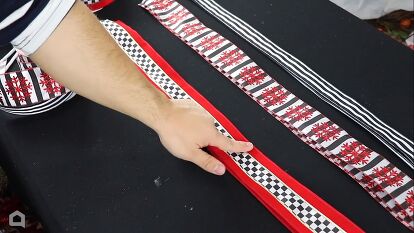


- For this Christmas bow, you need three different ribbon designs and three pieces cut from each ribbon (with dovetailed ends).
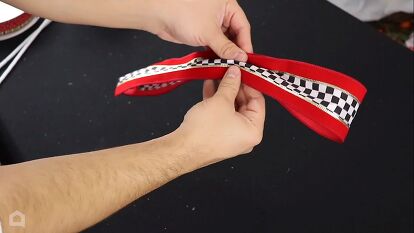
- Take the first piece and pinch it in the middle to create a loop.
- Then, take a piece in a different design, create another loop, and place it over the top. Repeat this process with alternating designs.
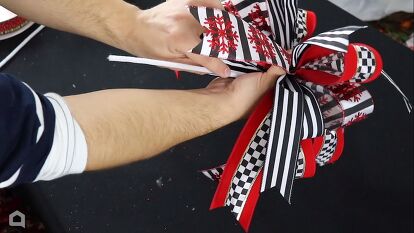
- Secure with a pipe cleaner
- Fluff

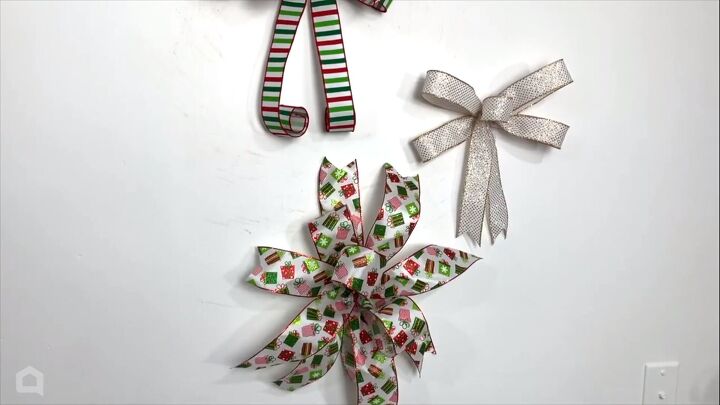
DIY Christmas bows
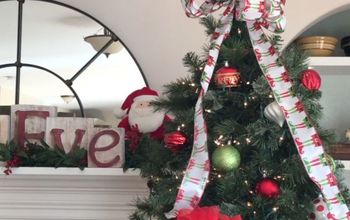
How pretty are these bows? You could use these DIY Christmas bows for decor or to top all of the gifts that you make this Christmas season. Let me know your favorite bow style in the comments below.

Comments
Join the conversation
-
♥️
-
No sound on any of them !!!!!!!!!


Frequently asked questions
Have a question about this project?