


Slat Accent Wall

An easy project that can make a BIG impact! This slat accent wall is beginner friendly and can be completed in a day's time! Customize this slat wall to meet the look you are going for.
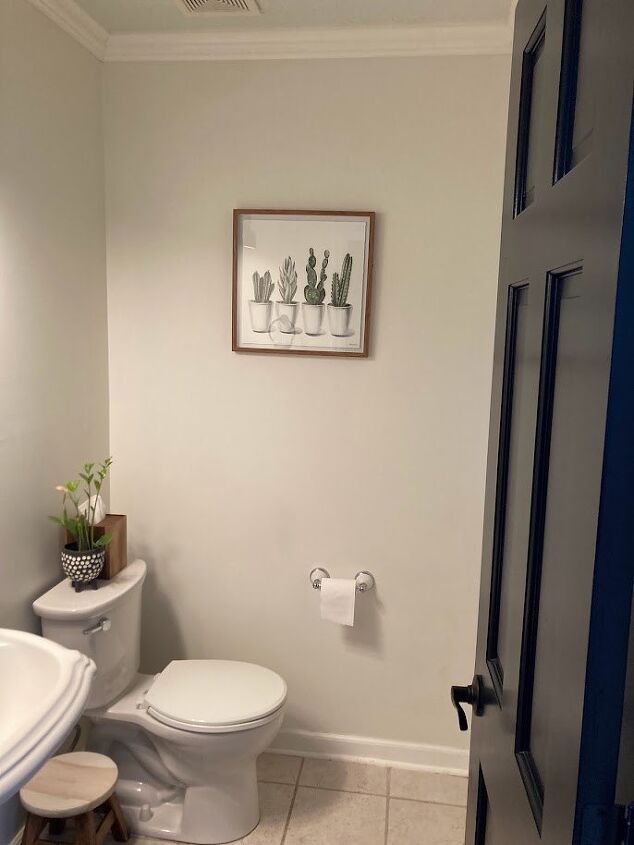
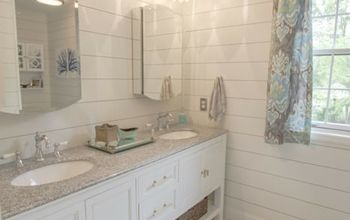
Before
This is our half bathroom before I got the idea to add a little something. Was there anything wrong with this room? No. Could it use a little spunk to make it more interesting? Of course!
I worked with the existing color scheme (in basically my whole house) of black, wood and green to create this modern design.
Paint: Black Mocha
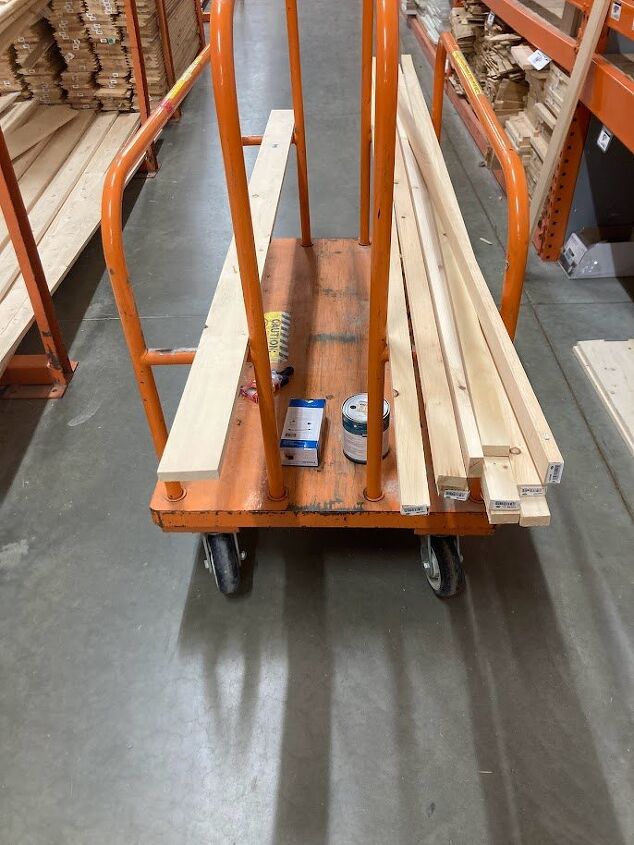
Baseboard: 1x4
Slats: 9, 1x2
Total Cost: $50
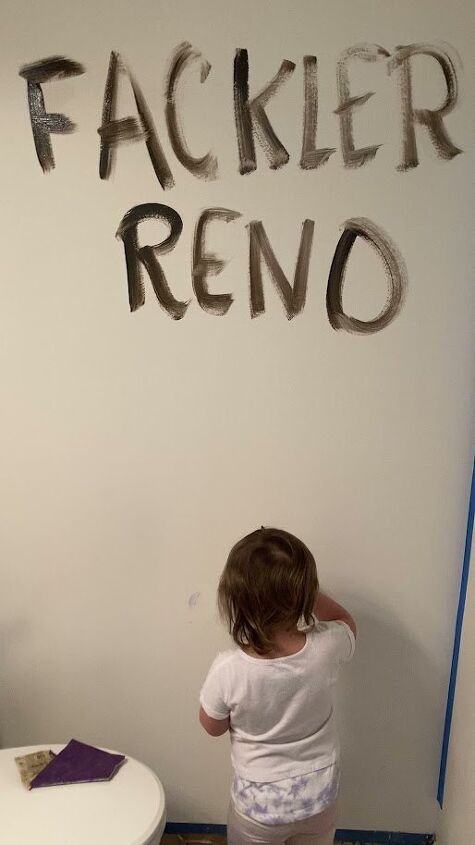
I always find it helpful to find an assistant! My girls LOVE to help out with projects and painting seems to be there favorite (lucky for me because it is my least favorite).
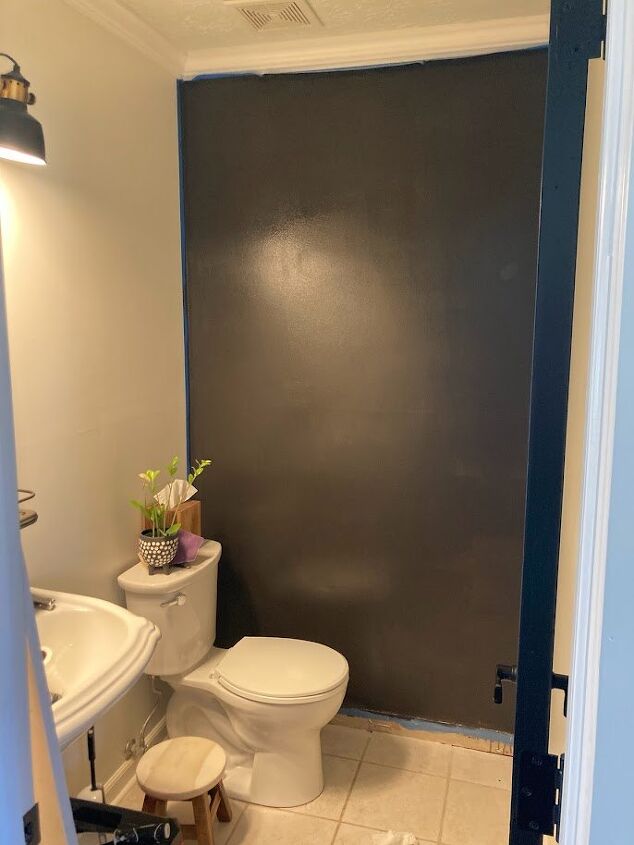
I applied two coats of Black Mocha Paint to my accent wall. I chose to use a satin finish.

Besides paint color, now is the time to get creative!
After you cut your vertical pieces to size (make sure your ceiling is level before cutting them all the exact length), you can choose the finish and the spacing between the boards.
I used a dark stain that coordinates with the rest of my house and choose to use a 1x2 as the spacer between vertical pieces.
As you are getting ready to install, either find a friend or grab some painter's tape. It is not recommended to use liquid nails on drywall as it will do some serious damage, but it can be a bit tricky to hold the slat, the nail gun and make sure each piece is level. This is where the painter's tape came in handy for me. I would use the level to ensure the slat was straight and then tape the board to the wall before adding brad nails to secure it to the wall.
The number of slats that you install is completely up to you! I initially planned on covering the whole wall in slats but loved the look of the stripe in the middle.
TIP: Shoot brad nails in at opposite angles into the drywall when you aren't near a stud for a secure finish!

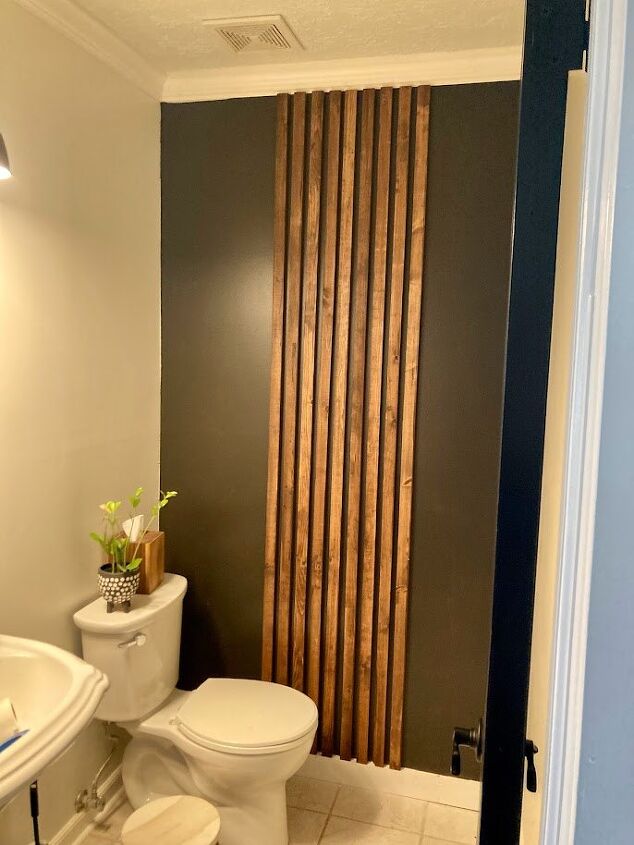
I loved how this turned out and the best part was I did it myself (yay!) and it was done in a day!


Comments
Join the conversation
-
What happened to the TP? How do you clean the bacteria back splash off the slats? I like to have a sanitary bathroom.
-
Yea for that cuz i have 8 cats to care for & cleanup after 😻😻😻😻😻😻😻😻


Frequently asked questions
Have a question about this project?
In general, love the look of these types of slat walls, but I don’t care for the transition between the slats and the molding. I am curious as to what others would do in this situation? Remove that section of molding? Taper the slats? Leave it?
How did this involve the toilet paper holder?
Where's the tp,,,?